
If you are searching for information about how to install under sink water filter, you will acquire some useful methods in this article. For anyone considering an under-sink water purifier, the first thought is often: “How complicated is this?” These systems are more advanced than countertop models, with multiple filters, tubing, and a dedicated faucet.
In addition, there are many types of under sink water filters, and the installation methods and application scenarios of different types of under sink water filters are also different, so first we gonna talk about which is also the most common how to install under sink water filter-the installation method of the under-sink water filter.
Types of Under-Sink Water Filters

Under-sink water purifiers come in several types, each with different filtration stages and designs. Choosing the right type and size ensures efficient performance and fits the available space under your sink.
- Single-Stage Filters – Simple and compact, usually remove chlorine, taste, and odor. Easy to install, ideal for light filtering needs.
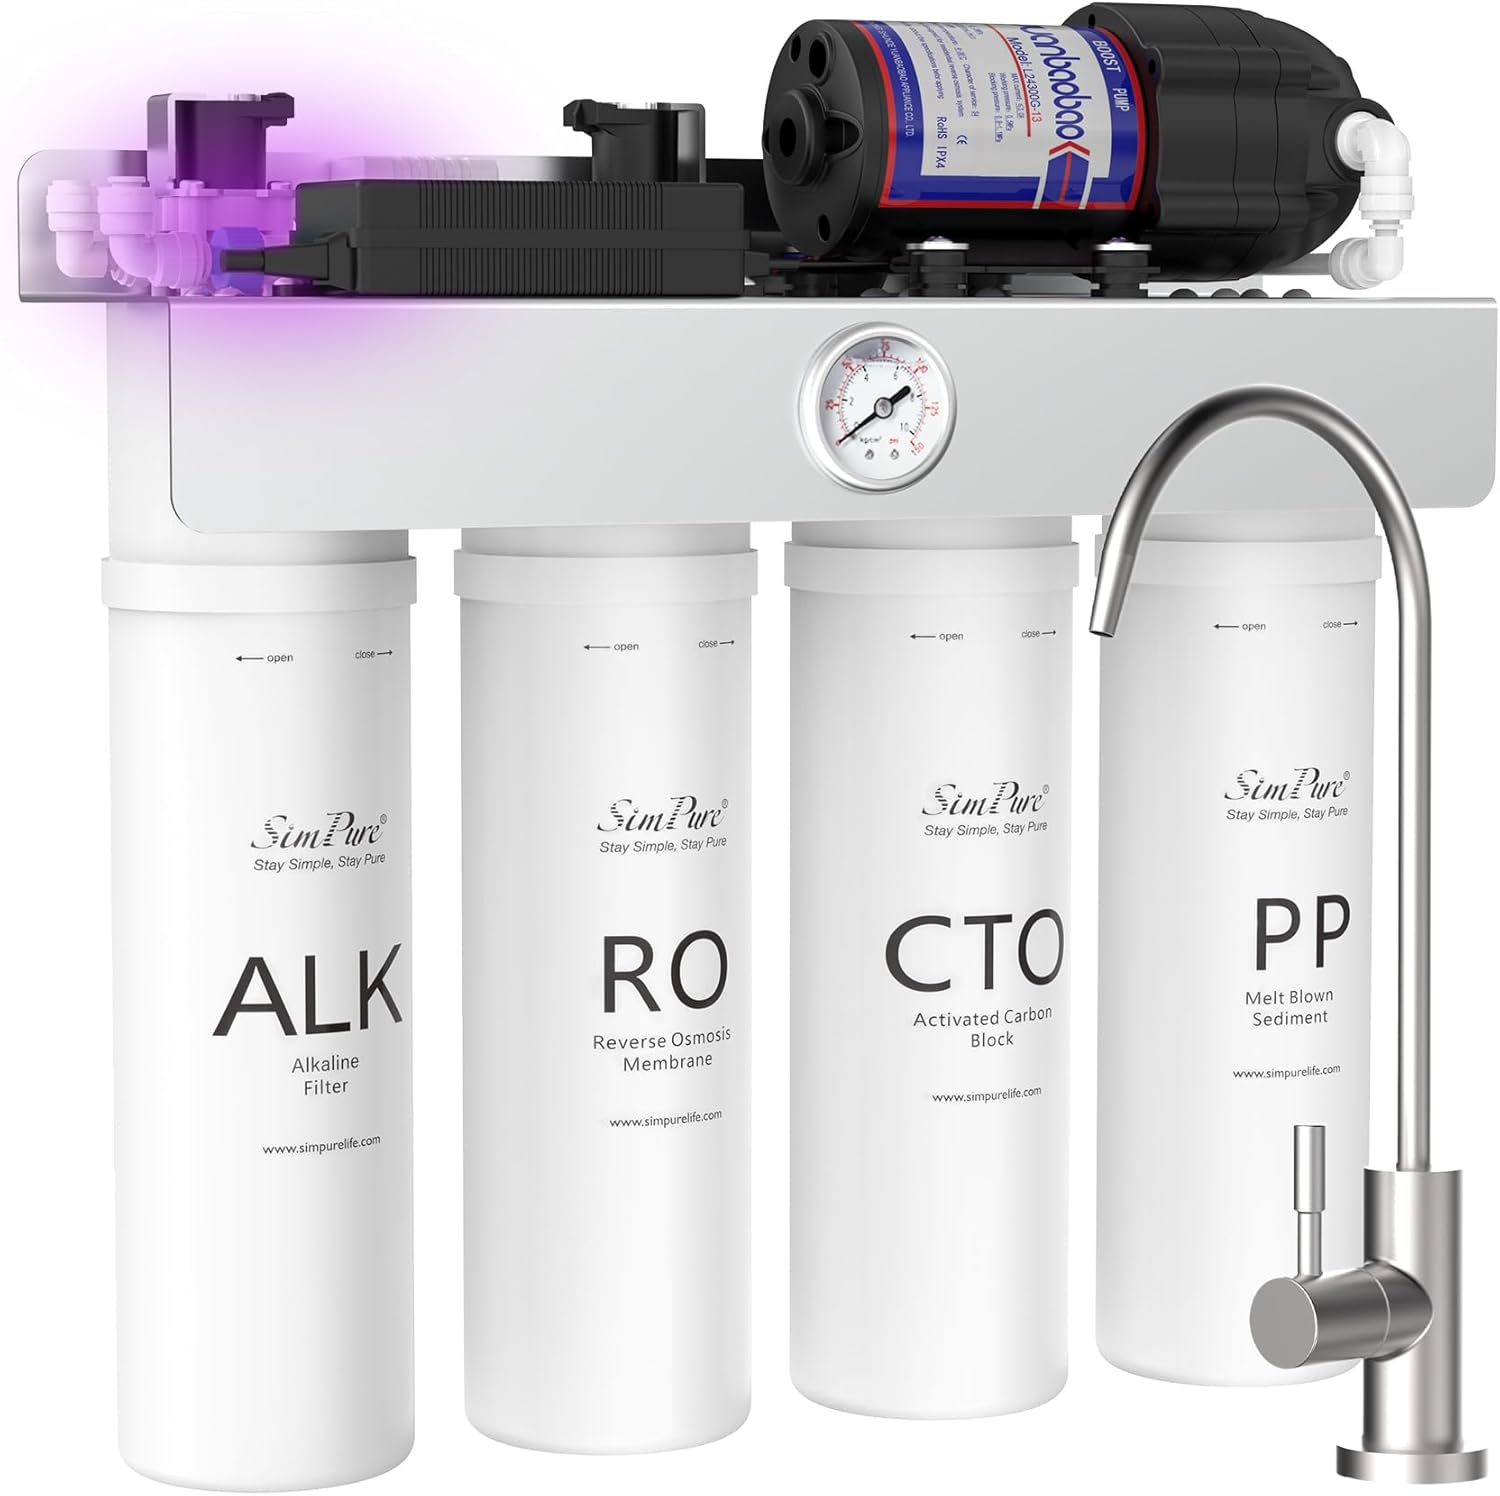
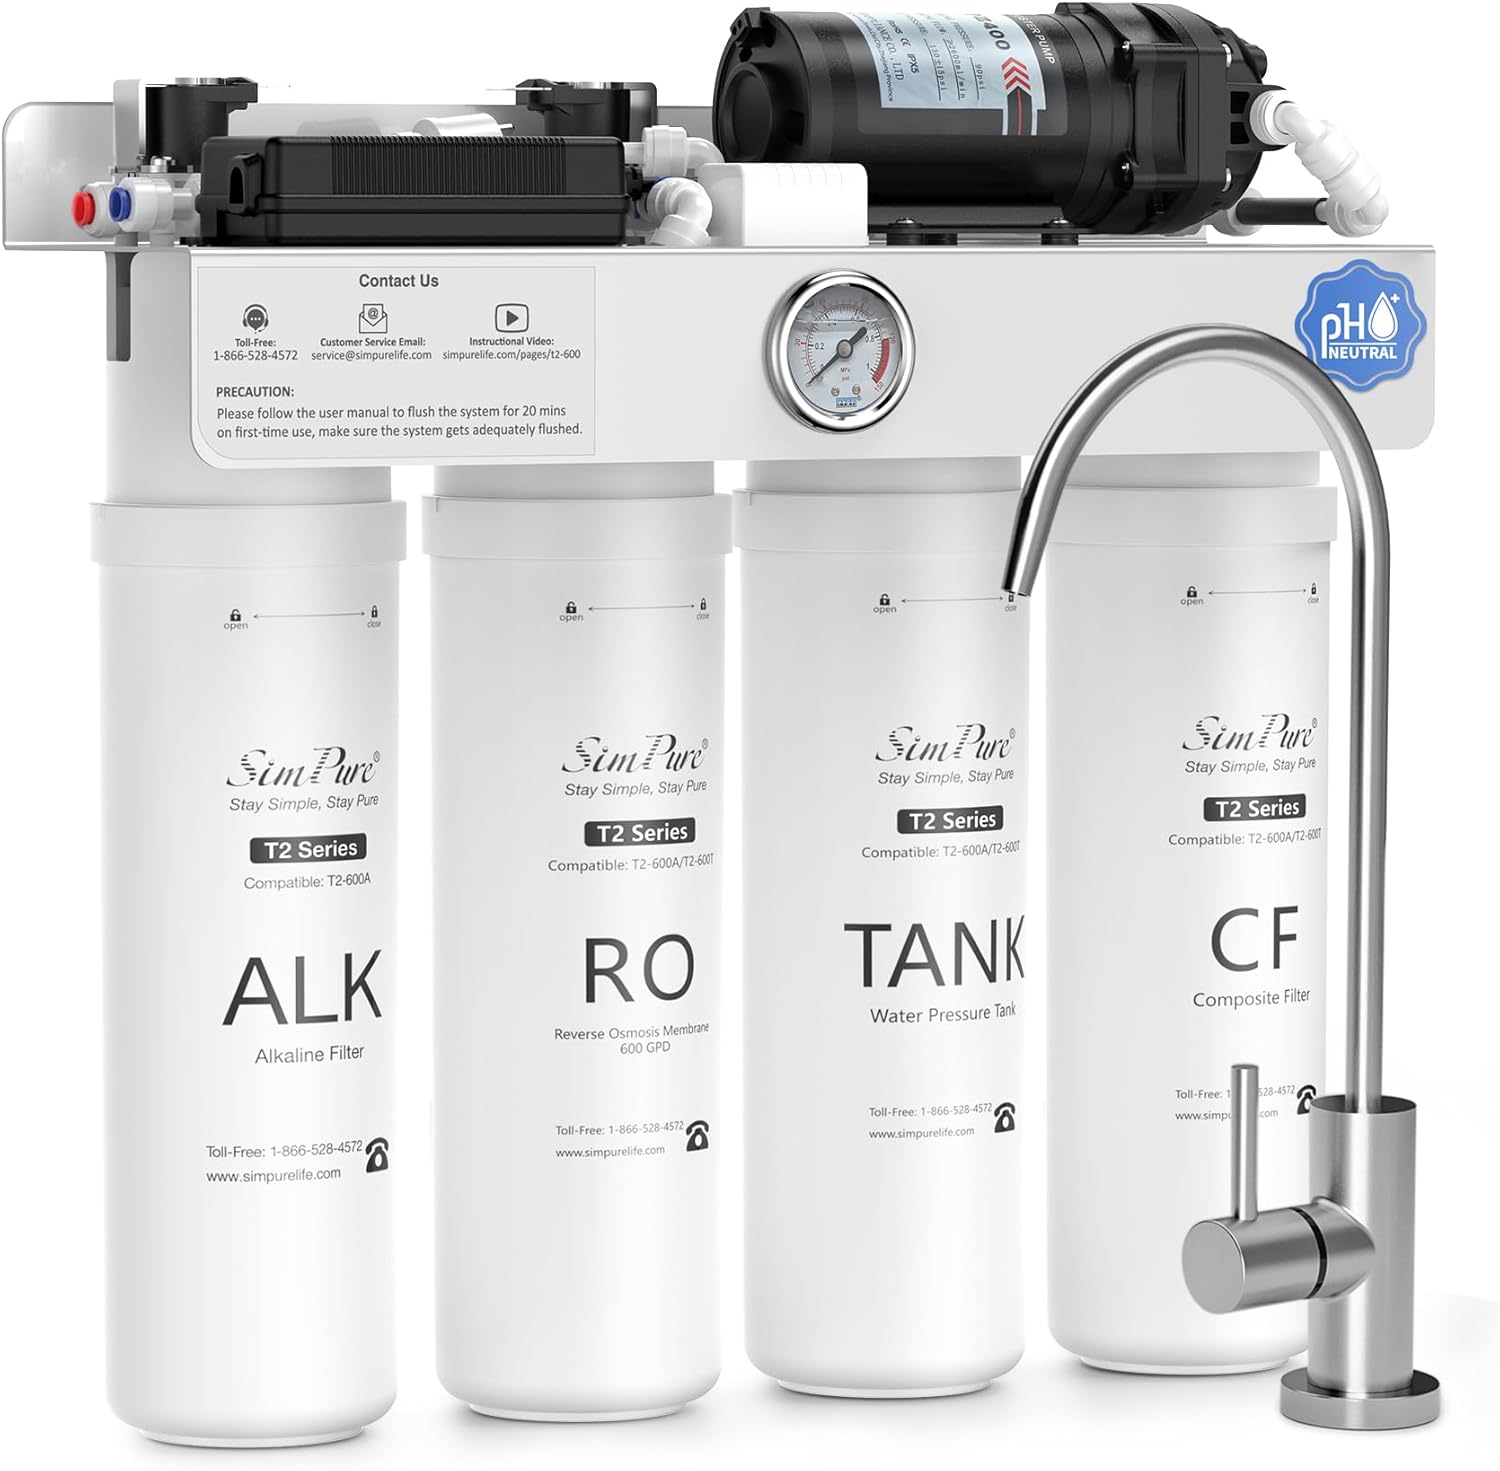
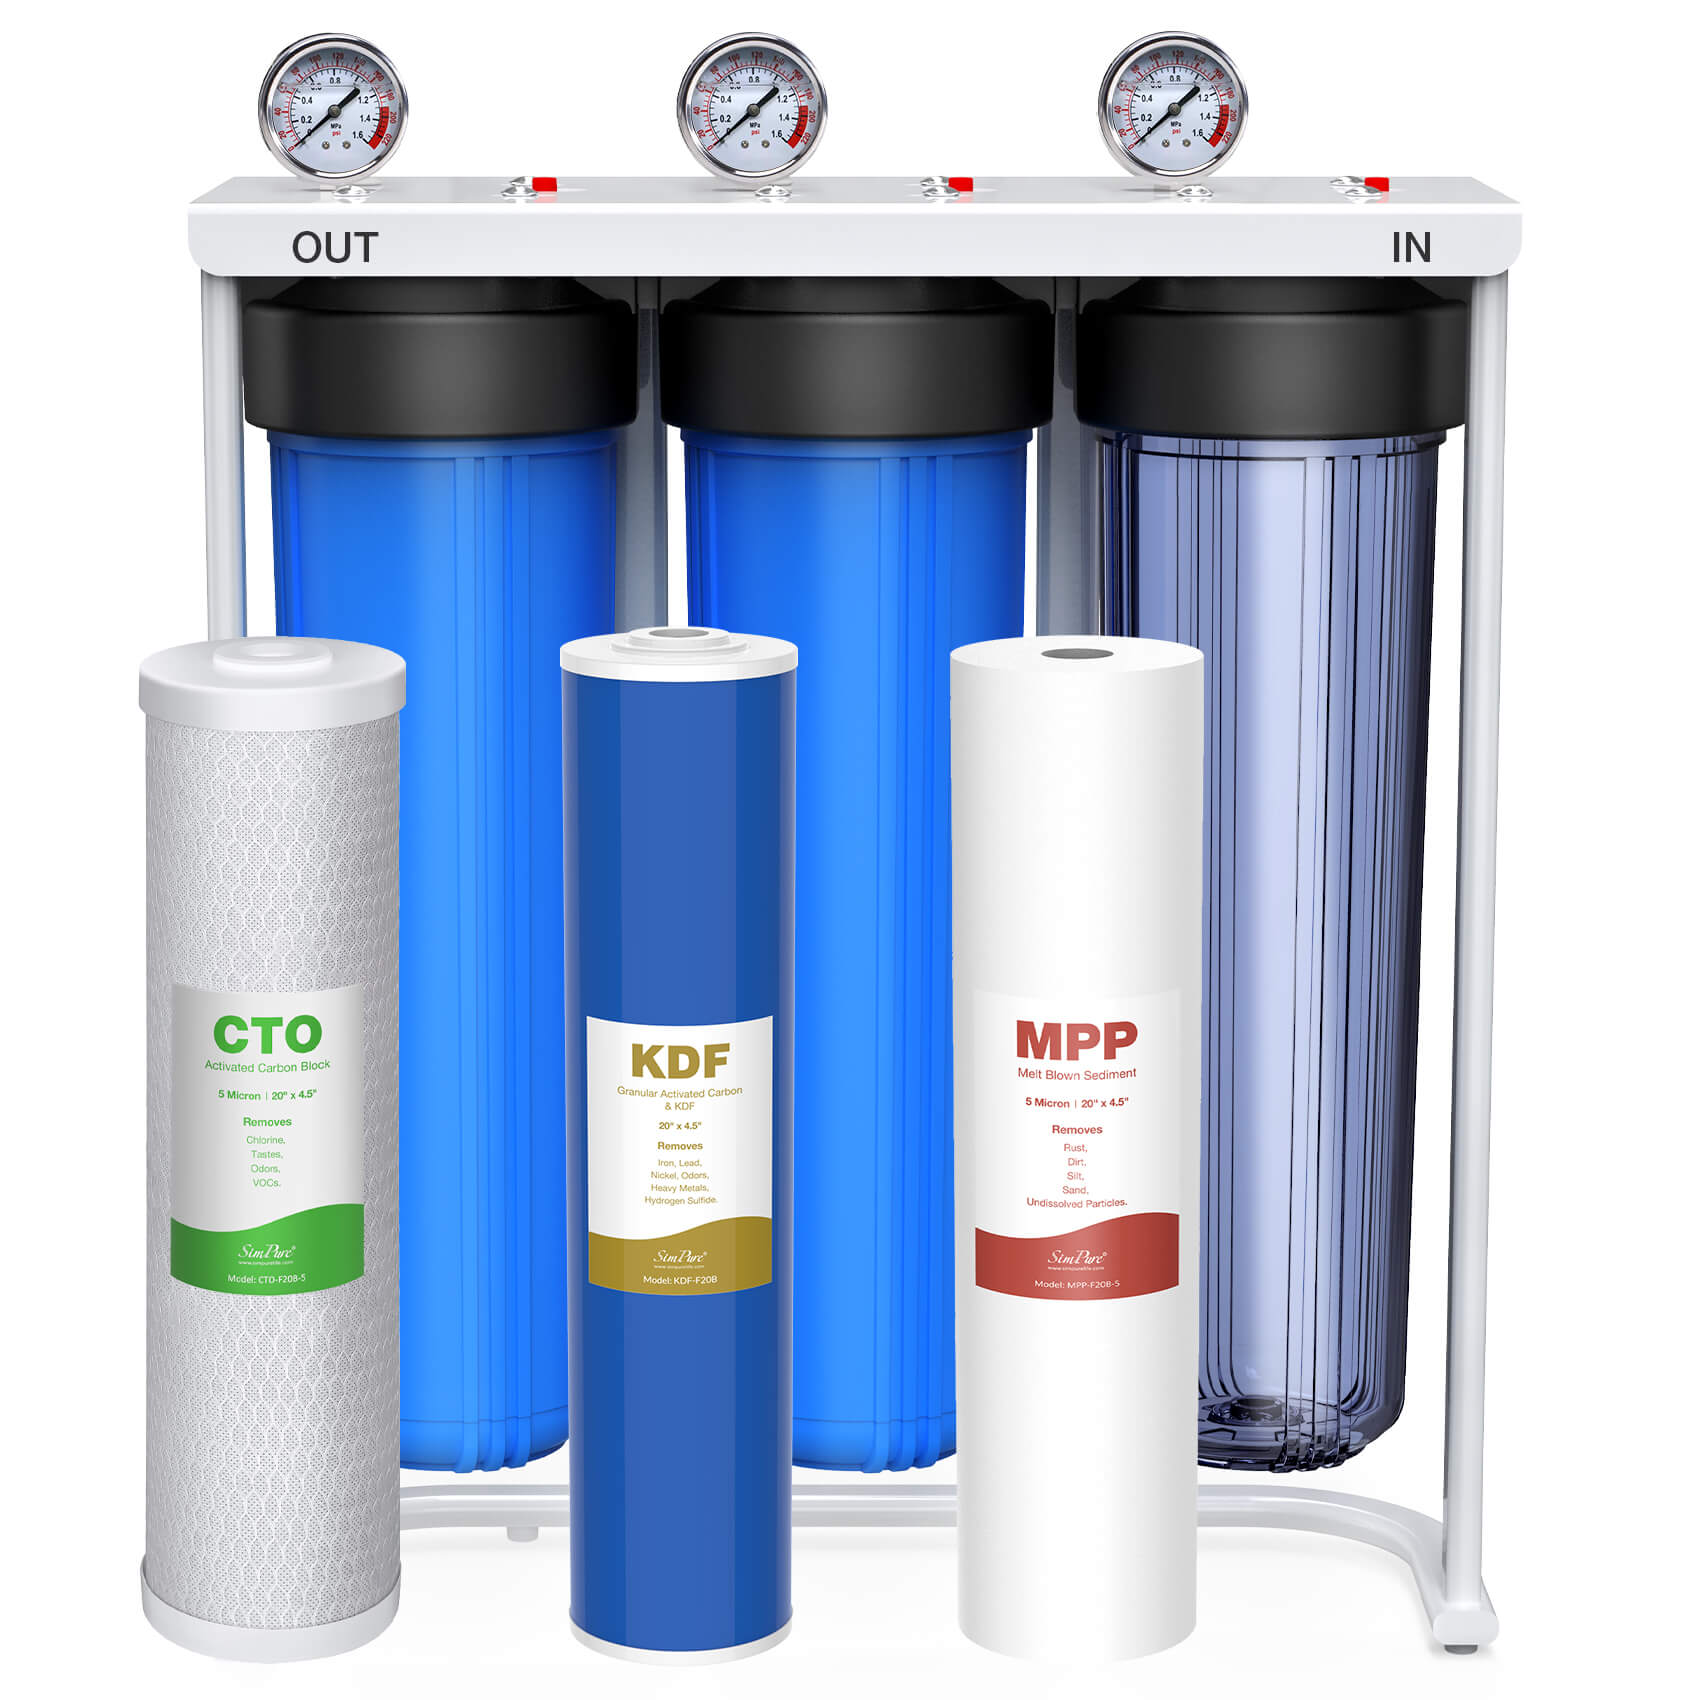
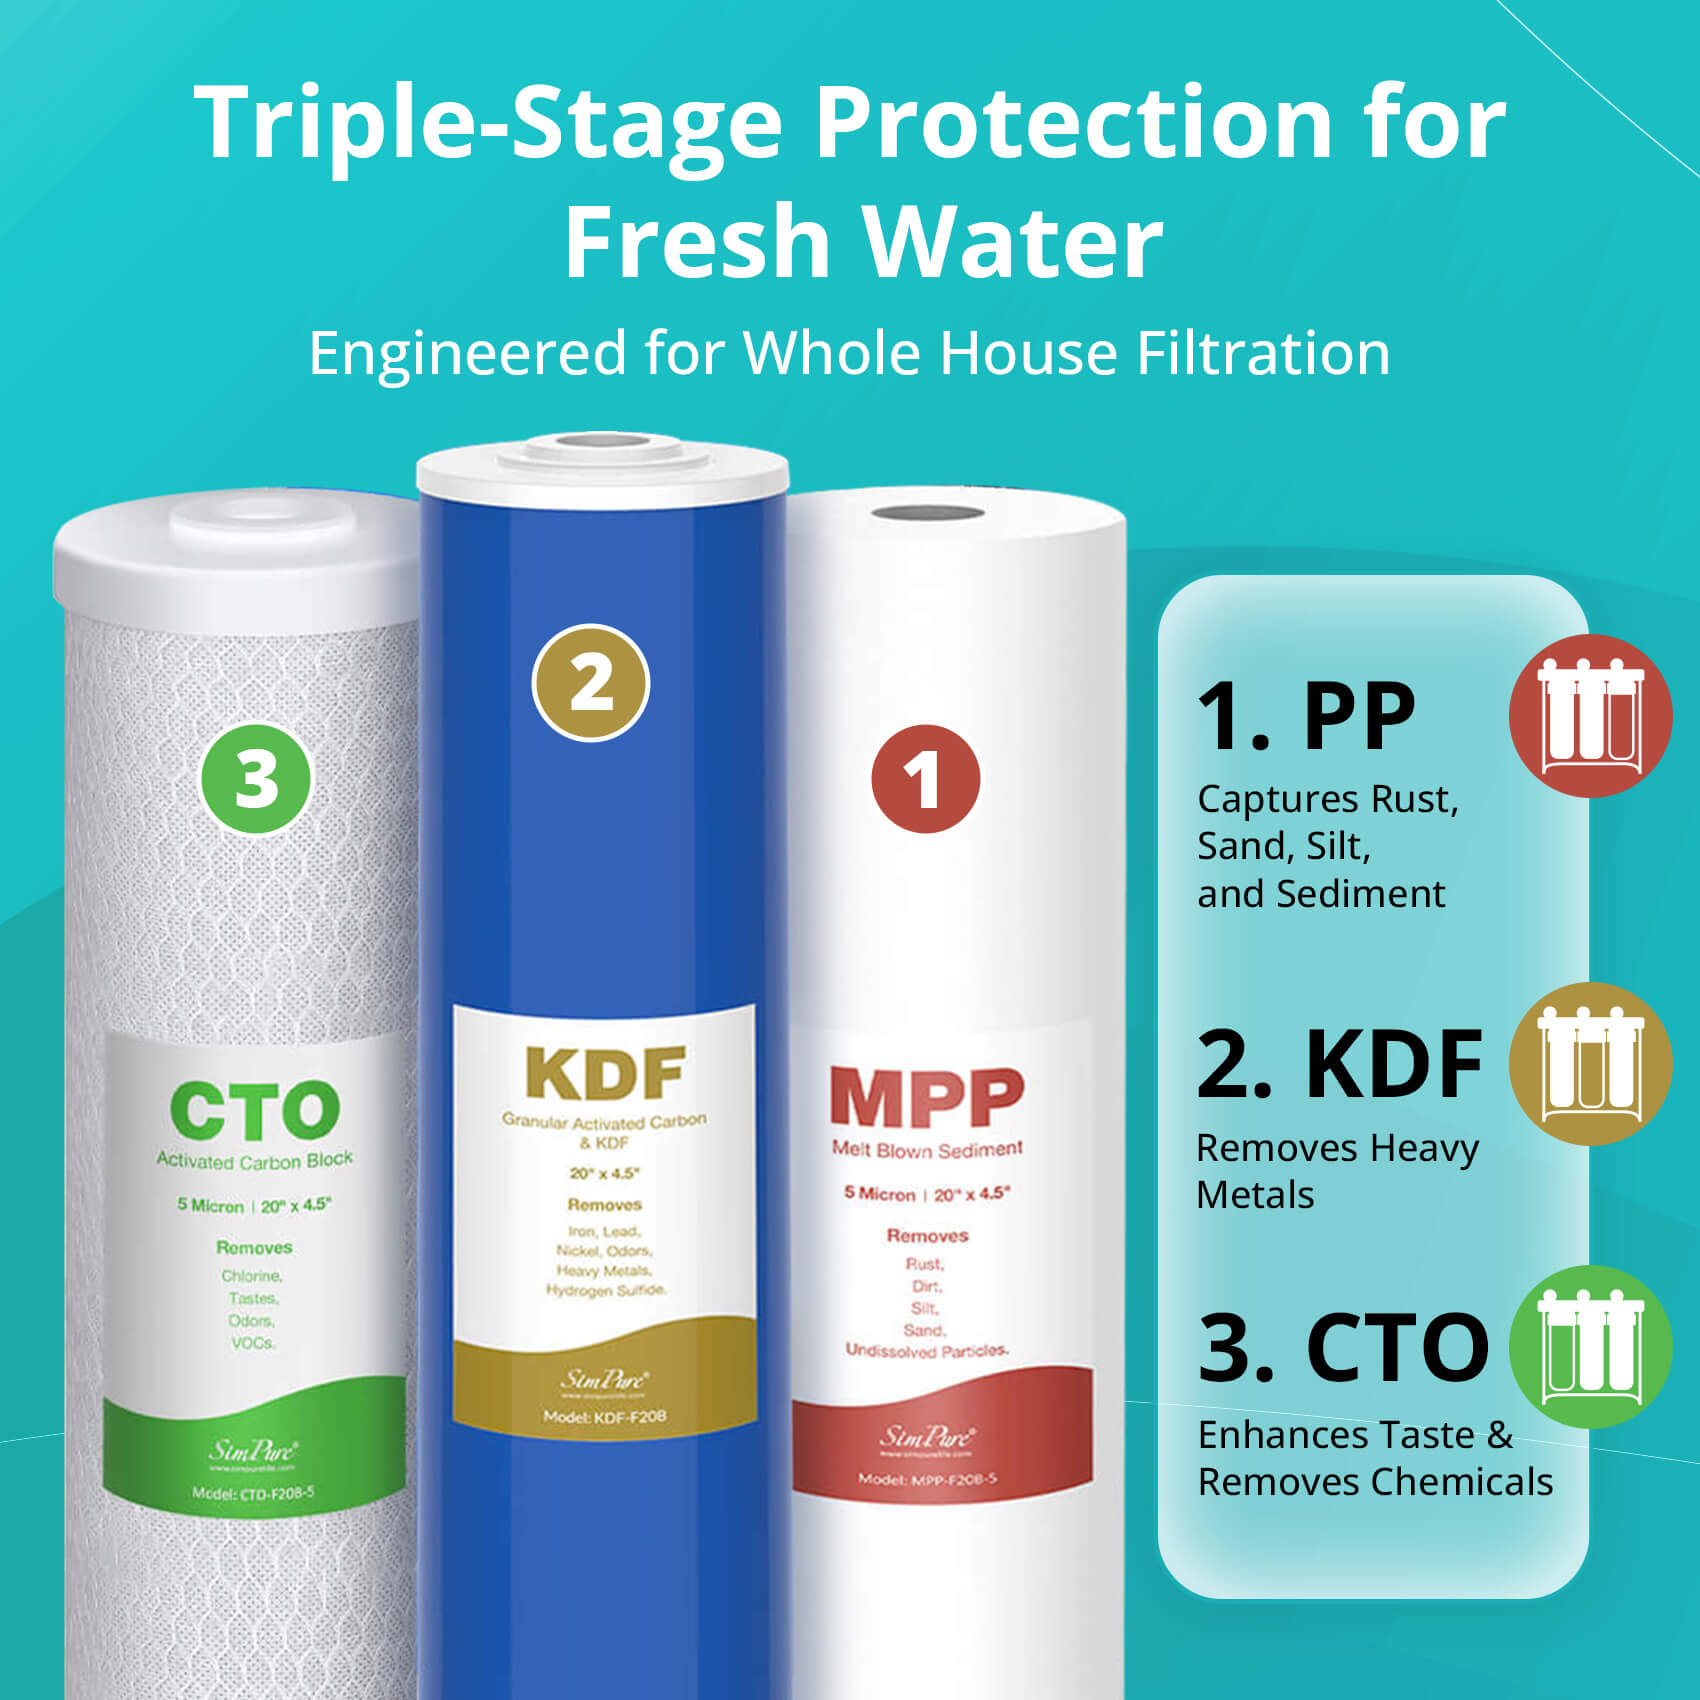
- Multi-Stage Filters – Include sediment, carbon, and sometimes reverse osmosis membranes. Better for comprehensive filtration, including heavy metals and contaminants.
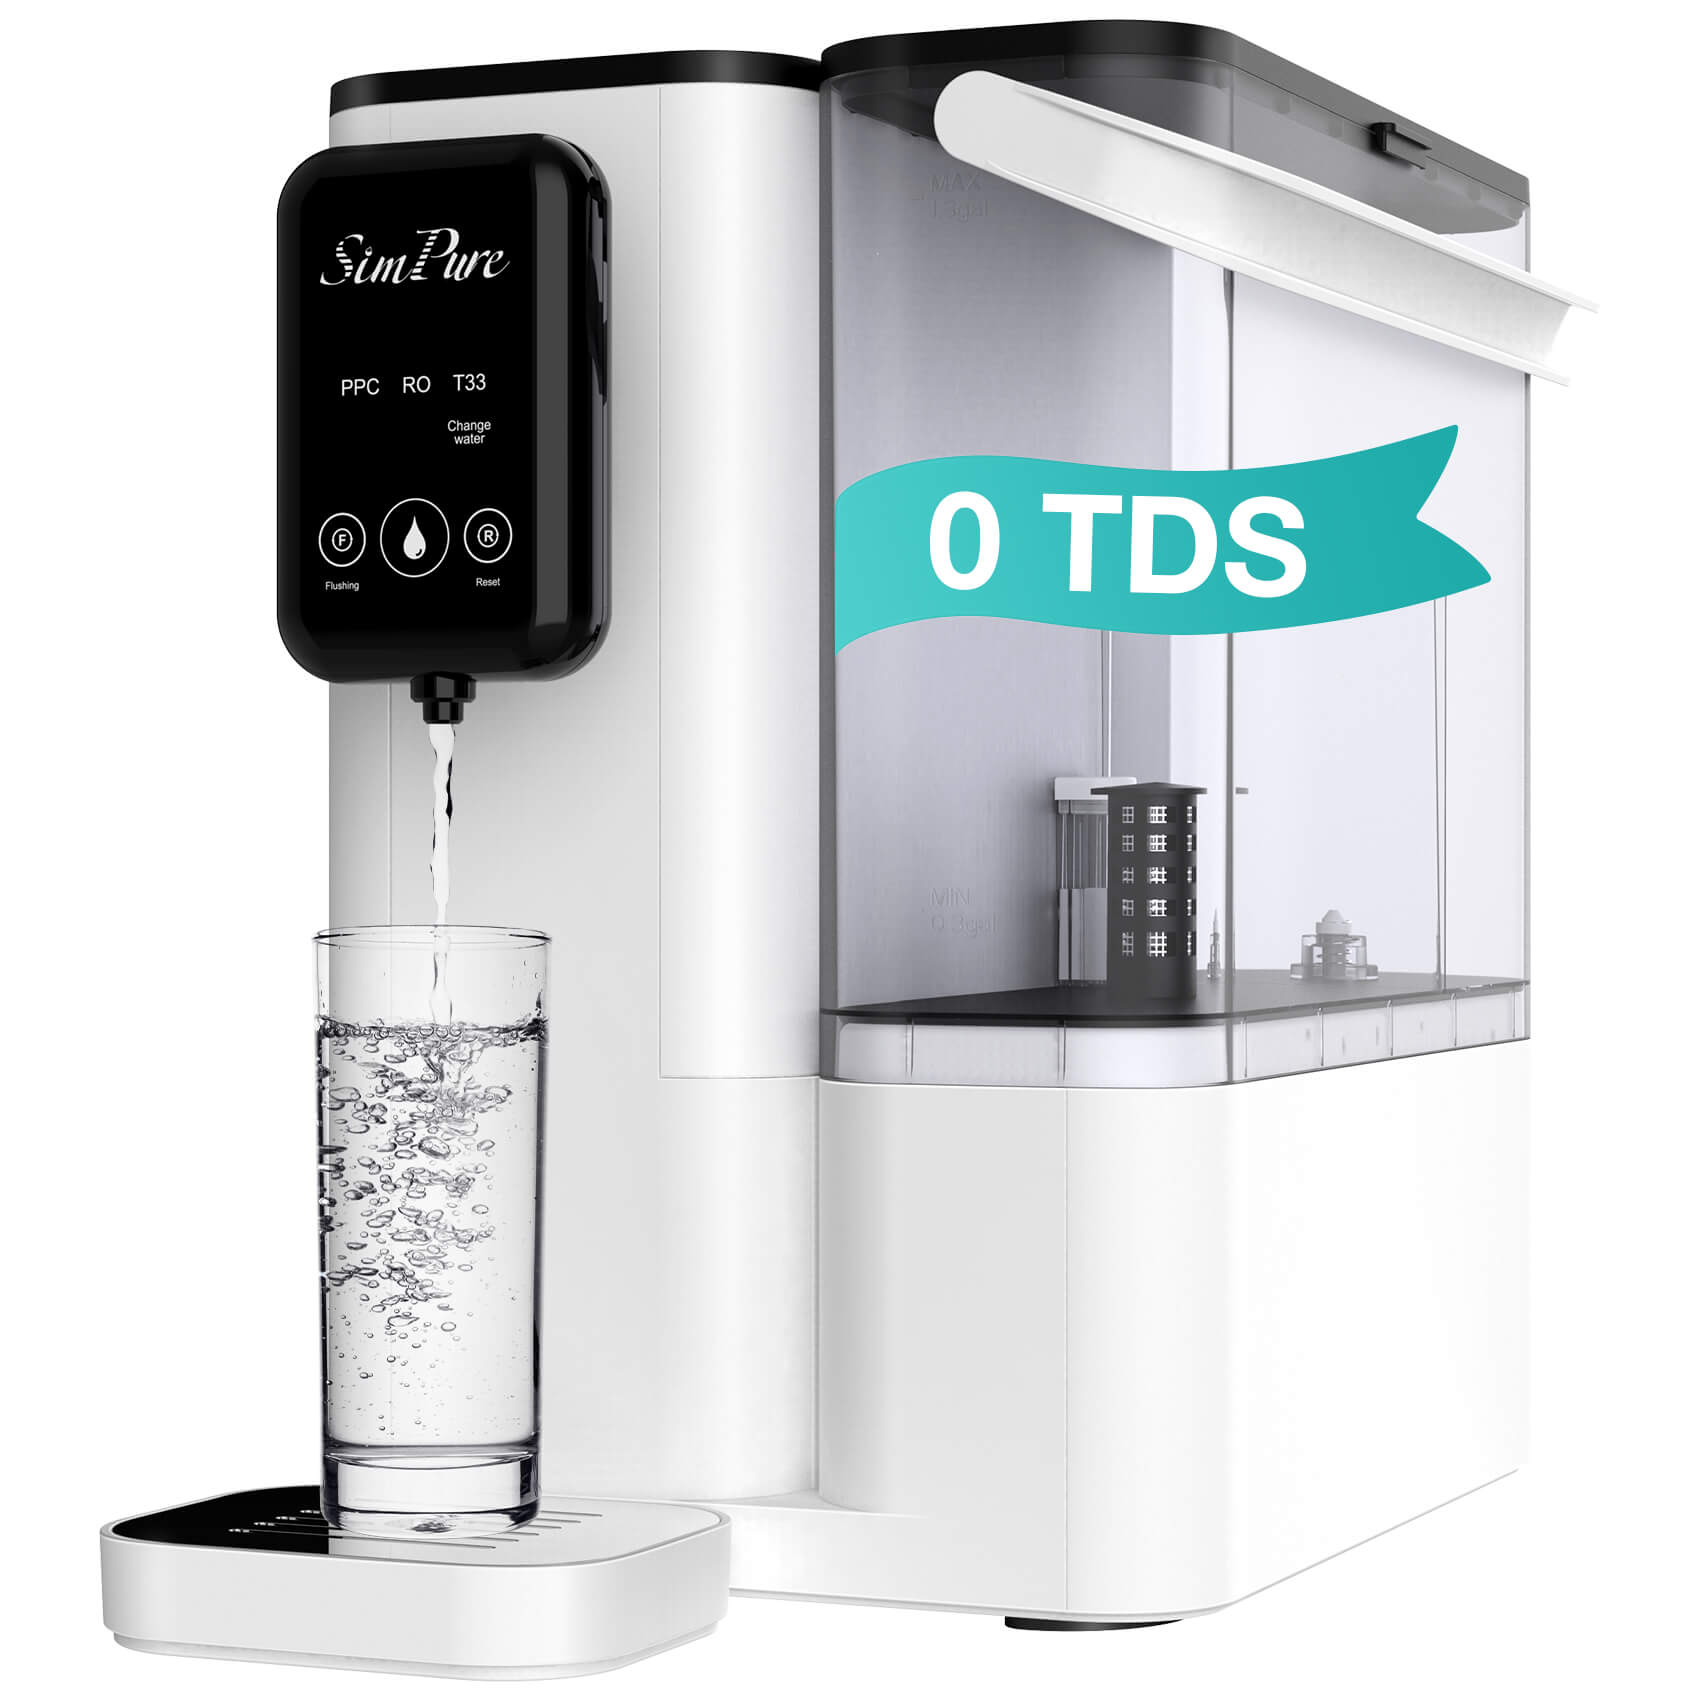
- Under Sink RO Systems – Advanced filtration with multiple stages, including RO membrane for purified water. May include remineralization filters. Tankless Compact RO or multi-stage systems without storage tanks. Save space and provide faster flow rates.
Common Sizes
Filter Cartridges: 10-inch and 20-inch are the most common lengths. Diameter usually ranges from 2.5” to 4.5”, you can check this kind of under sink water filter at SimPure Trending Whole House Under Sink Water Filter Systems .
Example:

RO Membranes: Standard 50 GPD (gallons per day) or 75 GPD, with lengths around 12” and 13” diameter housings.
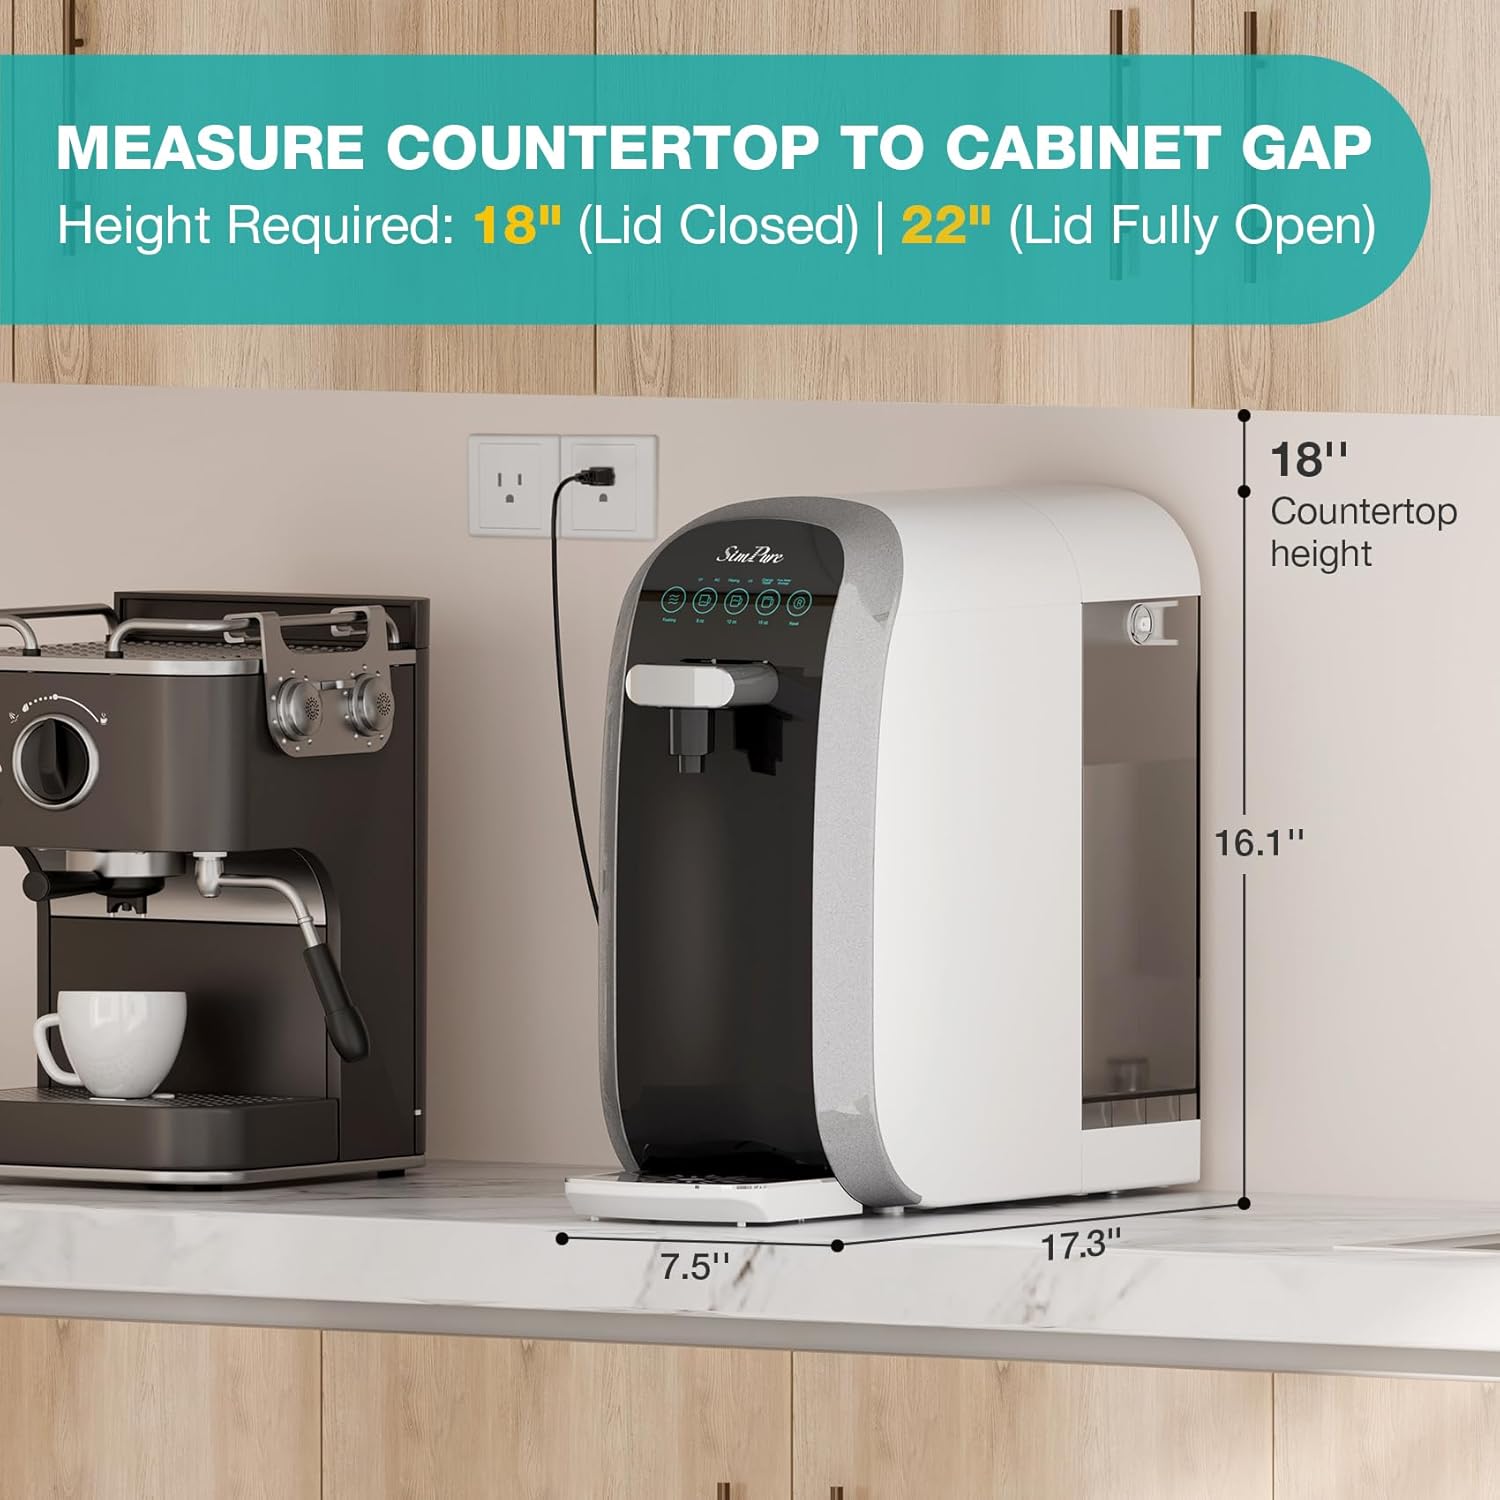
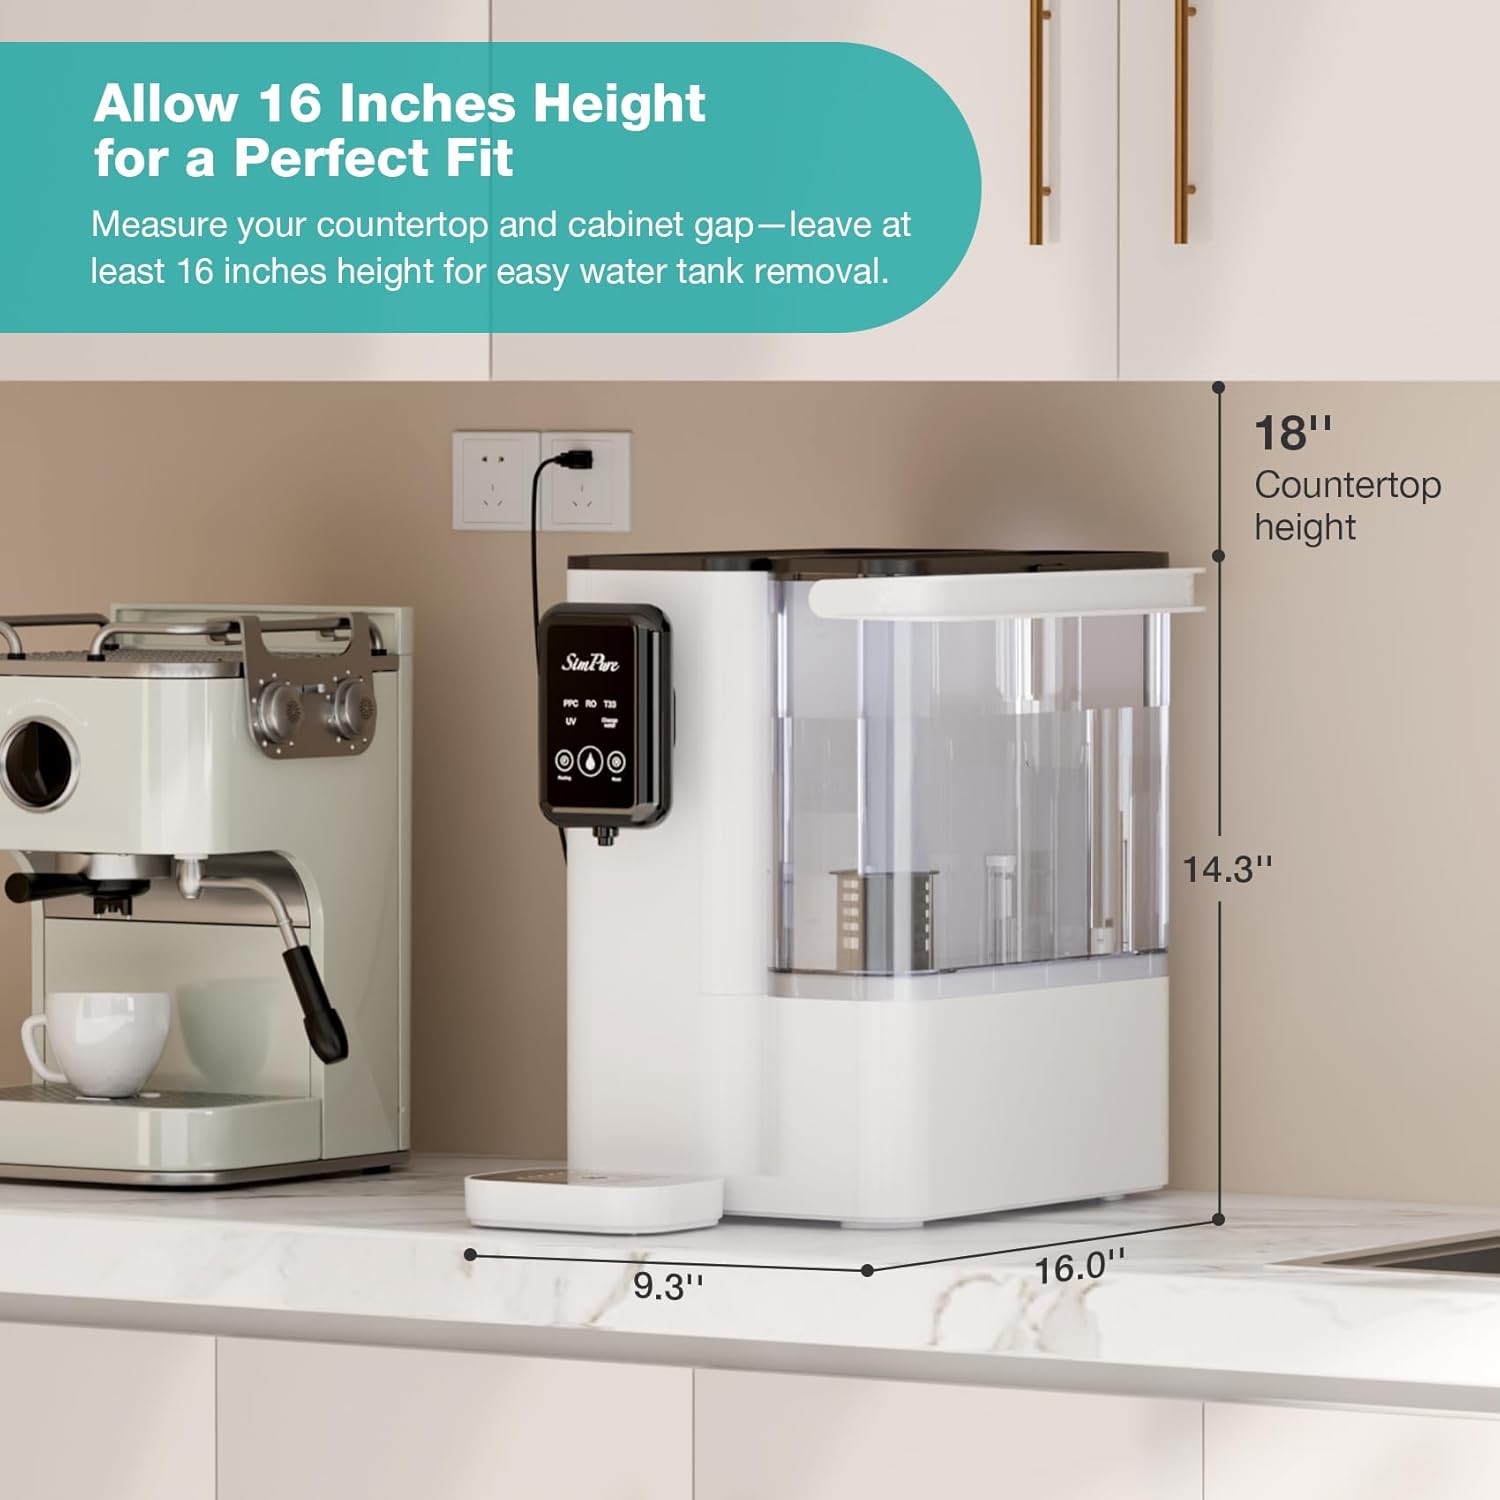
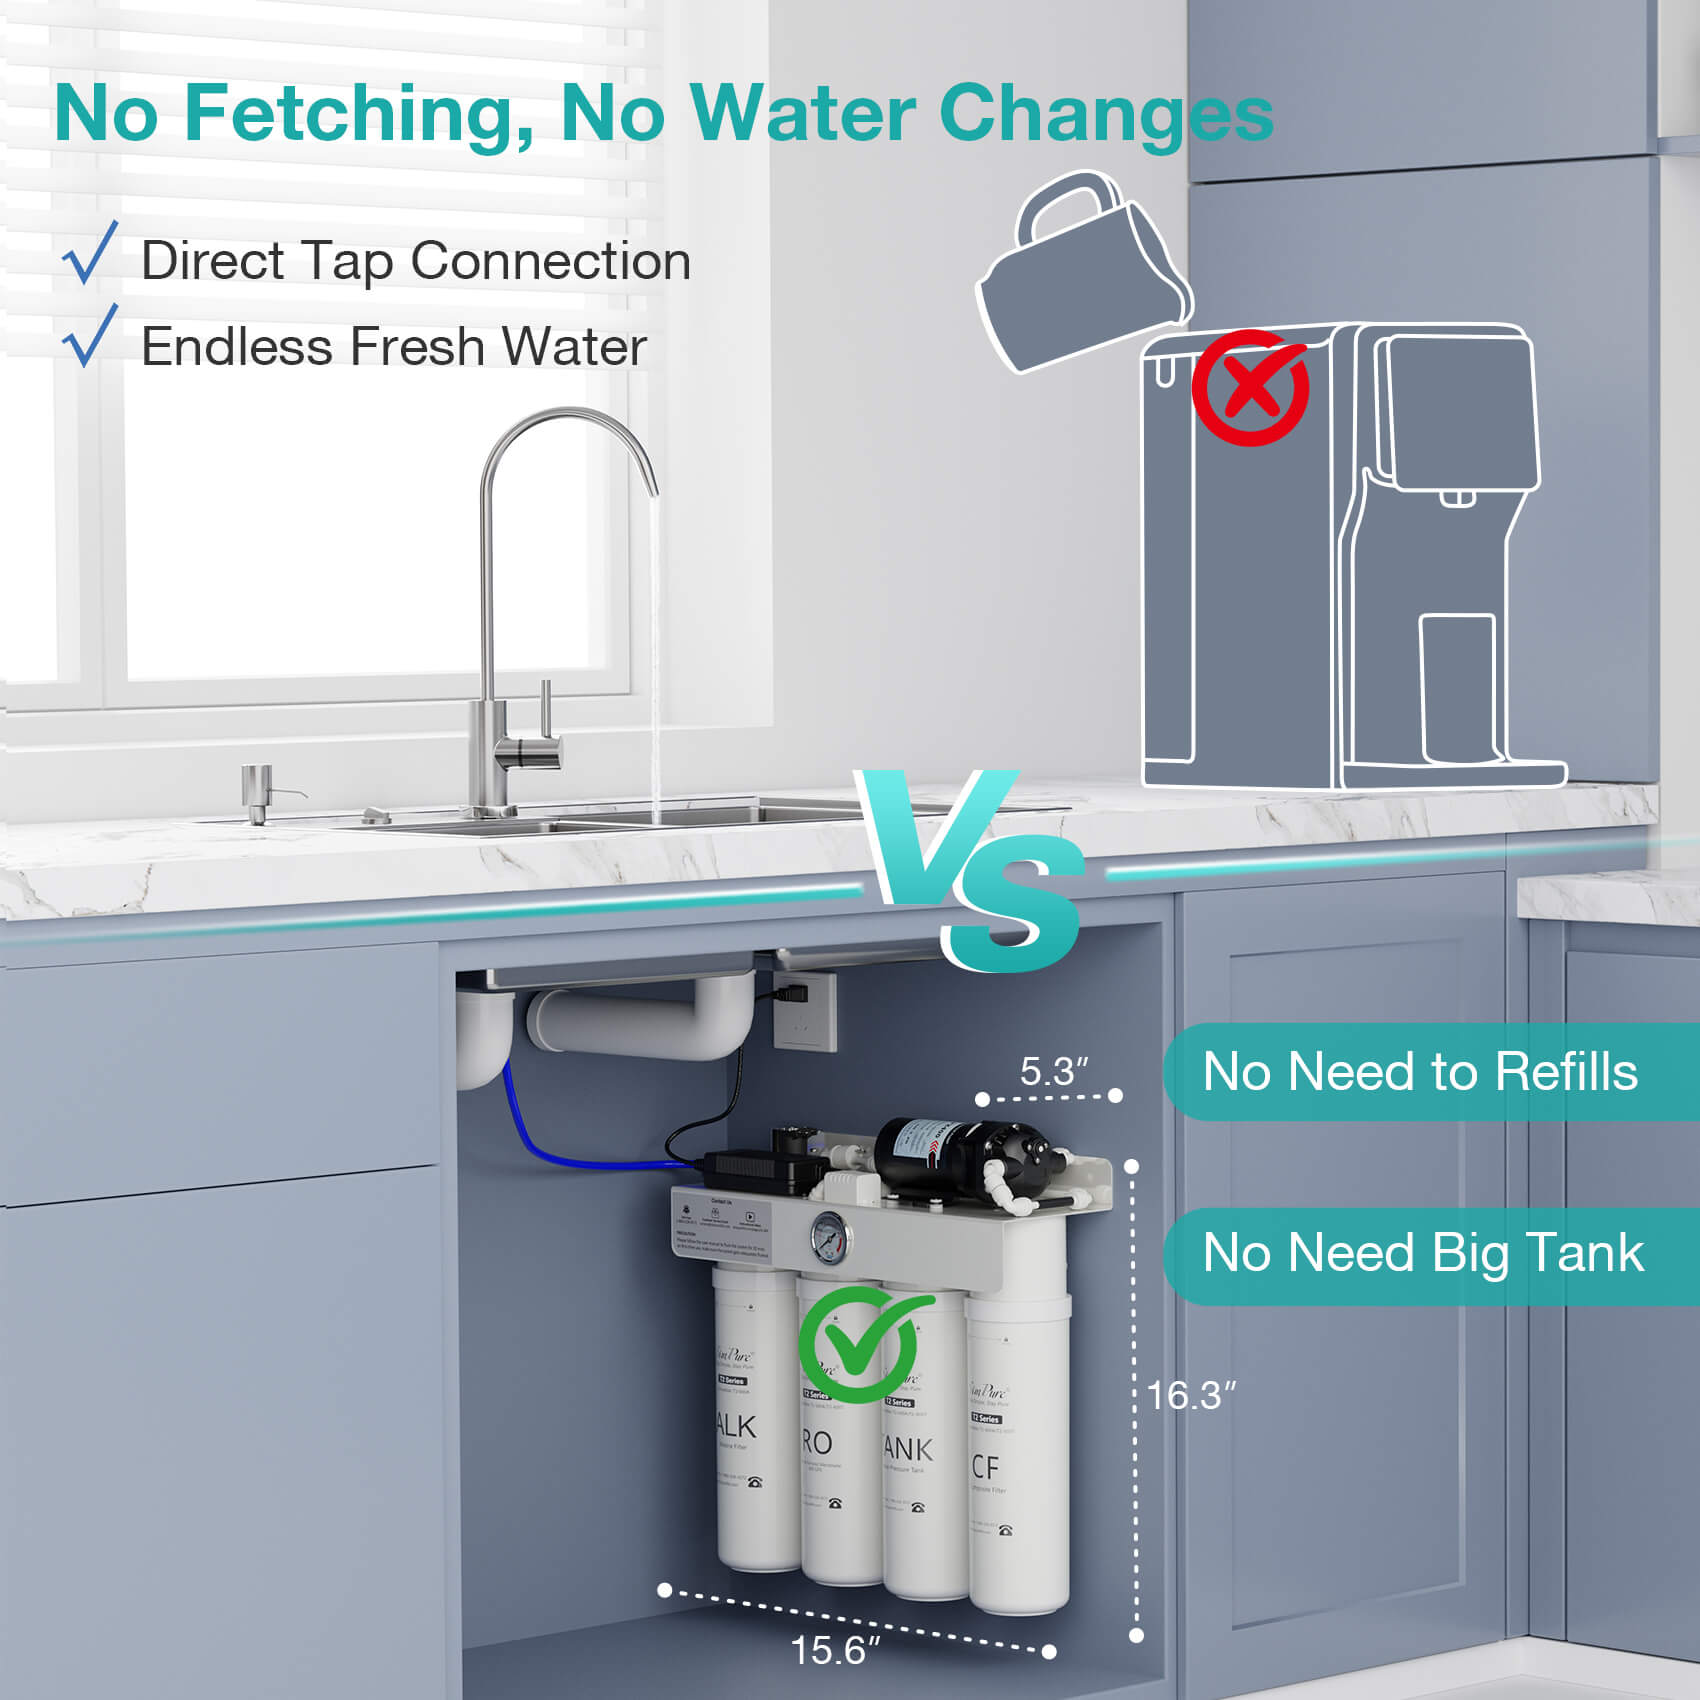
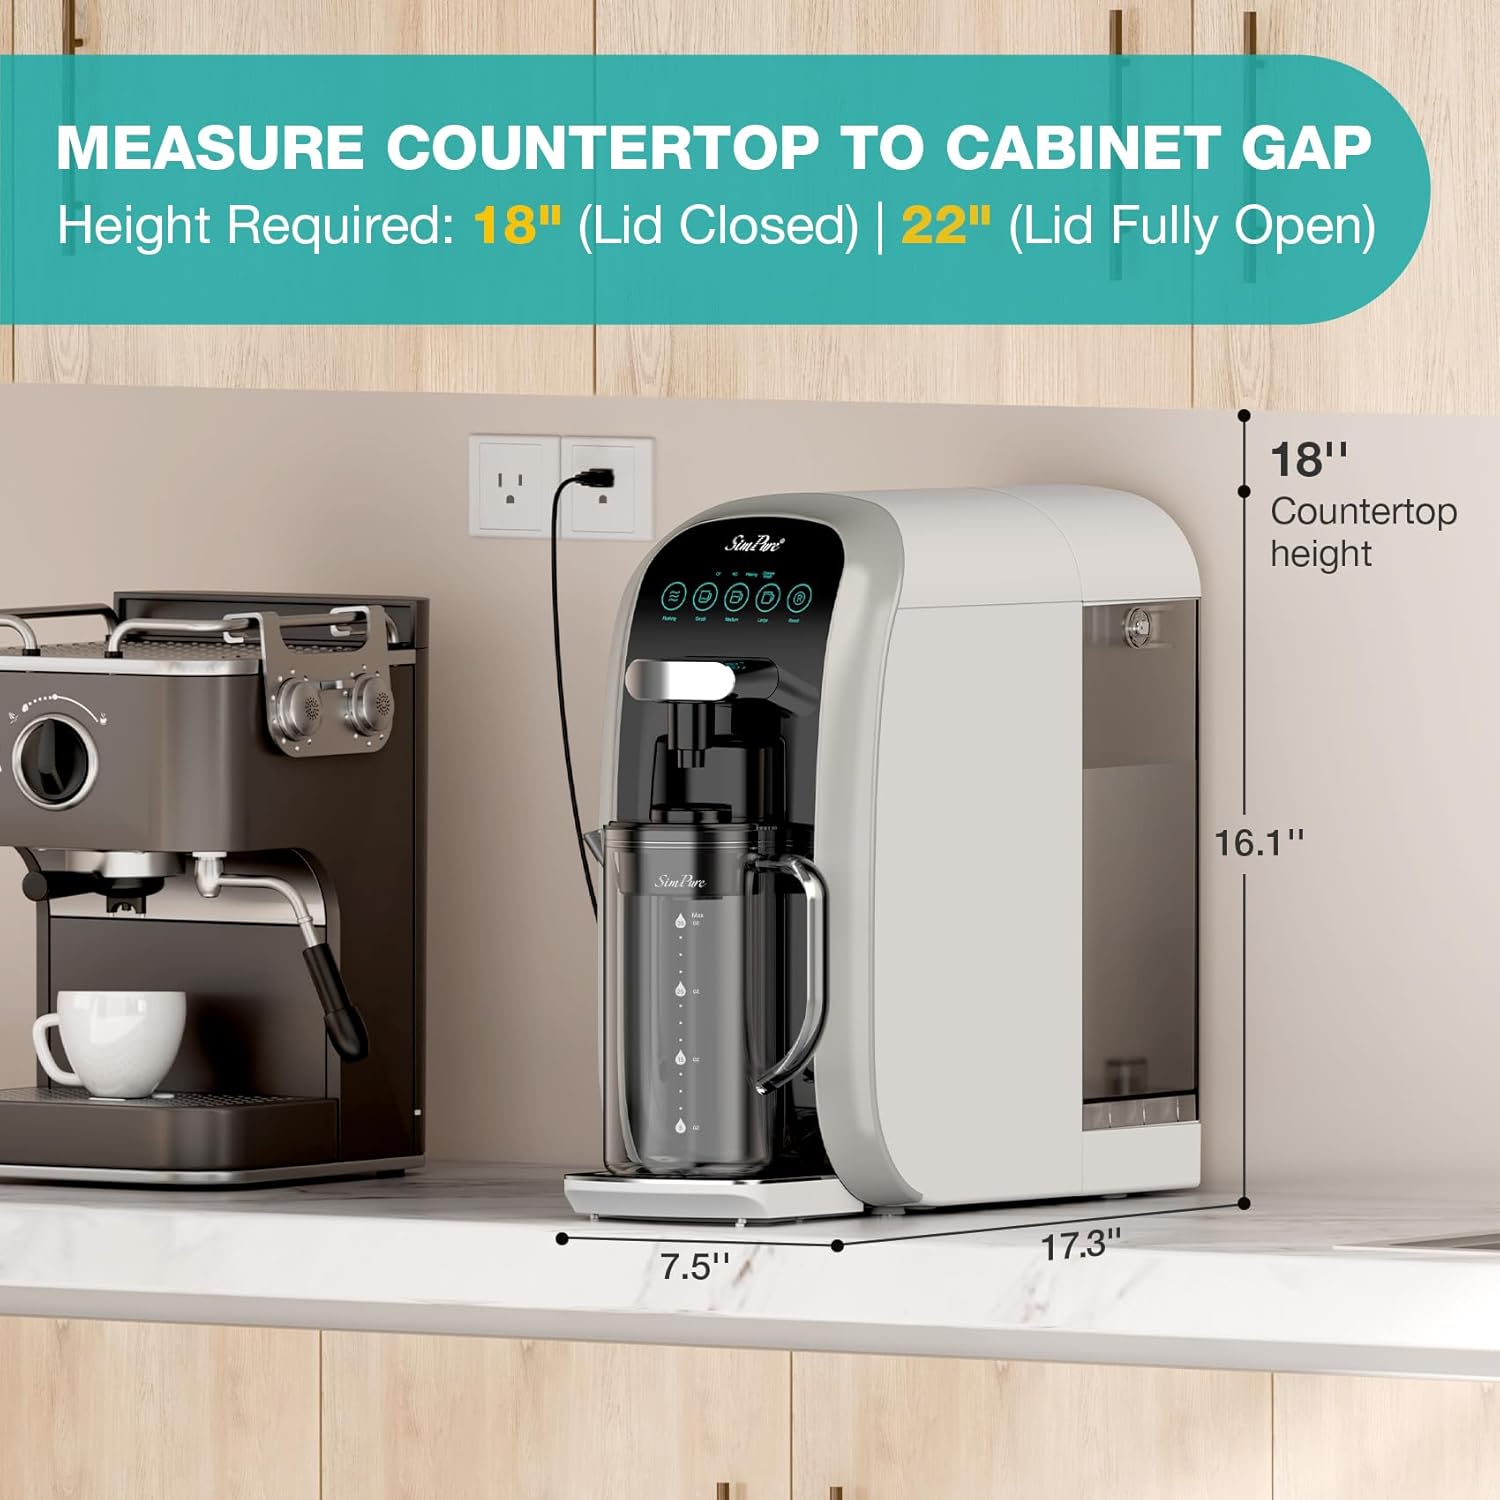
Under-Sink Units: Usually 12–18” width, 15–20” height, and 6–10” depth for most single or multi-stage systems. Tankless units tend to be smaller and more compact.
Tools and Materials Required for Installation
Tools:

- Adjustable Wrench – For tightening valves and fittings.
- Screwdriver – Phillips or flathead for brackets and clamps.
- Drill & Drill Bits – Needed if mounting brackets or faucet holes.
- Tubing Cutter – Ensures clean, precise cuts for water lines.
- Teflon Tape (Plumber’s Tape) – Prevents leaks on threaded connections.
- Measuring Tape – For proper placement of system and faucet.
- Bucket & Towels – To catch water during installation or leaks.
Materials (Usually Included with System):
- Under-Sink Water Purifier Unit – Single-stage, multi-stage, or RO system.
- Filter Cartridges / RO Membrane – Depending on system type.
- Tubing – For input, output, and drain connections.
- Mounting Brackets / Screws – To secure system under the sink.
- Feed Water Adapter / Valve – Connects system to cold water supply.
- Faucet & Drain Saddle – Dedicated faucet and drain line connection.
Example:

Step-by-Step Guide to Install Water Purifier Under Sink
Installing an under-sink water filters can be complex due to multiple components, but with patience and the right steps, you can complete it successfully.
1. Gather the Necessary Tools and Parts
- Tools: Adjustable wrench, screwdriver, drill, tubing cutter, Teflon tape, bucket, towel.
- Parts: Under-sink water purifier unit, filter cartridges, faucet, tubing, feed water adapter/ball valve, drain saddle, mounting brackets.
Lay everything out and check the instructions for your specific system.
2. Install the Faucet

- Choose a convenient location on the sink or countertop for the faucet.
- Drill a hole (size depends on faucet, usually ~1.2–1.5 cm, ~0.47–0.59 inches) or use an existing opening.
- Place faucet components (cover plate, rubber washer, nut) in order and secure through the hole.
- Tighten the faucet securely without over-torquing to avoid damage.
3. Install the Feed Water Adapter / Ball Valve
- Turn off the cold water supply under the sink.
- Attach the feed water adapter to the cold water line using Teflon tape for a tight seal.
- Connect tubing from the adapter to the water purifier inlet.
4. Mount the Water Purifier System
- Choose a space under the sink with enough room for filters and tubing.
- Secure the system with mounting brackets if included.
- Keep the system upright and stable.
5. Connect Tubing

Measure and cut PE tubing to required lengths for:
- Feed water inlet → purifier input
- Purifier output → faucet
- Purifier output → storage tank (if applicable)
- Purifier drain line → sink drain
Push tubing fully into quick-connect fittings; tighten nuts if required. (Most modern systems are tool-free for push-fit fittings.)
Use clamps or zip ties to secure tubing and avoid kinks.
6. Install Filter Cartridges
- Remove protective packaging from each filter.
- Insert filters in the correct order (usually sediment → carbon → RO membrane or system-specific order).
- Tighten filter housings with a wrench; do not overtighten.
7. Connect Storage Tank (if applicable)
- Wrap Teflon tape around the tank ball valve threads.
- Attach the tubing from the purifier output to the tank valve.
Ensure the tank is upright and stable.
8. Connect and Rinse the System
- Open the feed water valve slowly and check for leaks.
- Turn on the faucet and let water flow to flush the system:
For new filters, flush 10–15 minutes until water runs clear.
For RO membranes, flush as instructed by the manufacturer to remove any preservatives. RO membranes may require 2–3 full tank flushes for proper startup.
- Check all connections again for leaks after flushing.
9. Final Checks and Maintenance Tips
- Inspect all tubing and fittings for leaks.
- Make sure the faucet flows smoothly and the storage tank fills.
- Schedule regular filter and membrane replacement per manufacturer instructions.
- Keep the area under the sink clean and accessible for maintenance.