
Why is your reverse osmosis faucet suddenly slow? Chances are, your RO tank has lost air pressure. Knowing how to pressurize reverse osmosis tank can solve this in just a few minutes and restore your system’s performance.
This guide explains easy steps for measuring current pressure, adding air correctly, and troubleshooting common errors. We’ll also recommend our modern RO systems with built-in pressure support for a hassle-free experience. Just keep reading~
What You Need to Know about RO Tank Pressure

Before we dive into the steps for adjusting your tank, it’s essential to understand what RO tank pressure actually is and why it matters.
What is tank pressure?
“Tank pressure” in a reverse osmosis system refers to the air pressure inside the RO storage tank that pushes water out to your faucet. Essentially, an RO tank has a bladder or diaphragm inside:
- Empty tank: Pre-charged with air at a certain pressure, usually 5–7 psi for residential tanks.
- Water enters: As purified water fills the tank, the air compresses. This compression creates pressure.
- Dispensing water: When you open the faucet, the stored water is pushed out by the compressed air, ensuring steady flow.
Pre-charged Air vs. Water Volume
An empty tank contains air pre-charged at 5–7 psi. As water enters, the air compresses, creating pressure to dispense water when the faucet opens.
Impact on Flow
- Too little pressure → slow or inconsistent water flow.
- Too much pressure → tank may not fill fully, reducing system efficiency.
Recommended Range
Most residential RO tanks should maintain 5–7 psi when empty.
Takeaway: Correct tank pressure ensures smooth water delivery, protects filters, and prolongs system life.
Signs You Need to Adjust Your RO Tank Pressure
Even if your tank looks fine, subtle signs can indicate pressure issues that affect water flow and overall performance.
- Slow or inconsistent water flow from the faucet
- Tank never fully refills after use
- Strong gurgling or unusual noises from the tank
- Faucet drips or sputters despite filter replacement
- Excessive water waste due to improper filling
Tools Needed for Pressurizing Your RO Tank
To properly adjust your RO tank pressure, gather a few essential tools. These help you measure and modify the pre-charged air in the tank efficiently.

Essential Tools:
- Pressure Gauge: Measures the current air pressure in the tank.
- Air Pump or Bicycle Pump: Adds air to the tank’s pre-charged bladder.
- Towel or Cloth: Catches any water drips when disconnecting the tank.
- Bucket or Tray: Optional, for placing the tank during pressurization.
- Gloves (Optional): Keeps hands dry.
Step-by-Step Guide to Pressurize Your RO Tank

Adjusting your reverse osmosis tank pressure is straightforward if you follow these steps carefully. Proper tank pressure ensures optimal water flow and system performance, so let’s walk through the process.
Step 1: Turn Off the Water Supply
Locate the main water valve feeding your RO system and close it. This prevents leaks and keeps the system safe during the adjustment.
Step 2: Disconnect the RO Tank
Carefully unscrew the tank from the system’s tubing. Place it on a stable surface to avoid tipping or spilling water.
Step 3: Measure the Current Pressure
Use a standard air pressure gauge to check the existing air charge in the tank. Most pre-pressurized RO tanks should read 5–7 psi when empty. If water fills the tank partially, the reading may be lower, indicating the need for adjustment.
Step 4: Add Air Using a Pump
Using a hand pump, bike pump, or air compressor, slowly add air into the tank’s air valve. Add in short bursts, checking pressure frequently to avoid over-pressurizing. The goal is to reach the manufacturer’s recommended empty-tank pressure.
Step 5: Reconnect and Test
Reattach the tank to the RO system and open the water supply. Monitor water flow from the faucet. If the flow is strong and consistent, your tank pressure is correctly set.
For a clearer guide, you can also refer to YouTube tutorial.
Common Mistakes to Avoid
1. Over-Pressurizing the Tank
Pumping air beyond the recommended 5–7 psi (empty tank) can damage the bladder or tank components.
2. Under-Pressurizing the Tank
Too little pressure reduces water flow and can cause the RO system to cycle inefficiently.
3. Ignoring Manufacturer Guidelines
Using incorrect tools or not following the specific instructions for your RO model may lead to leaks or system malfunction.
4. Skipping Pressure Checks Before Installation
Failing to verify the pre-charge before connecting to the system may result in poor performance or slow water output.
5. Neglecting Maintenance After Adjustment
Not monitoring pressure over time can allow it to drift, affecting water quality and output consistency.
6. Connecting Pump Incorrectly
Misaligning the air pump or forcing it onto the valve can damage the valve or prevent proper pressurization.
7. Using Contaminated Tools
Dirt or debris from unclean tools can enter the tank and compromise water quality.
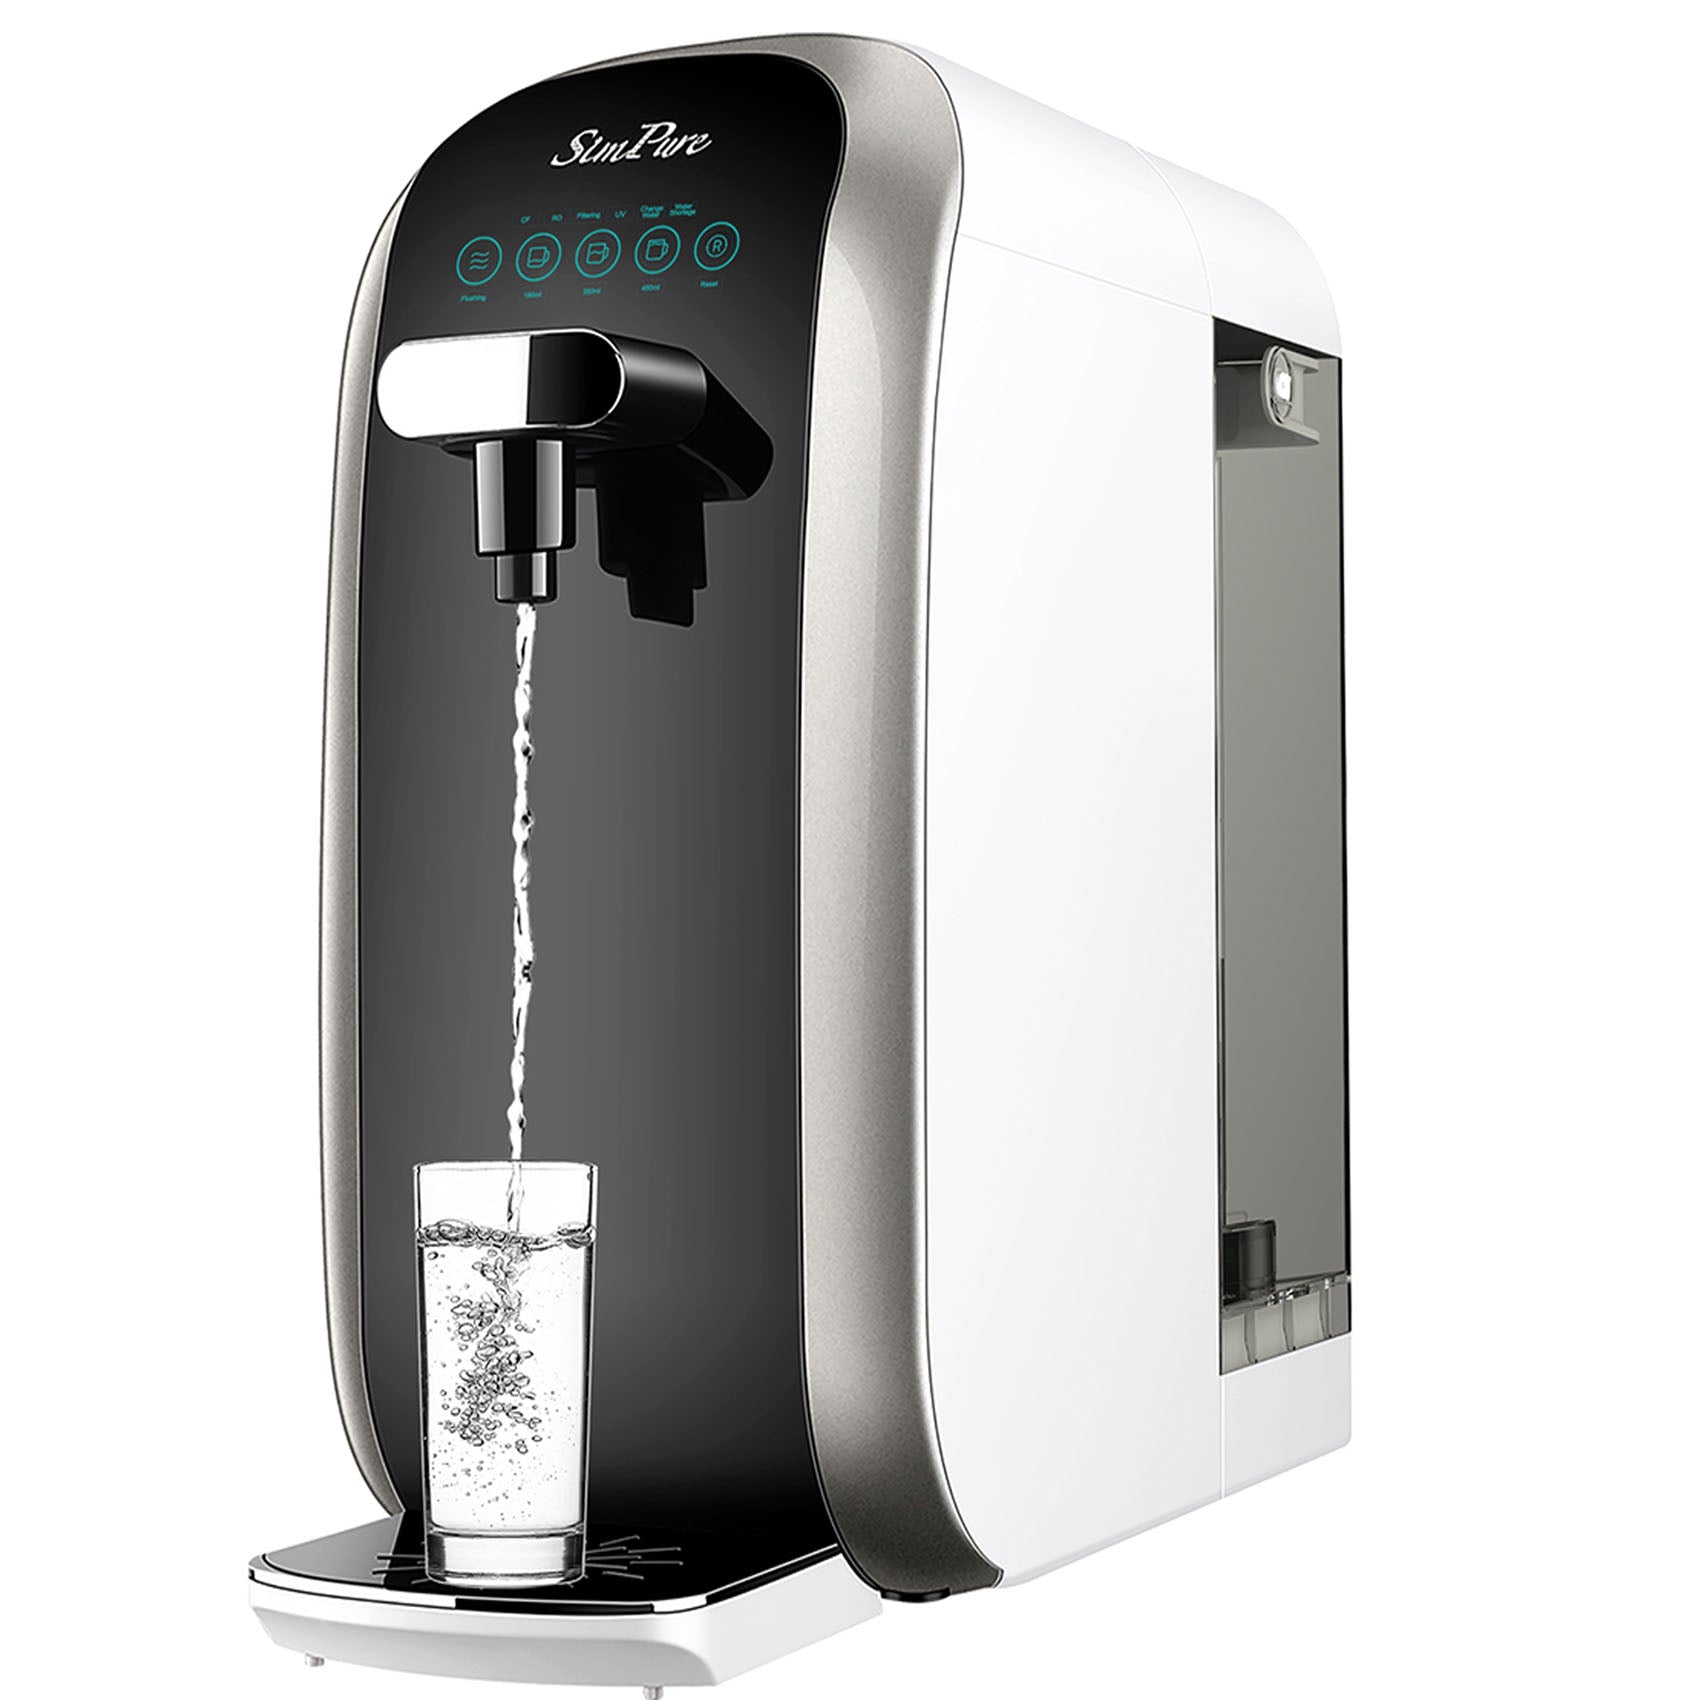
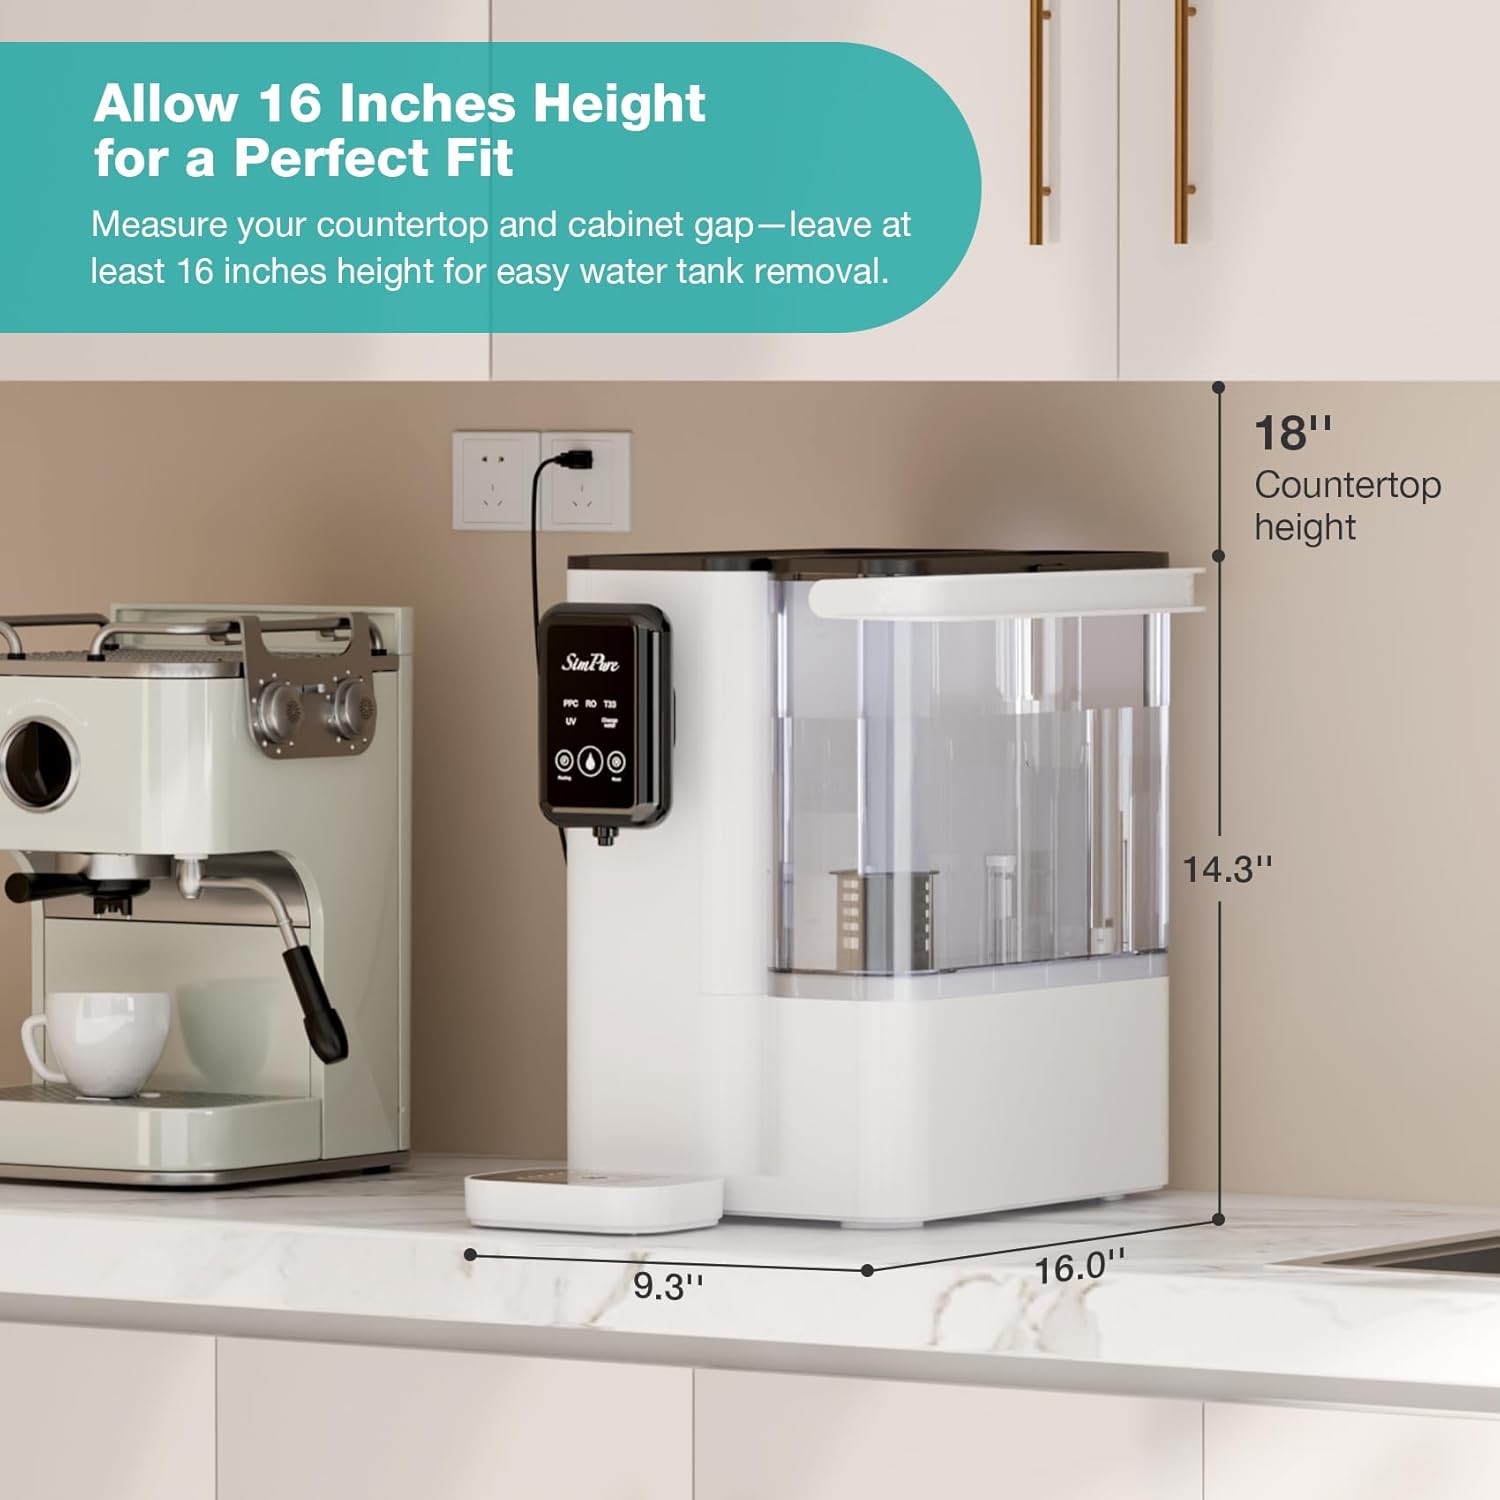
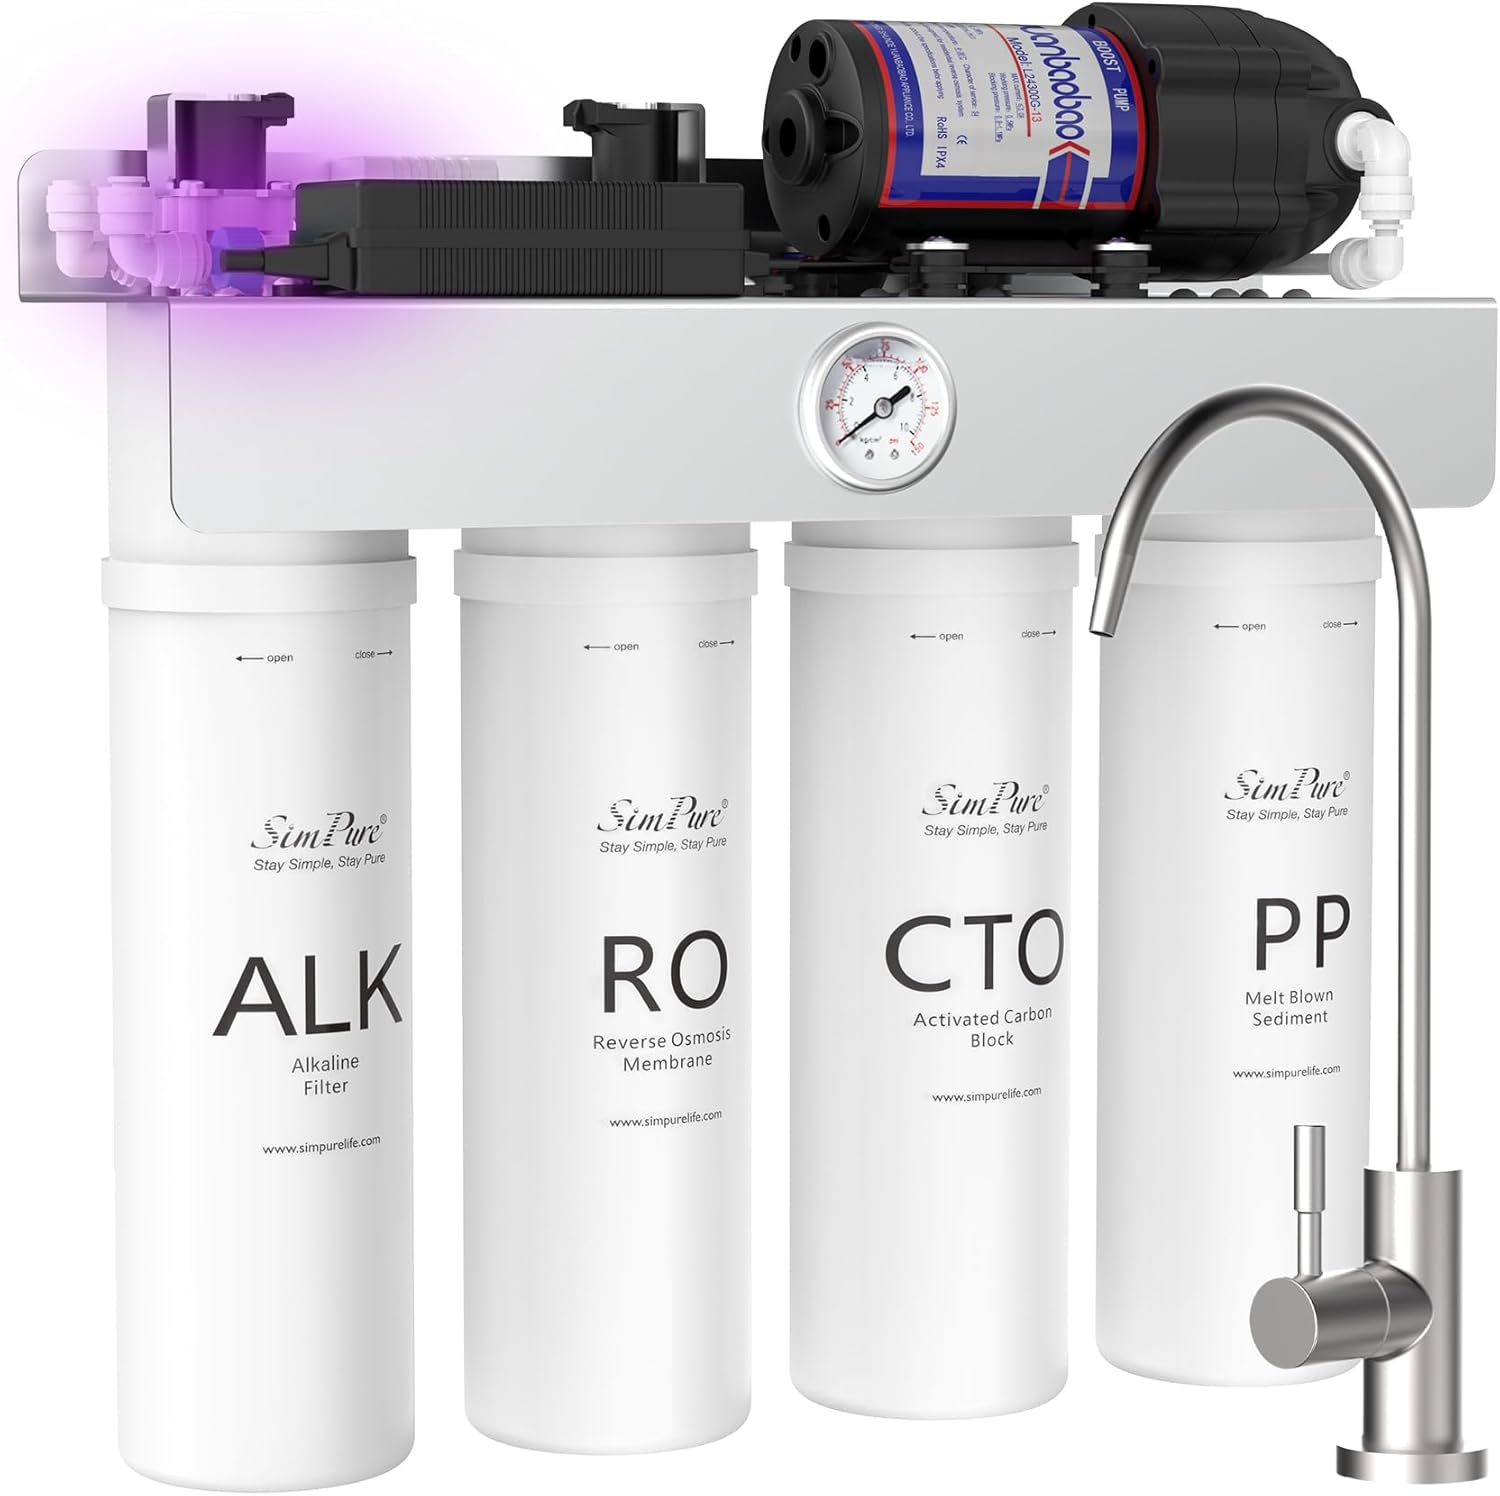
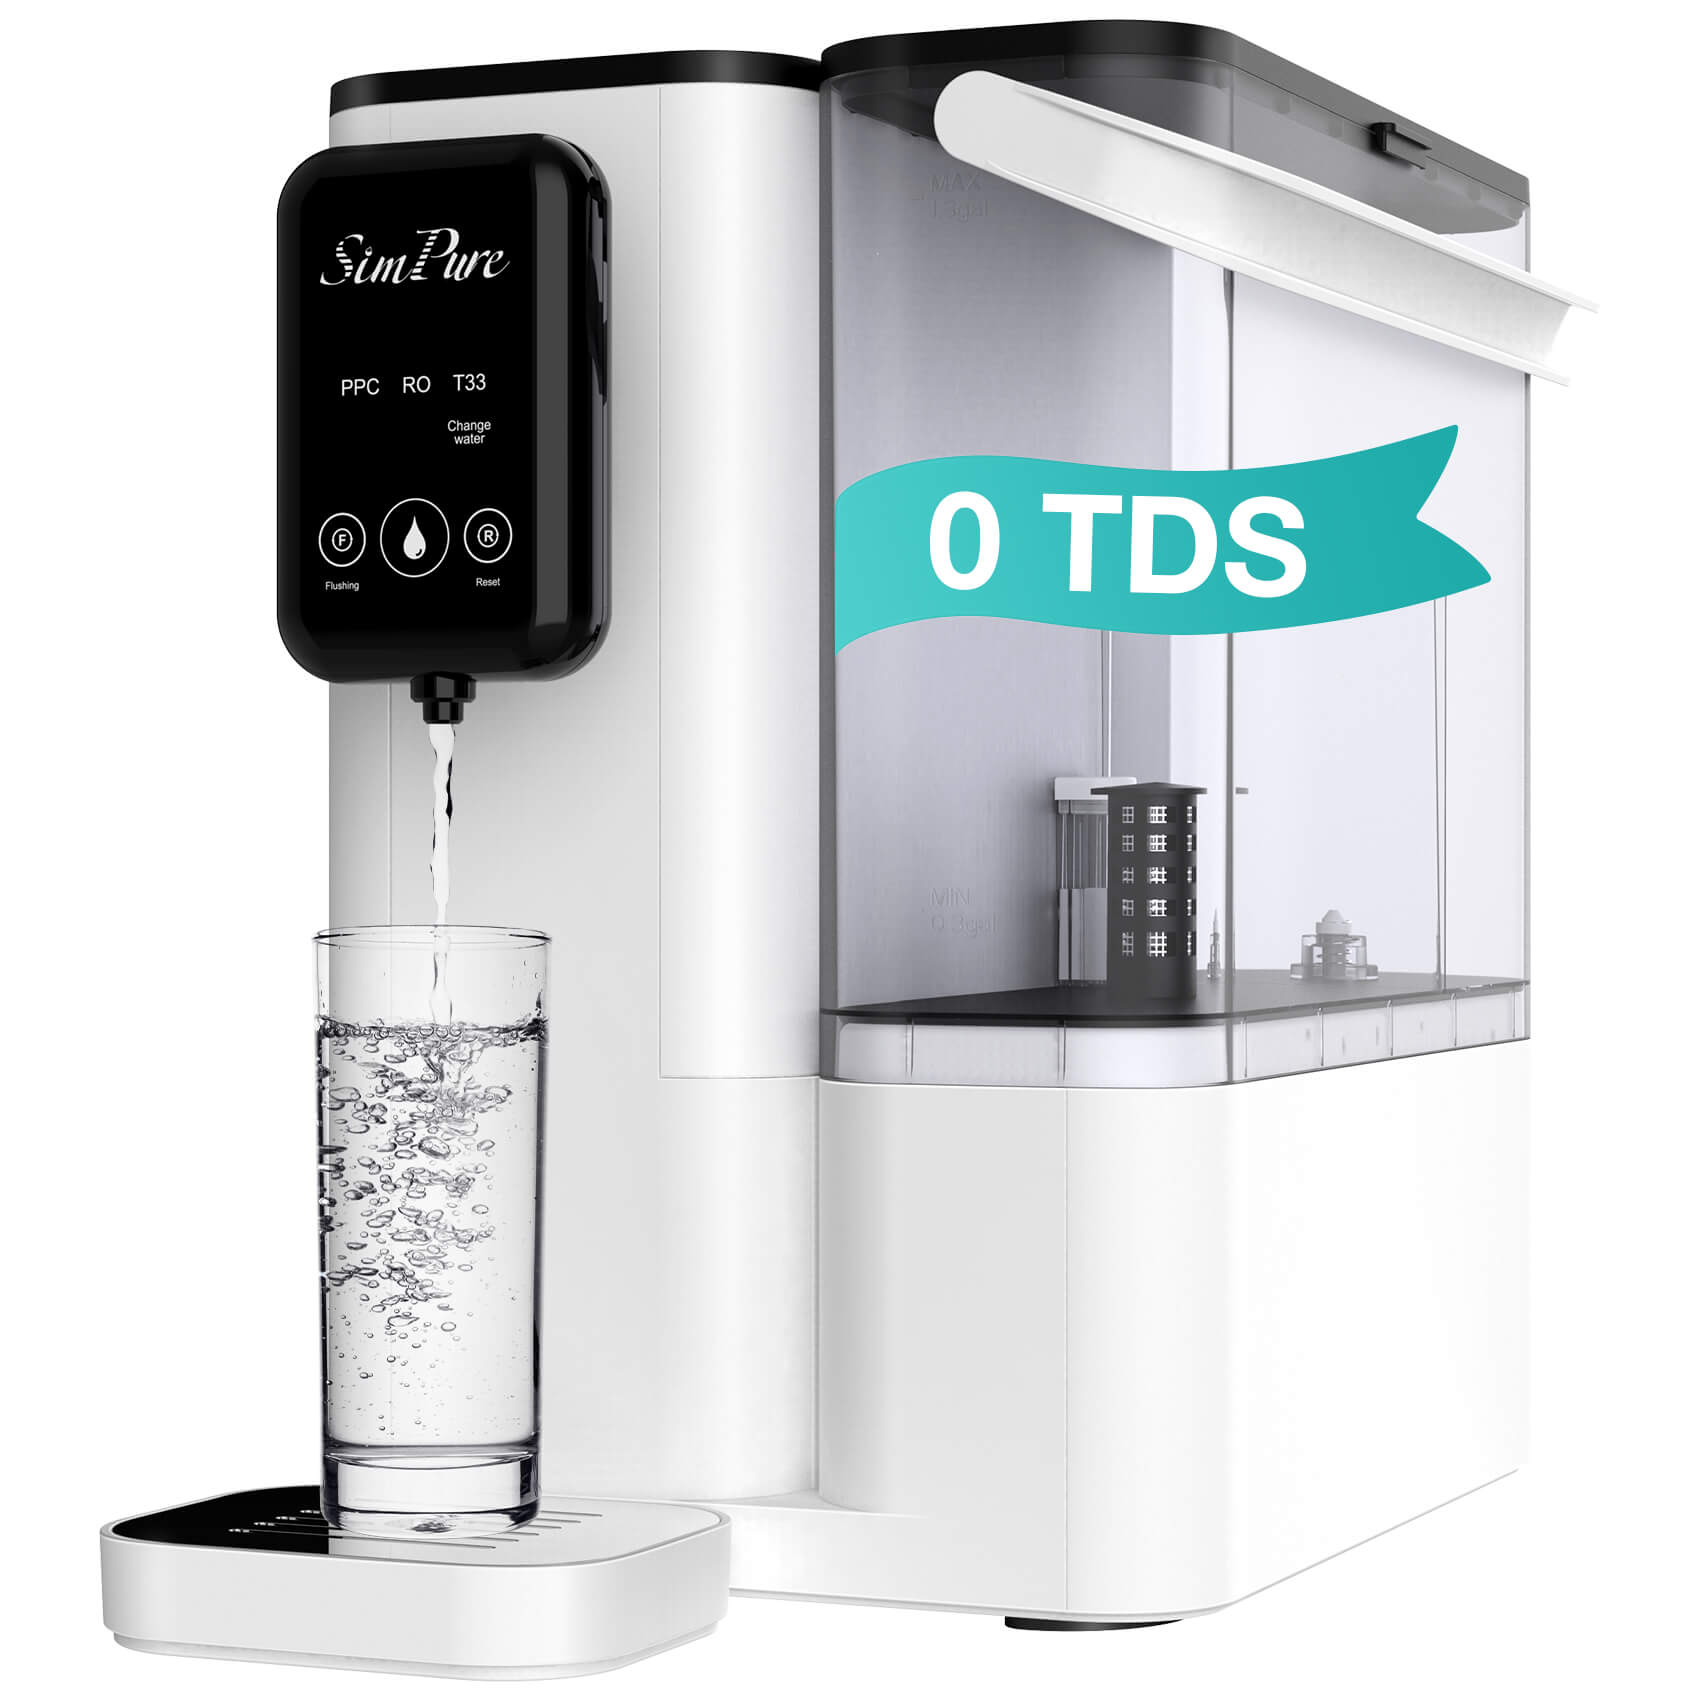
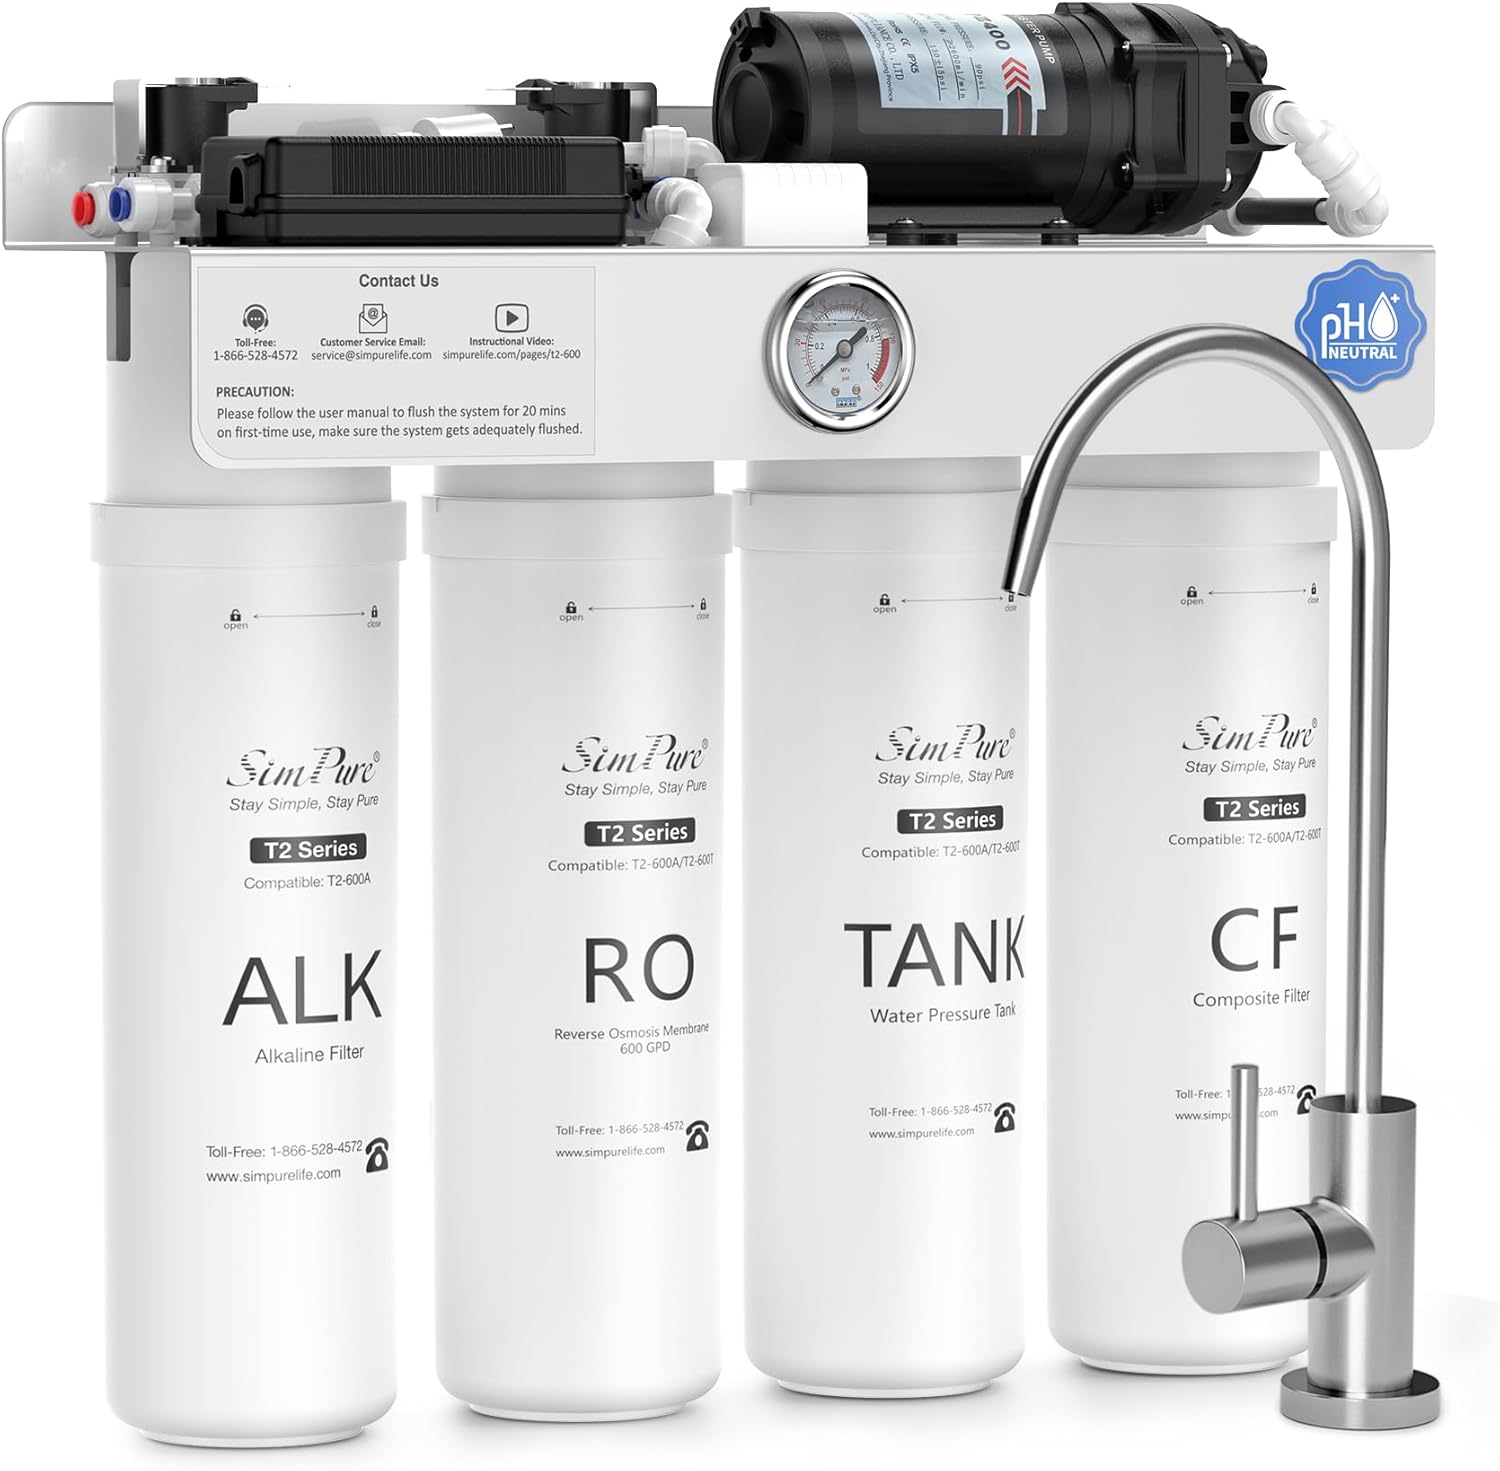
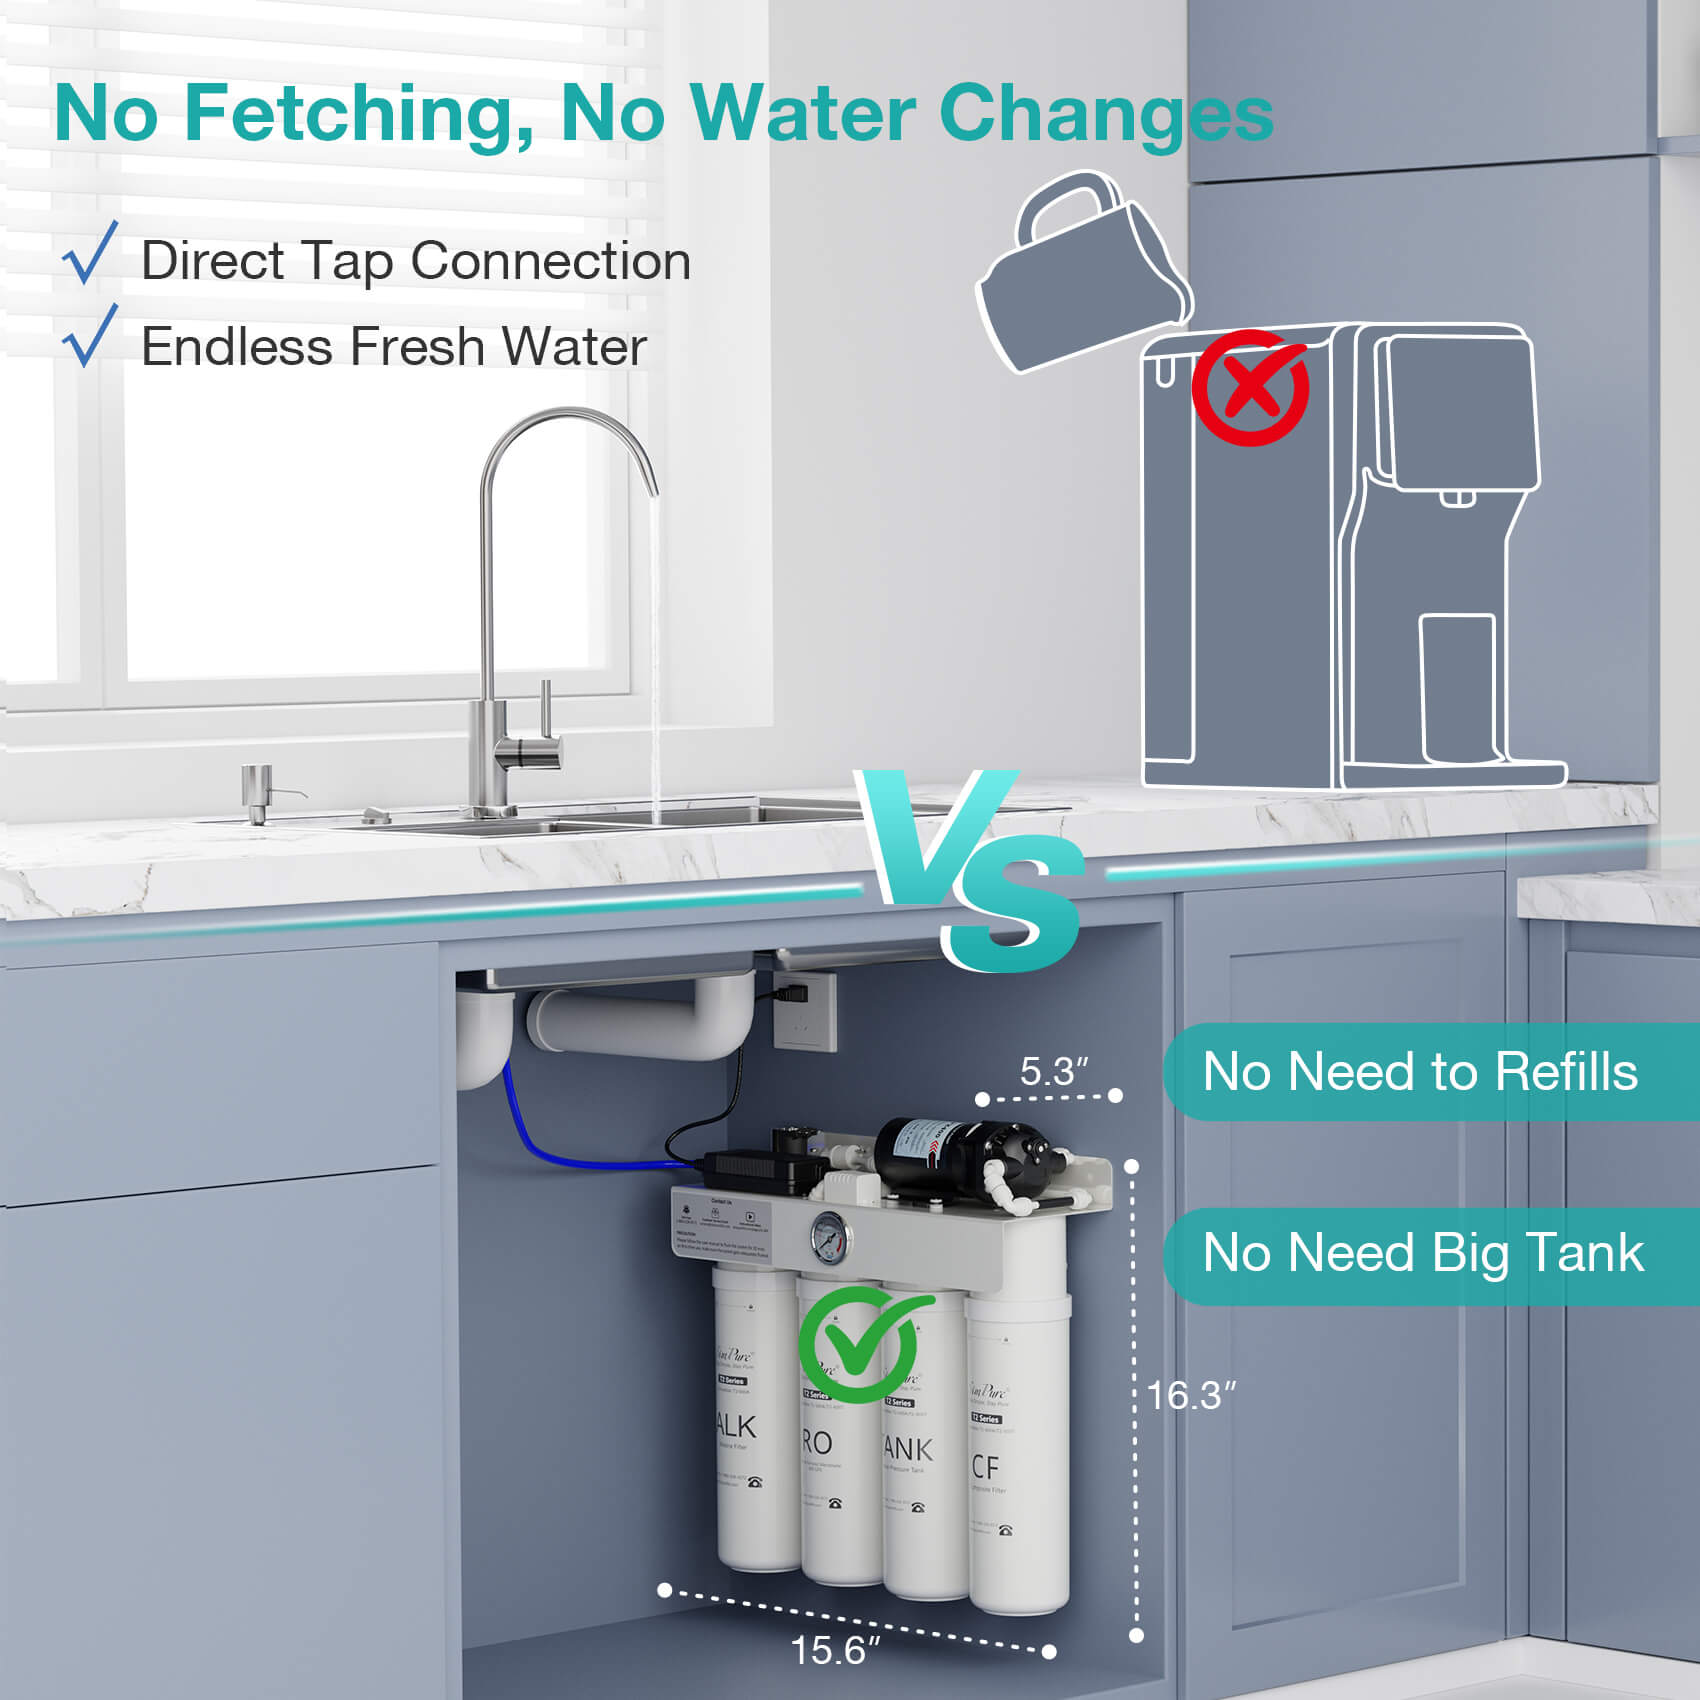
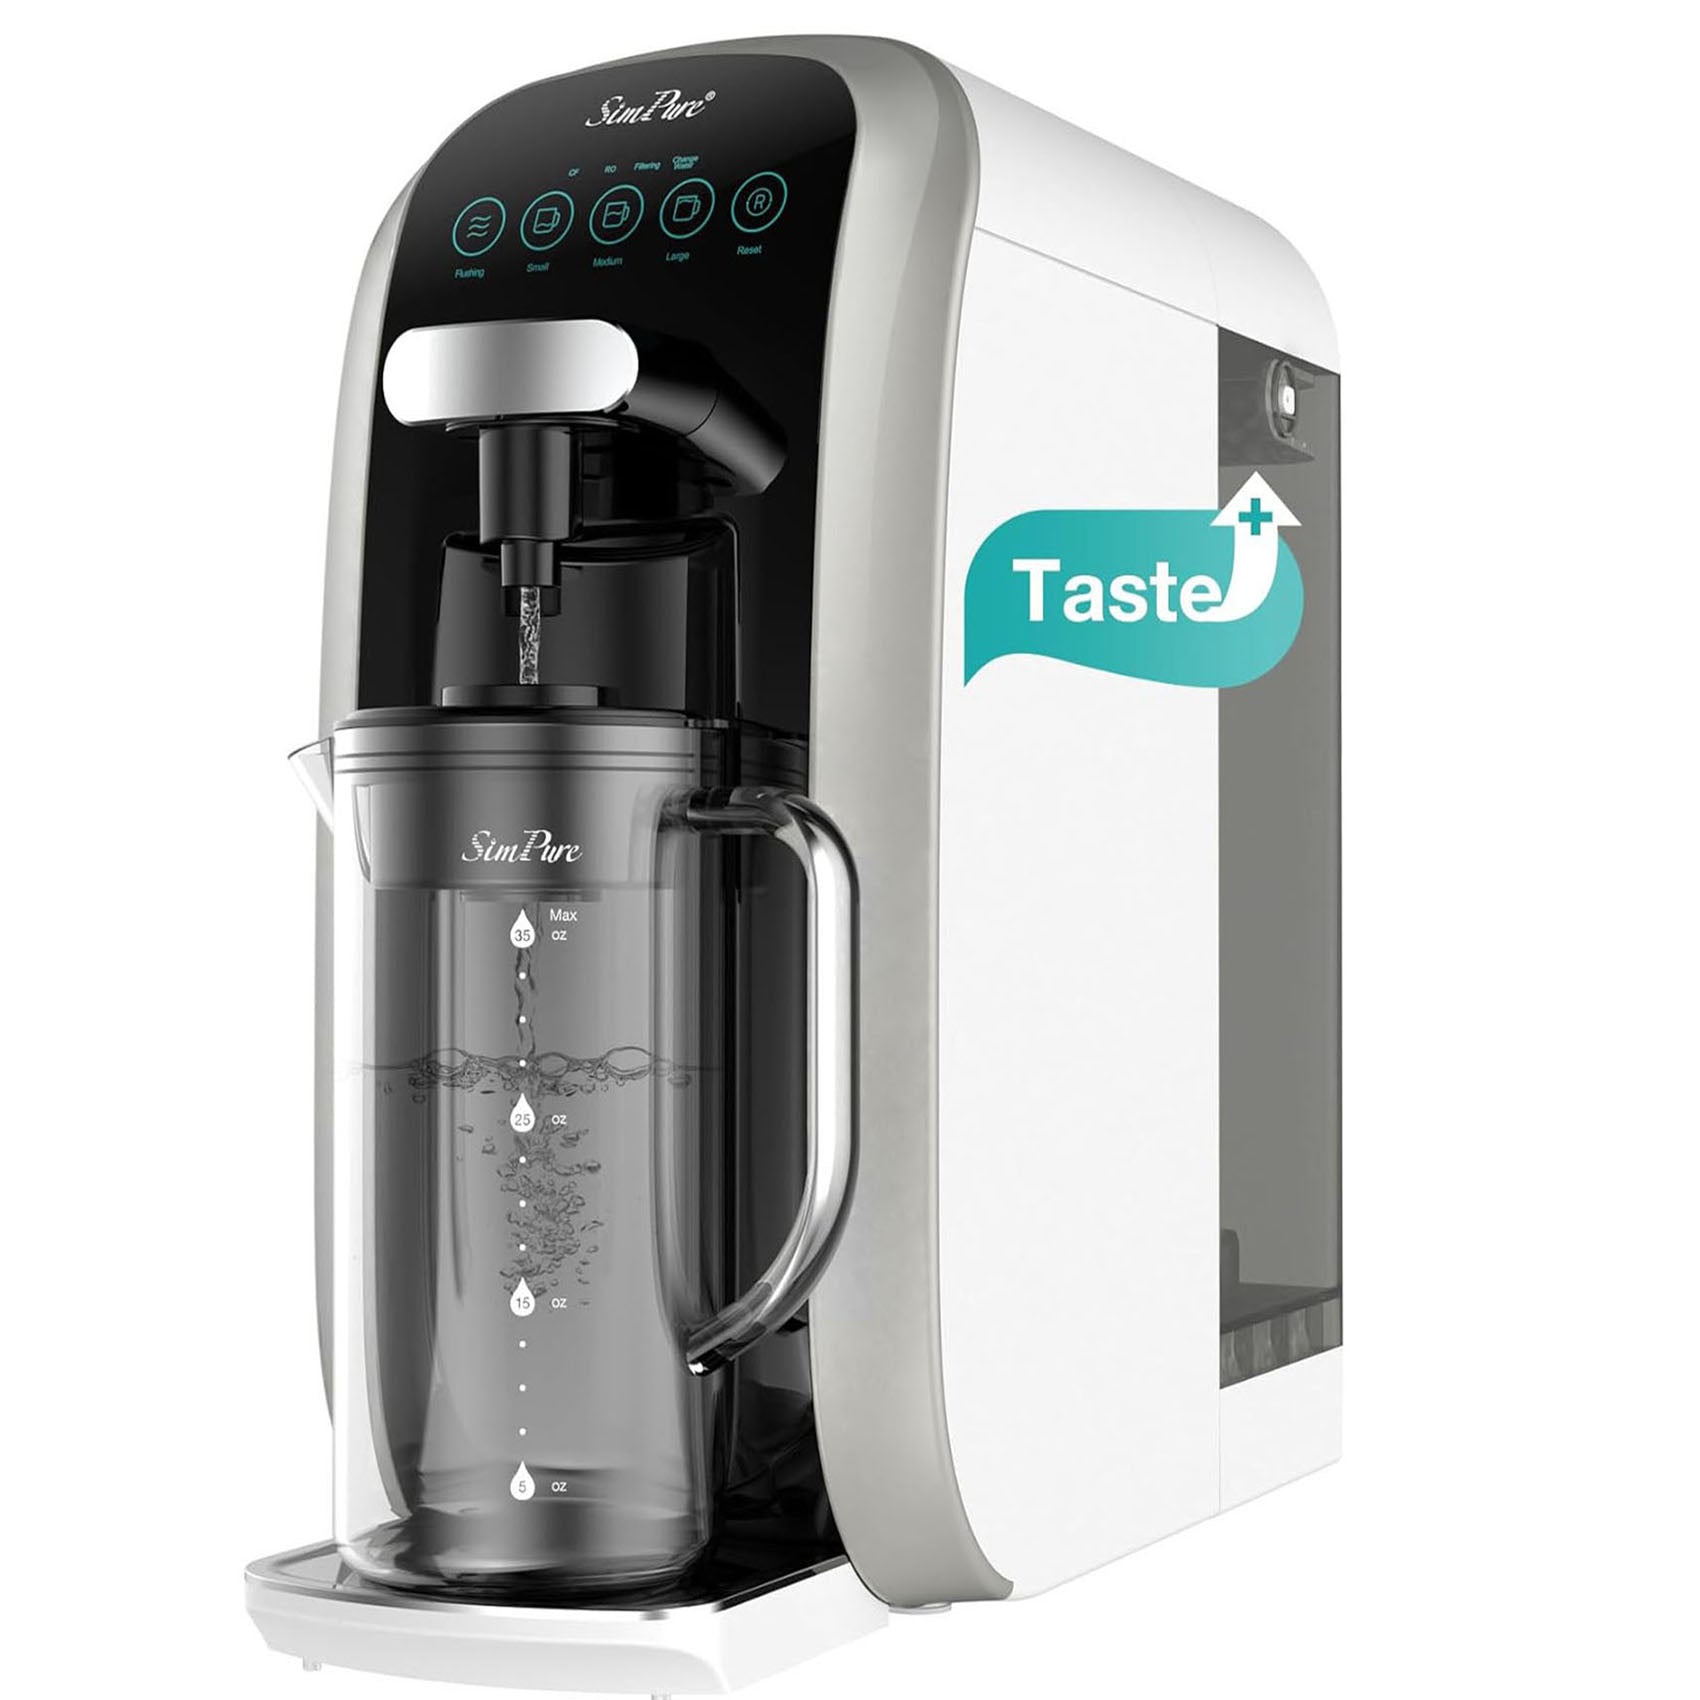
Bonus: SimPure T2-600 Series – Industry First Built-in Tank Filter Support


For those looking for a hassle-free RO experience, the SimPure T2-600 Series stands out as the industry’s first reverse osmosis system with a built-in pressure tank filter. Unlike traditional RO setups that require an external tank, this all-in-one design lets you connect directly to your fridge for instant access to fresh water and ice.
Key advantages include:
- Faster and stable water flow – The integrated tank ensures consistent pressure for reliable output.
- Space-saving design – No bulky external tank required, making it ideal for under-sink installation.
- Convenient maintenance – Built-in pressure support simplifies monitoring and adjustments, eliminating common RO tank issues.
With T2-600 Series, you get enhanced performance and simplicity, especially for households that want high-capacity, direct-to-fridge RO water without extra equipment.
This system is a perfect complement to the steps outlined above, as it minimizes the need for manual tank pressurization and reduces common mistakes when managing RO pressure.
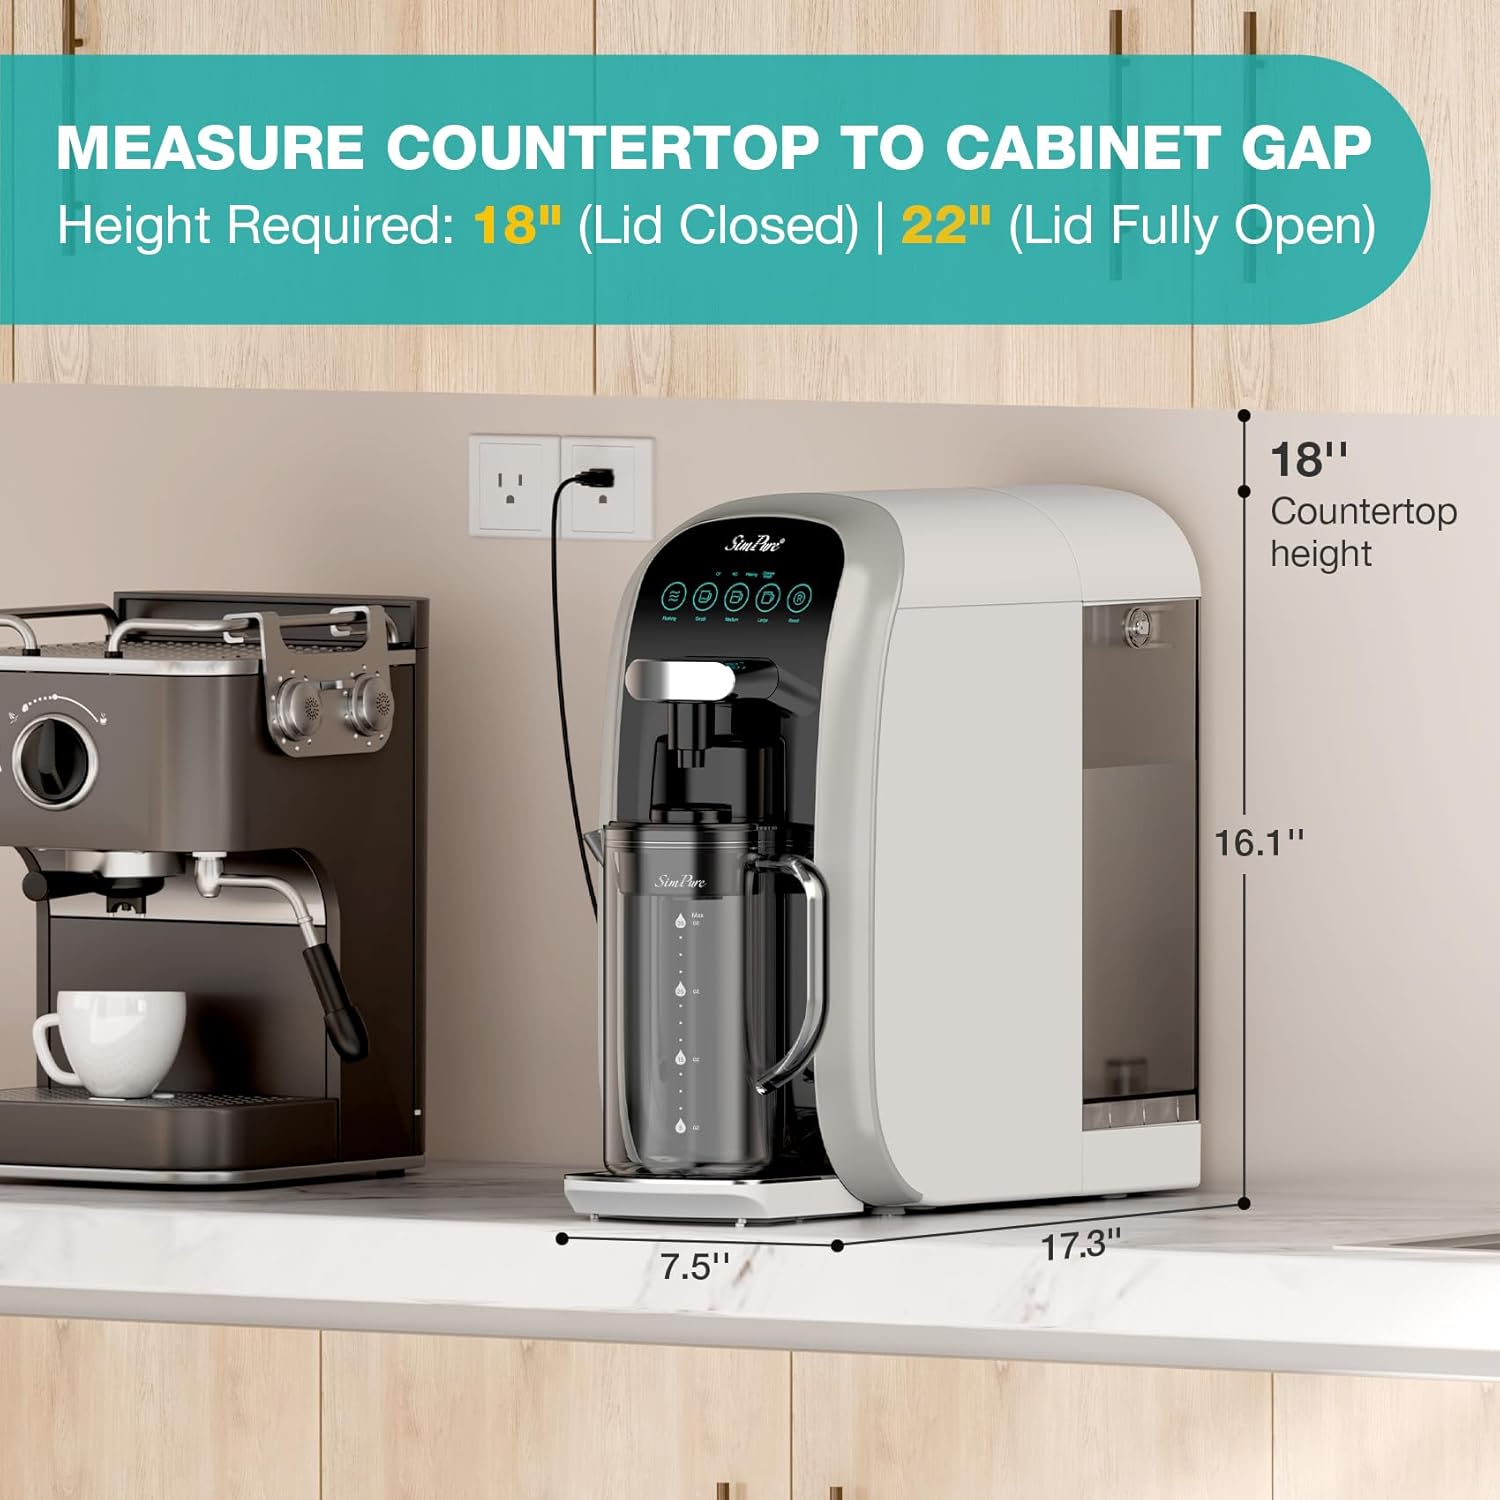
Also you can choose to buy the tankless RO system like our SimPure T1-400 series.

FAQ – How to Pressurize Reverse Osmosis Tank
Q1: Can I use a standard air pump to pressurize my RO tank?
A: Yes, ensure pump can accurately measure PSI. Avoid over-inflation.
Q2: How often should I check tank pressure?
A: Every 6–12 months or if you notice slow flow.
Q3: Can I over-pressurize my RO tank?
A: No, exceeding recommended psi may damage the bladder or system.
Q4: What if my tank bladder is damaged?
A: Replace the tank or consider SimPure T2-600 with built-in pressure support.
In conclusion, proper RO tank pressure ensures fast, consistent water flow and optimal system performance. Avoid common mistakes and follow the steps above for easy adjustment. Just upgrade to the SimPure T2-600 Series for built-in tank support and hassle-free, direct-to-fridge RO water!