Installing a reverse osmosis drinking water system might sound intimidating at first, but once you understand the parts and steps, it’s actually pretty straightforward. Many people wonder, “Can I install a reverse osmosis system myself?” The short answer is yes—you likely can, if you’re comfortable using basic tools. This post will guide you through the process, highlight common mistakes to avoid, and help you figure out whether it’s worth hiring a plumber instead. By the end, you’ll know exactly what’s involved, how long it takes, and what kind of budget to expect.
Types of Reverse Osmosis Systems

Before we dive into the installation steps, it helps to know the different types of reverse osmosis systems. The setup can vary depending on whether you’re working with an under-sink, countertop, or larger system, so let’s quickly look at the main options.
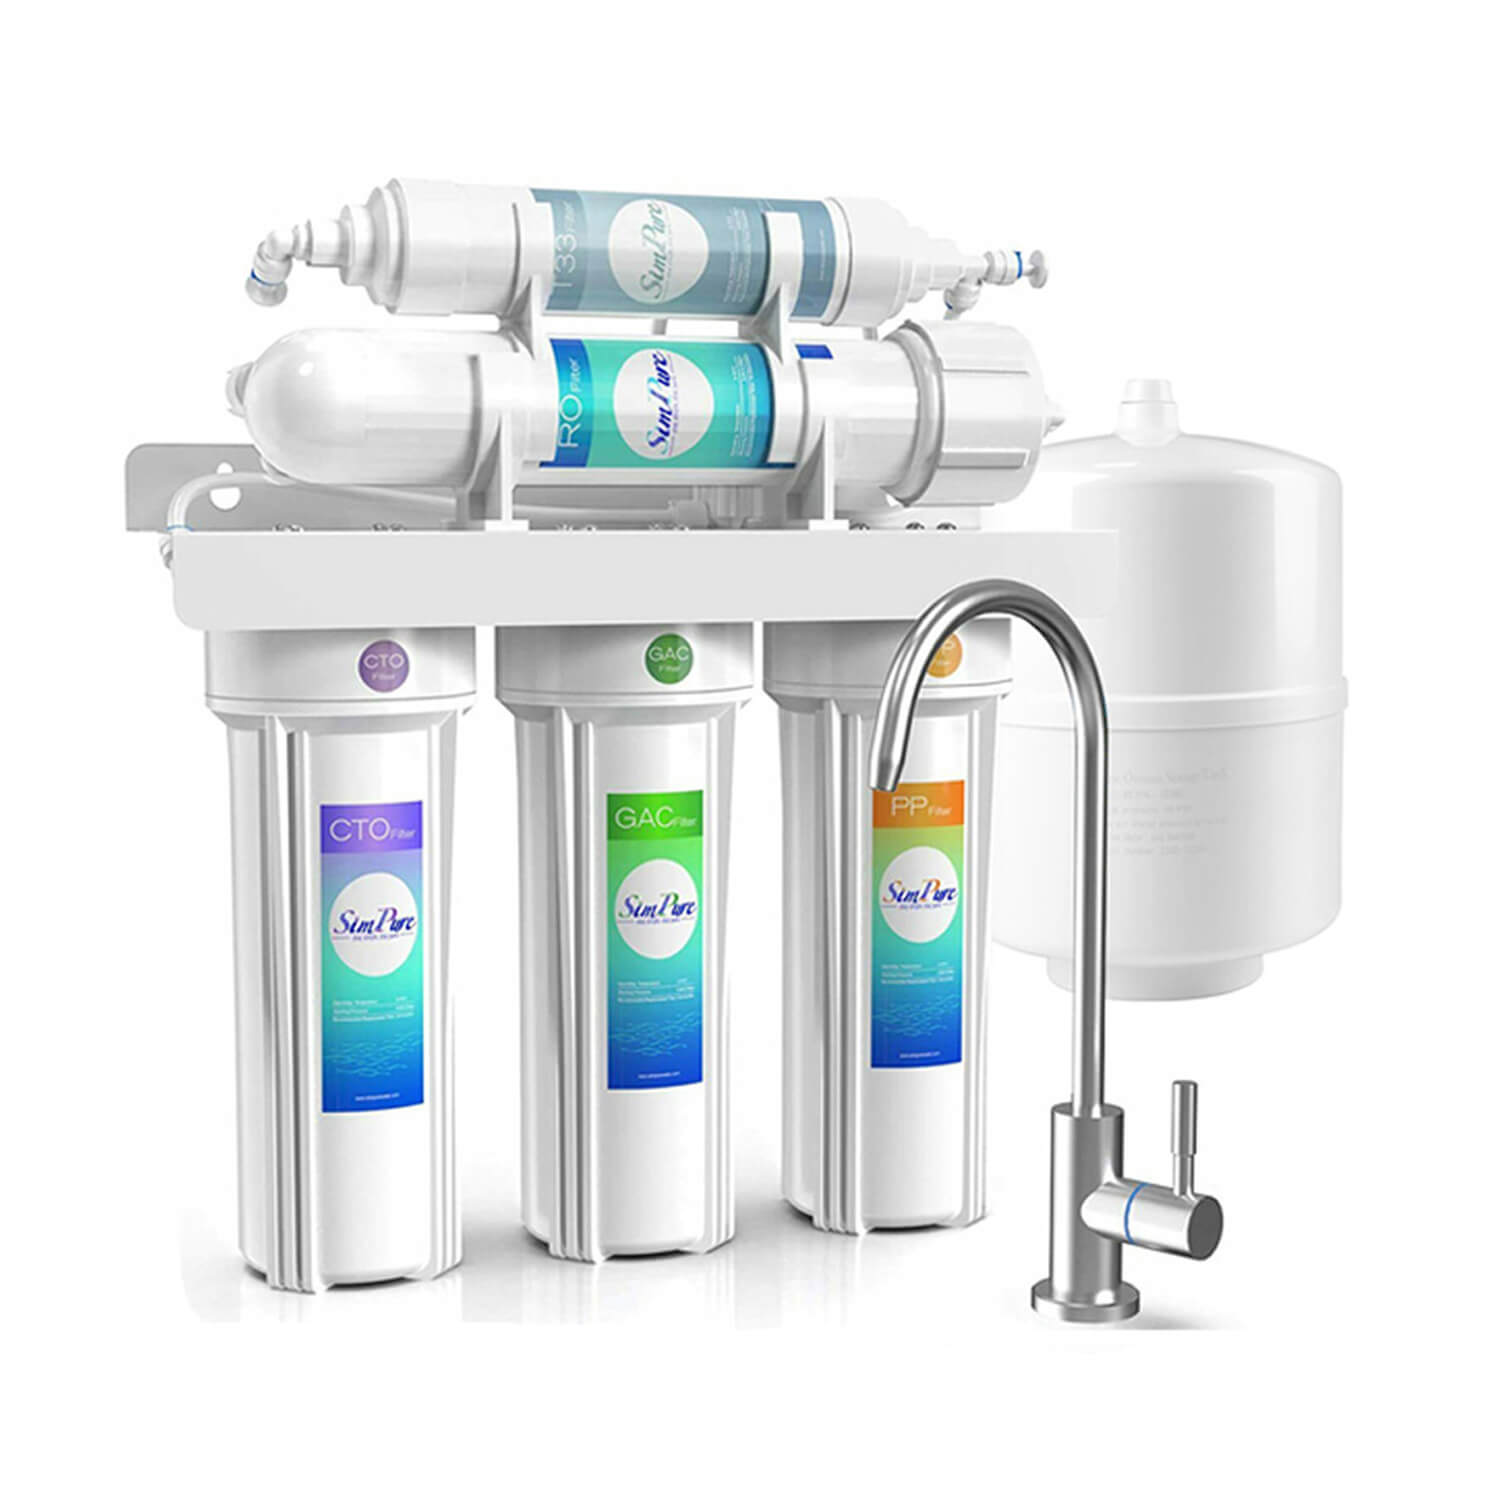
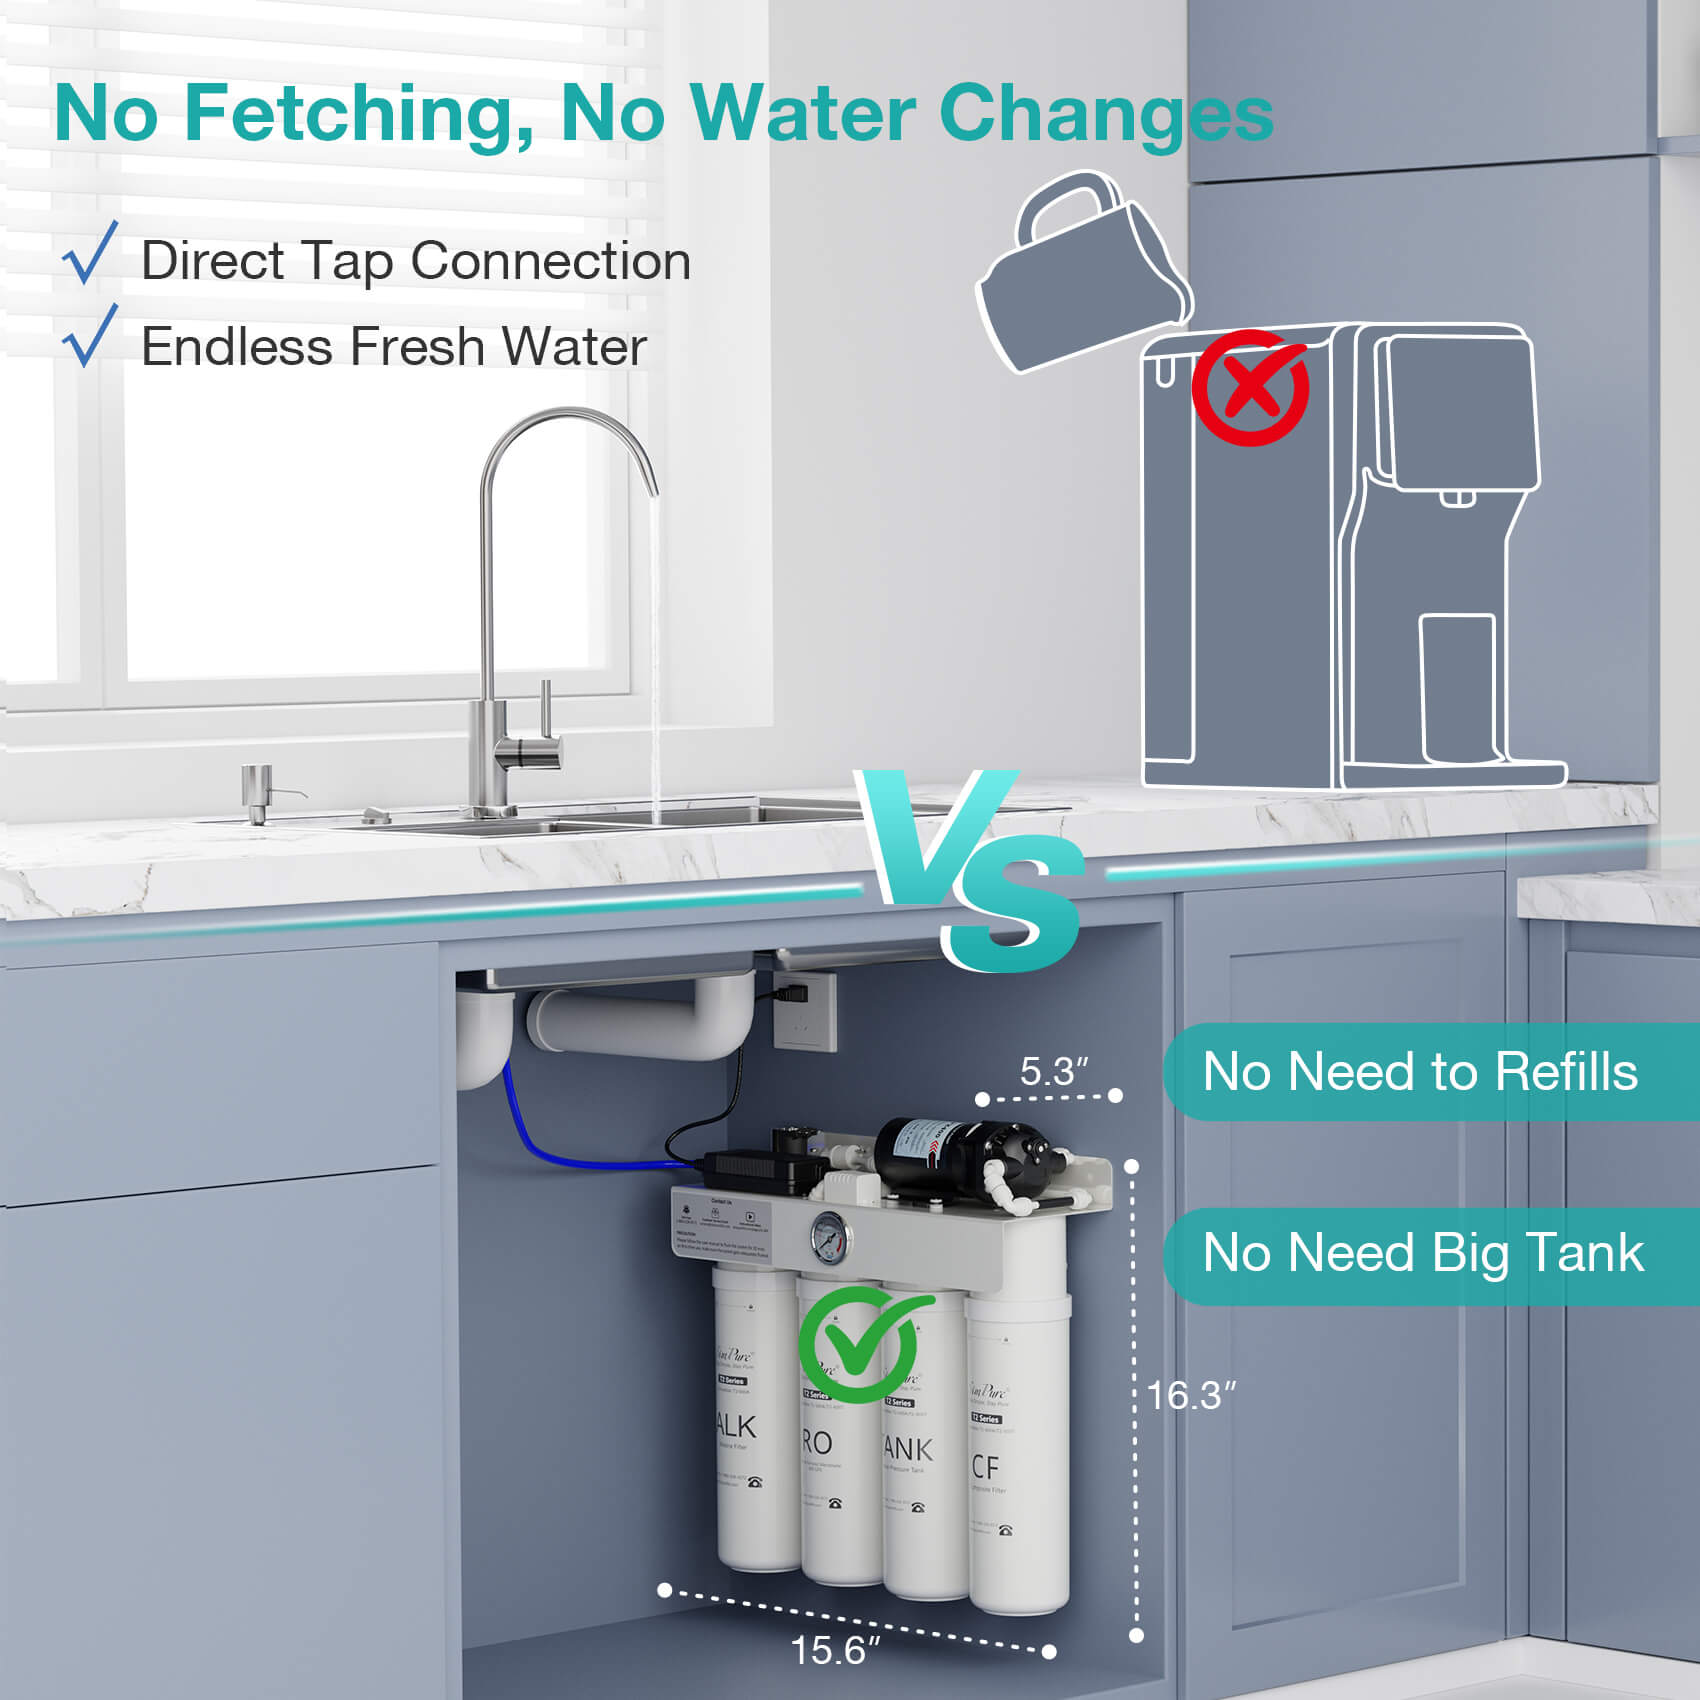
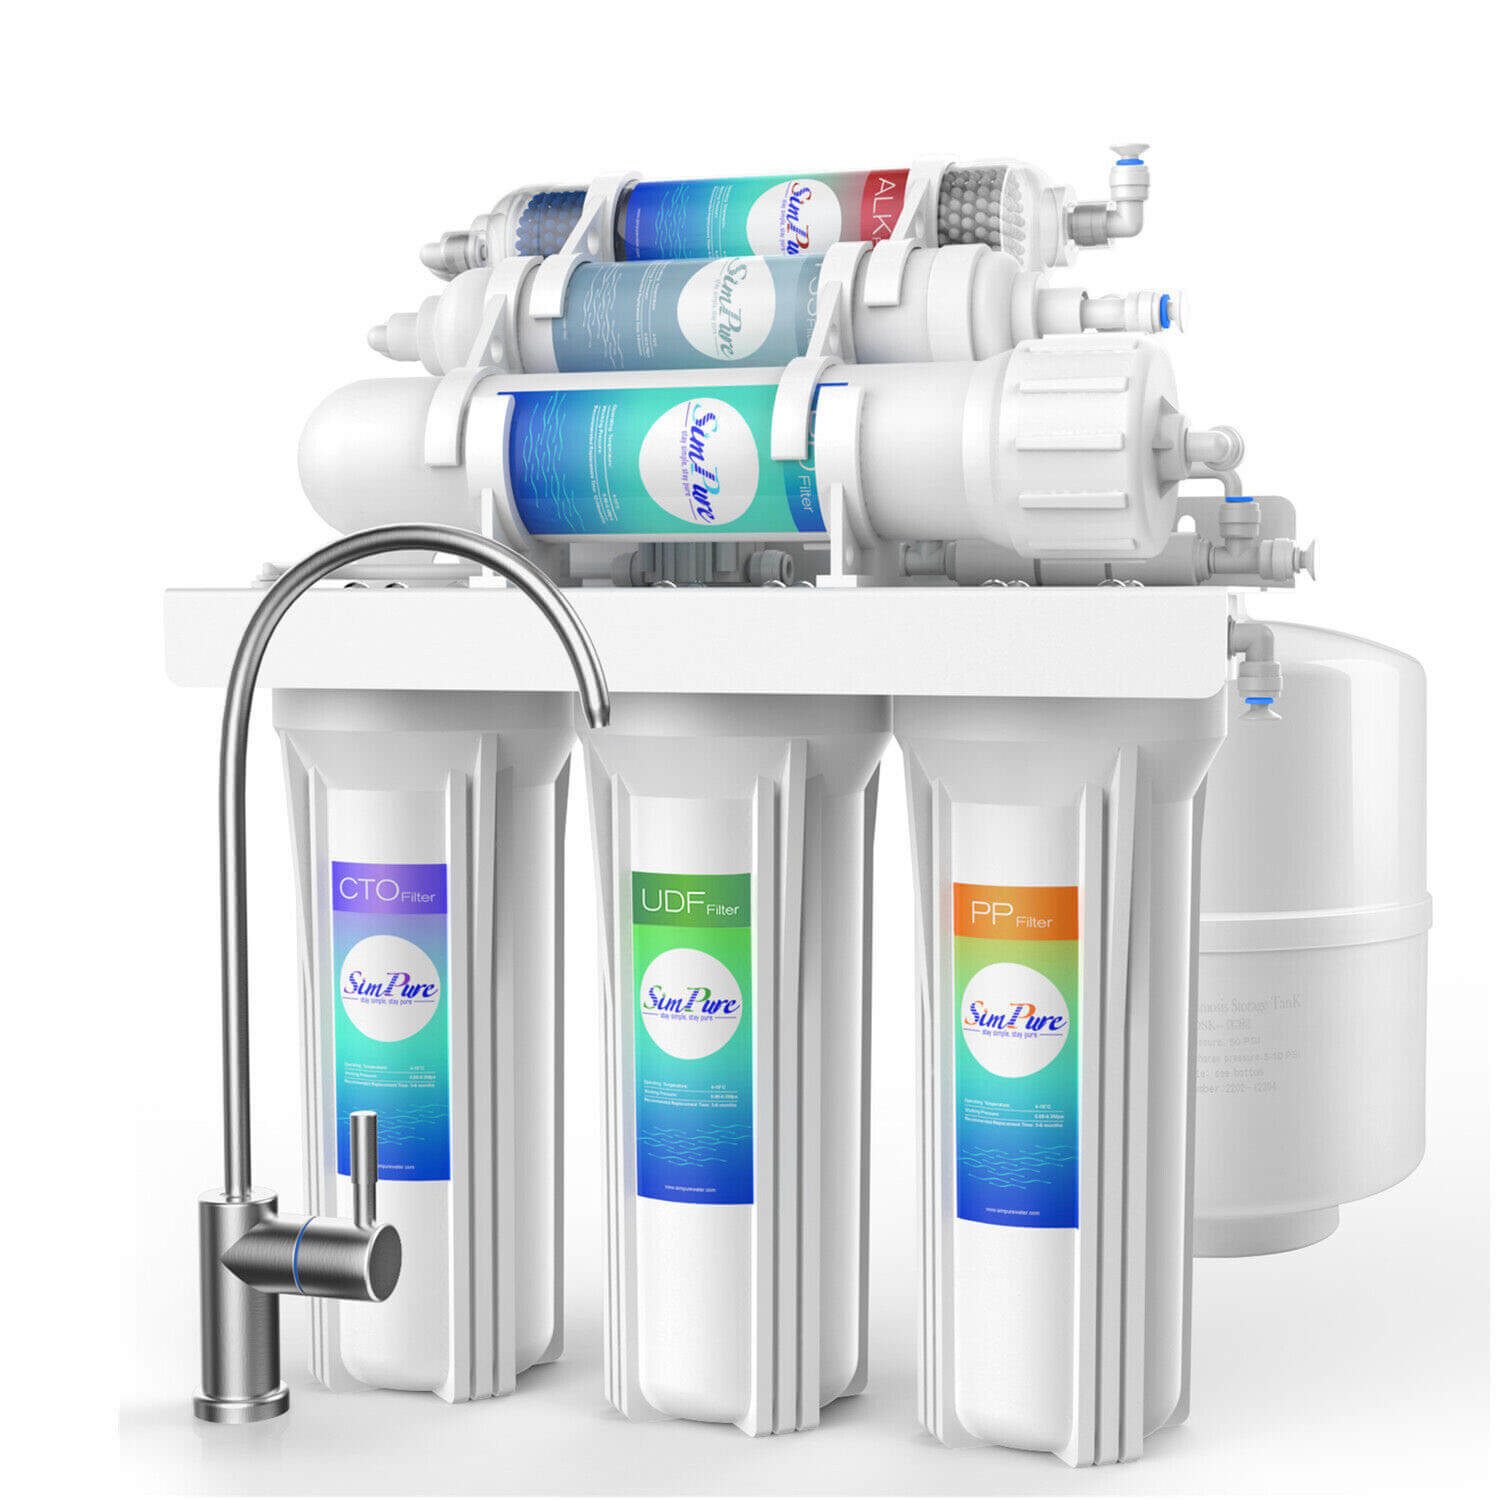
- Under-Sink RO Systems – The most common choice for households, installed beneath the kitchen sink with a dedicated faucet for filtered water.
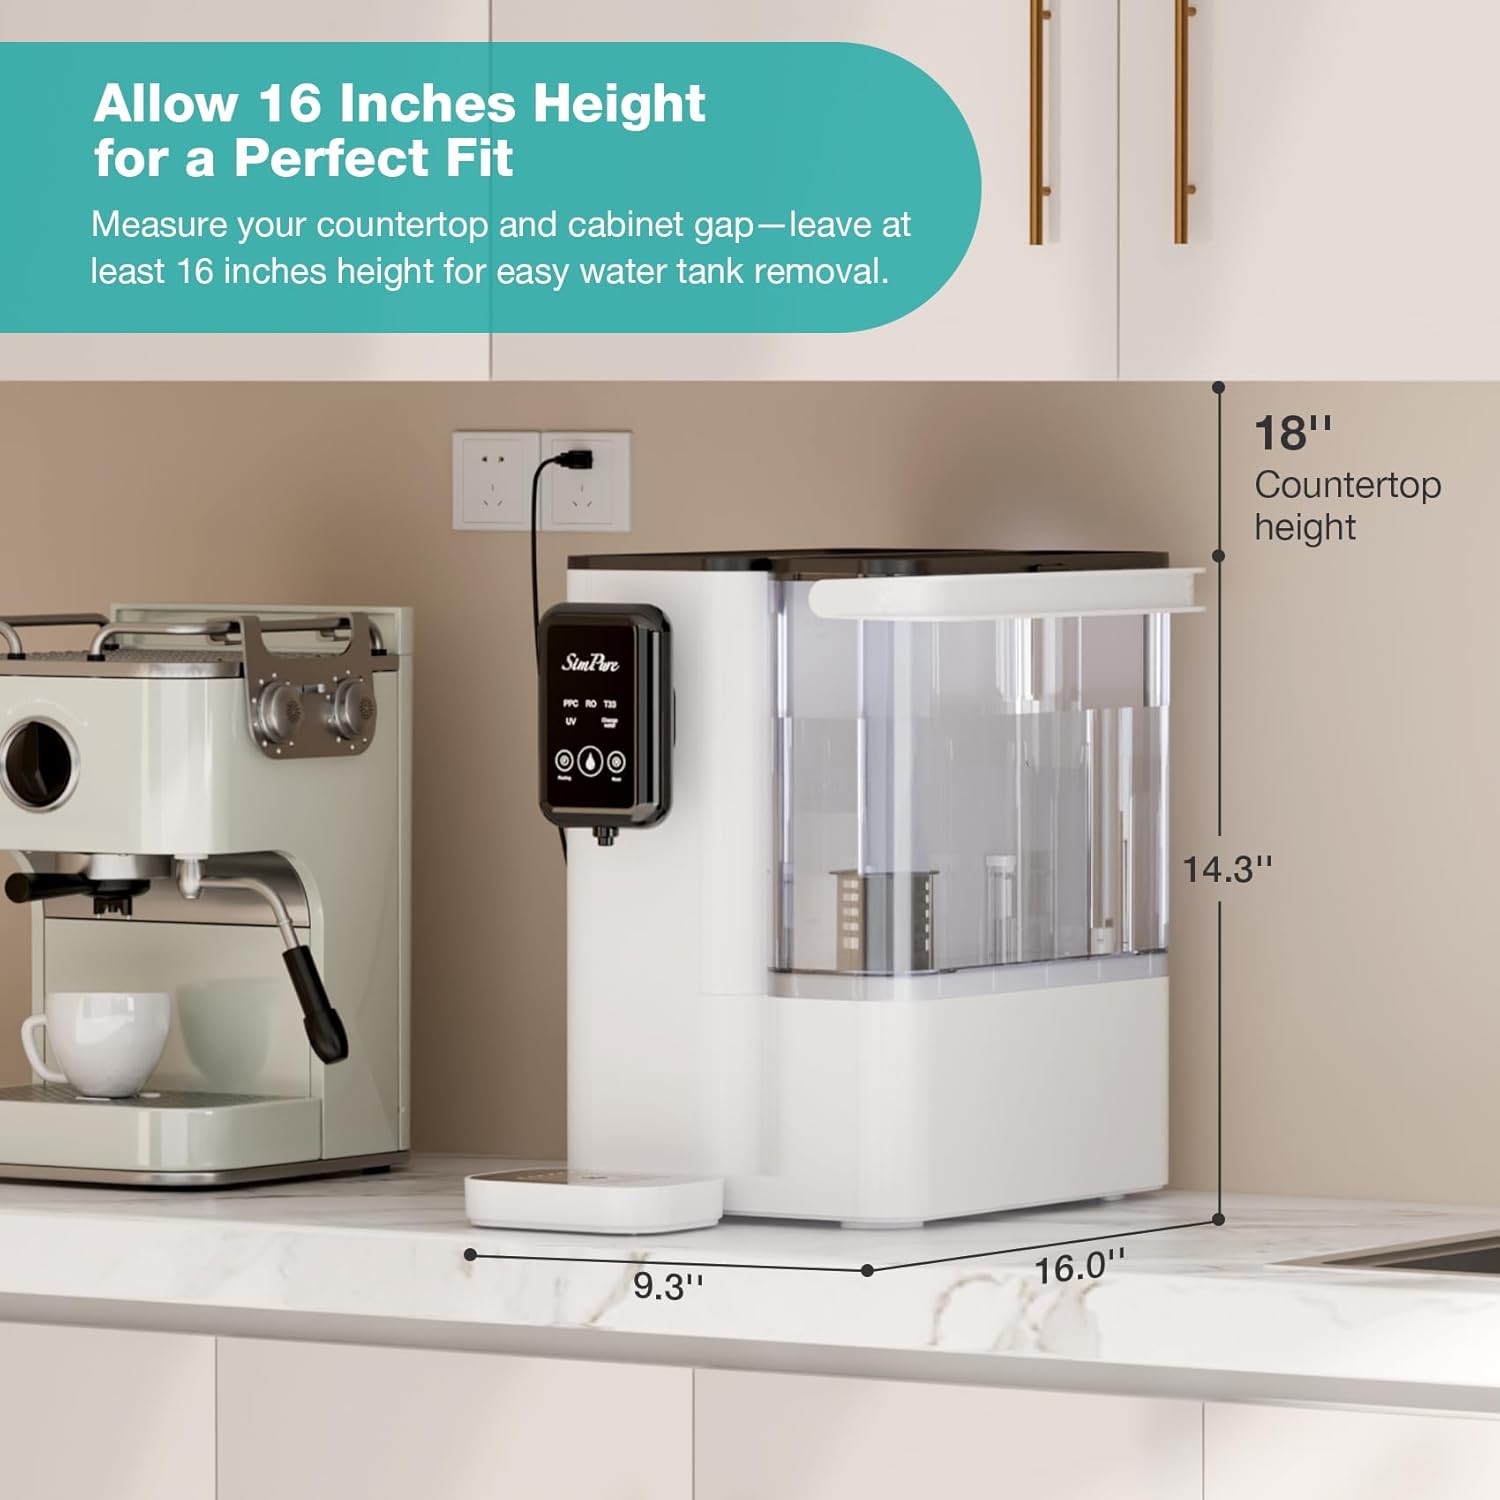
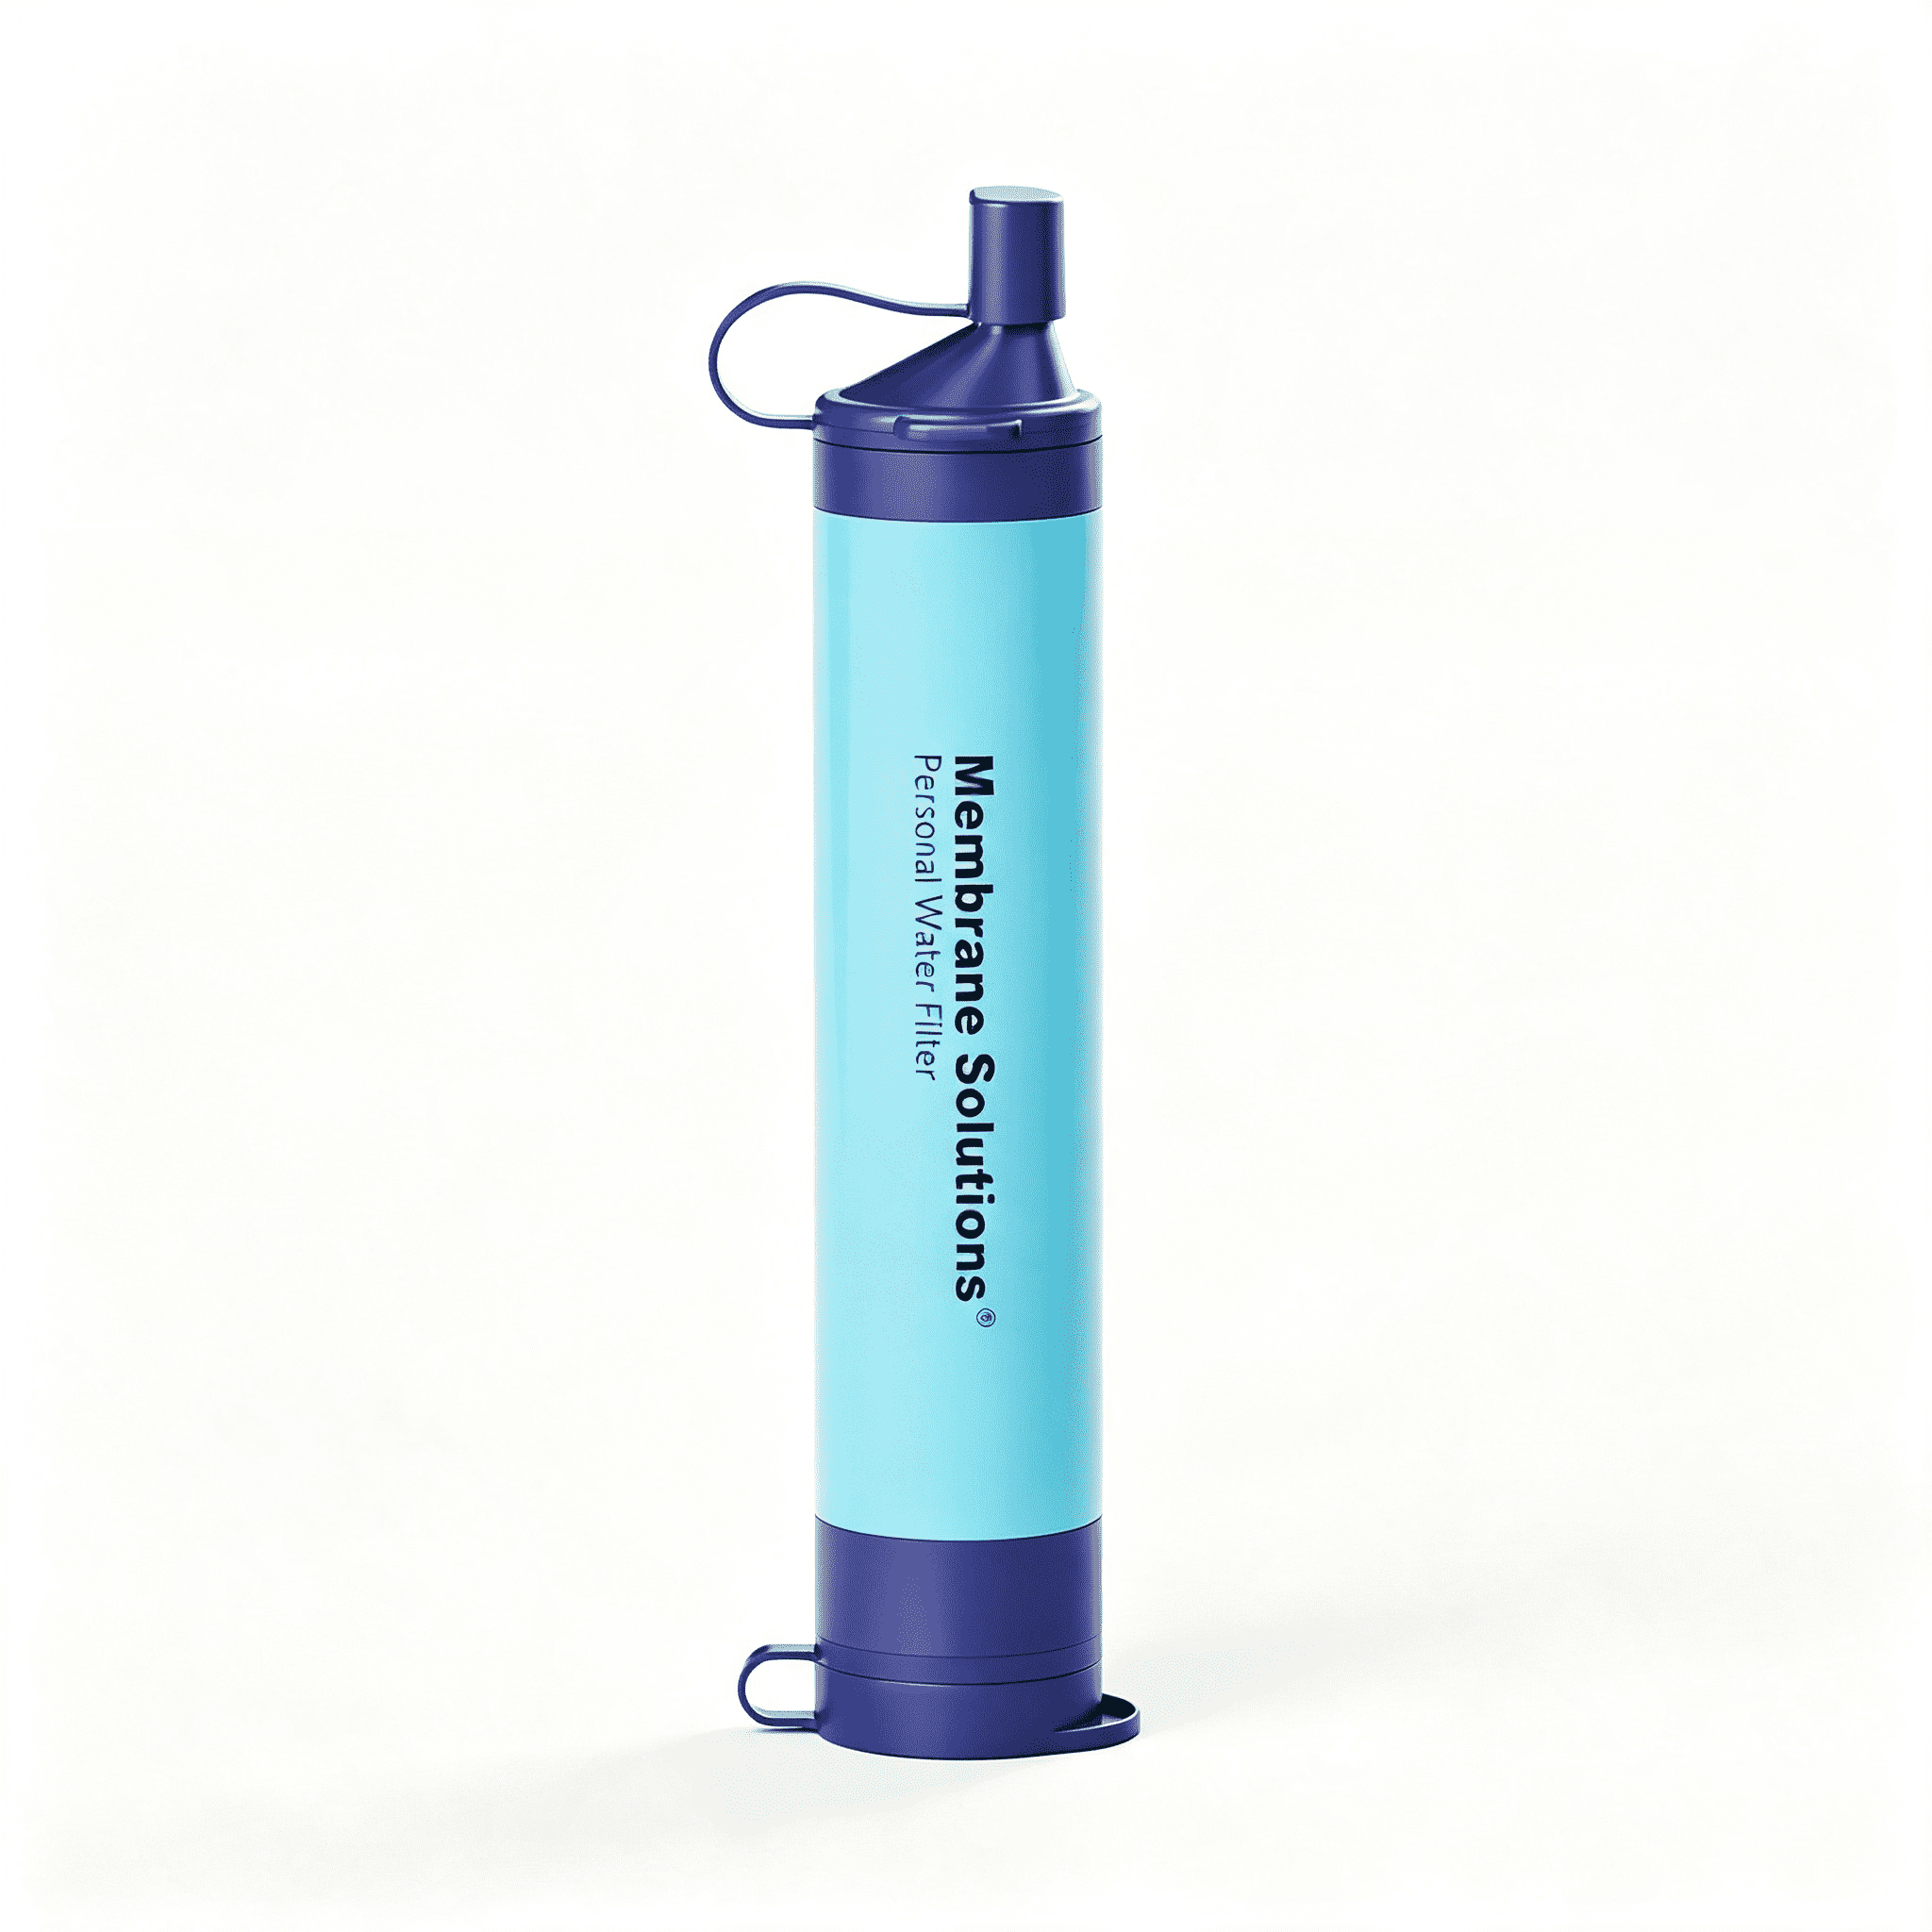
- Countertop RO Systems – Compact units placed on the counter, easy to set up without major plumbing work, great for apartments or rentals.
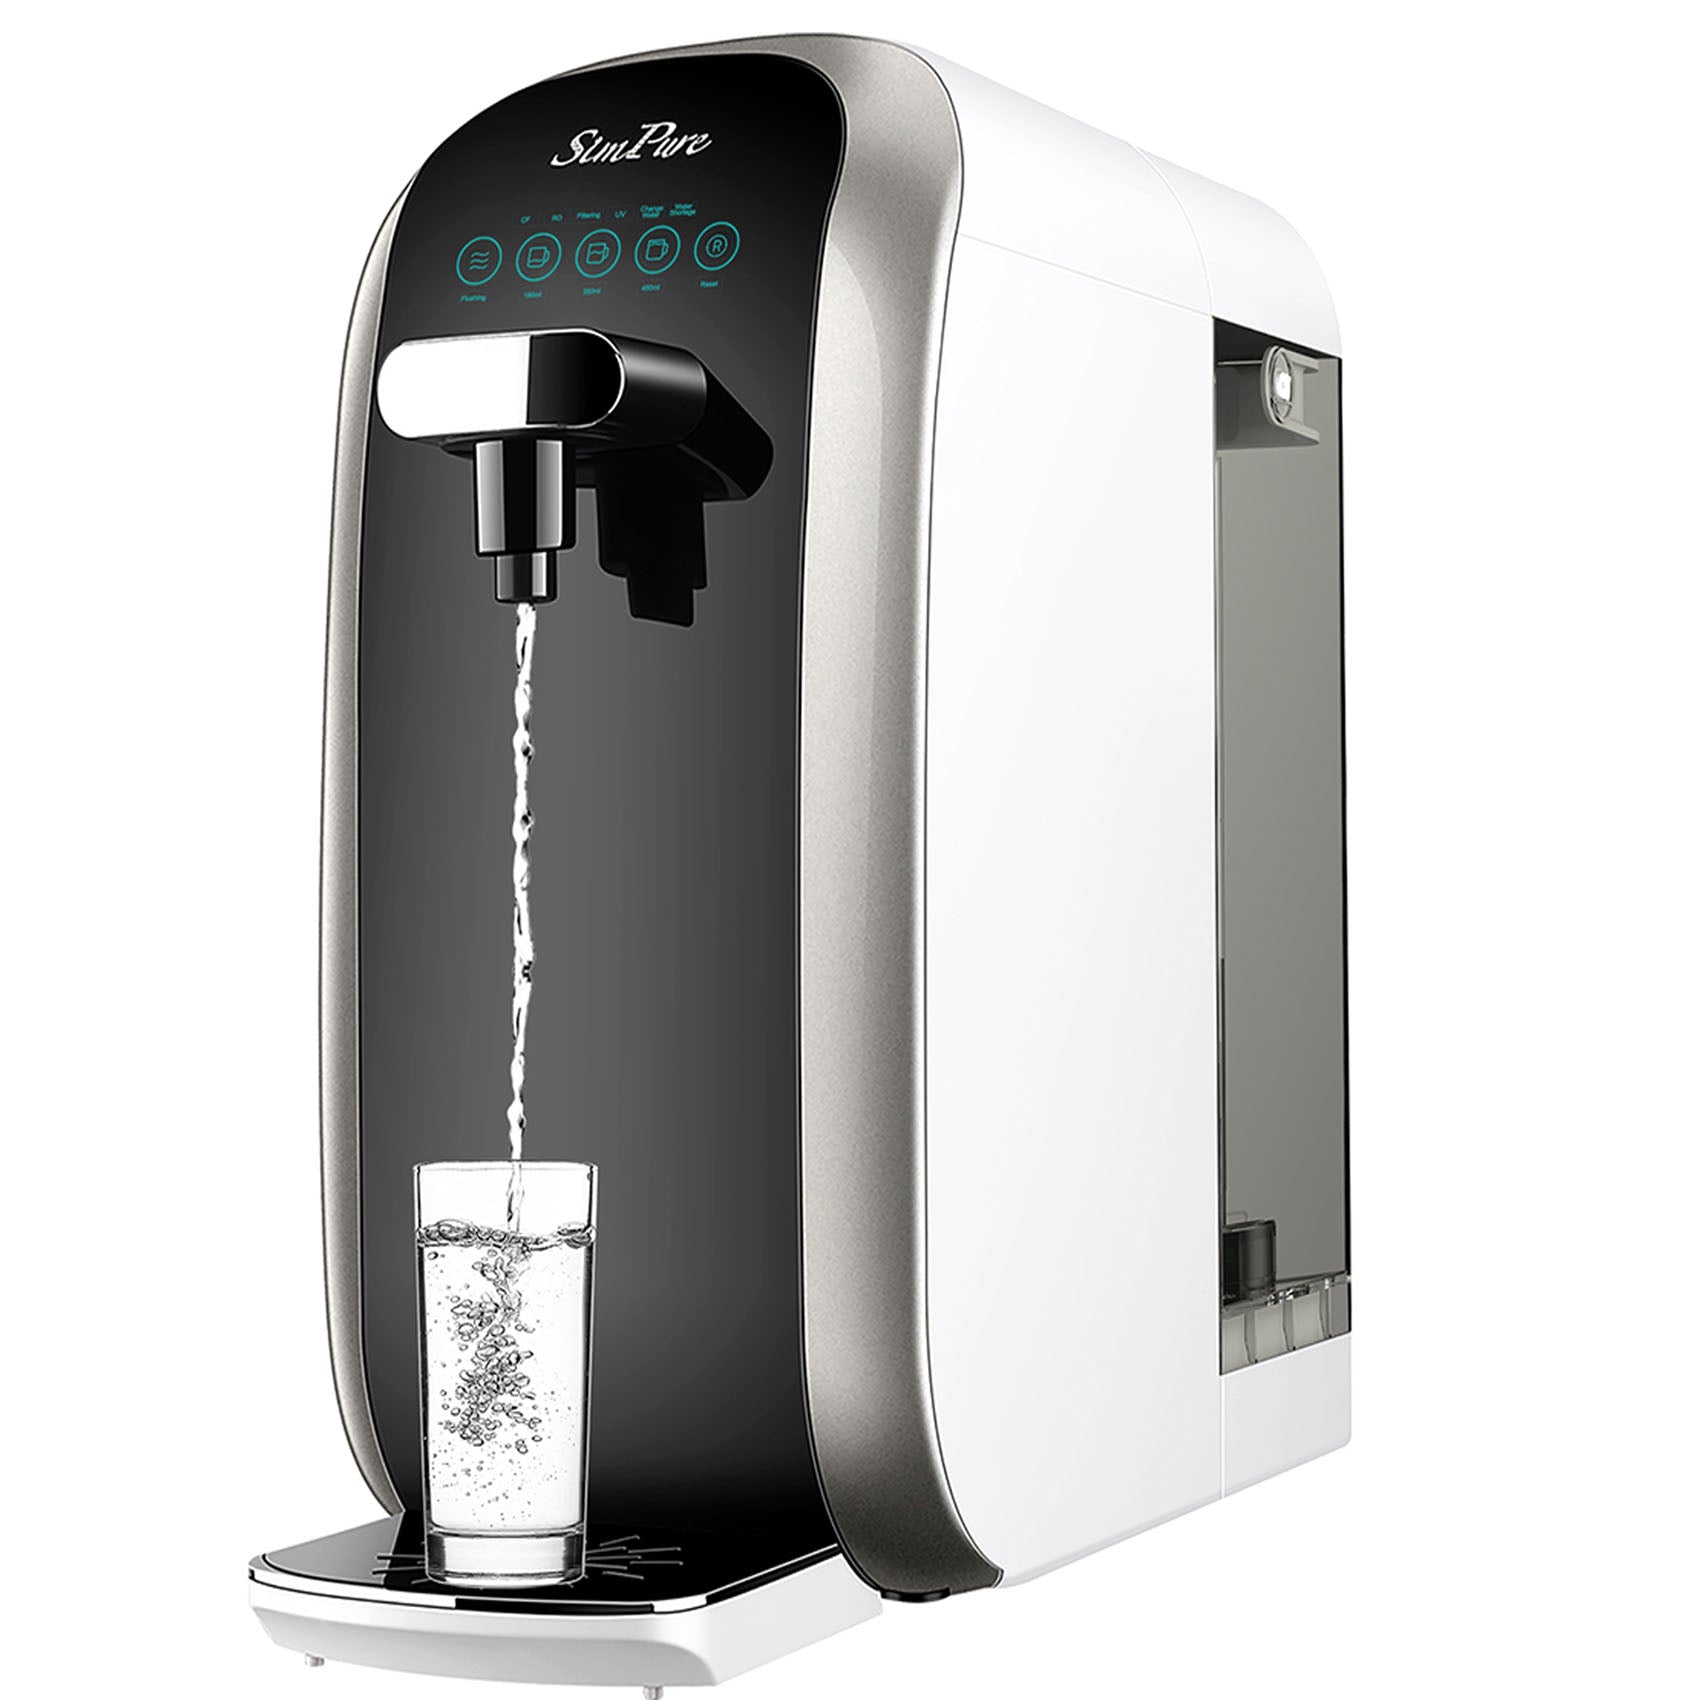
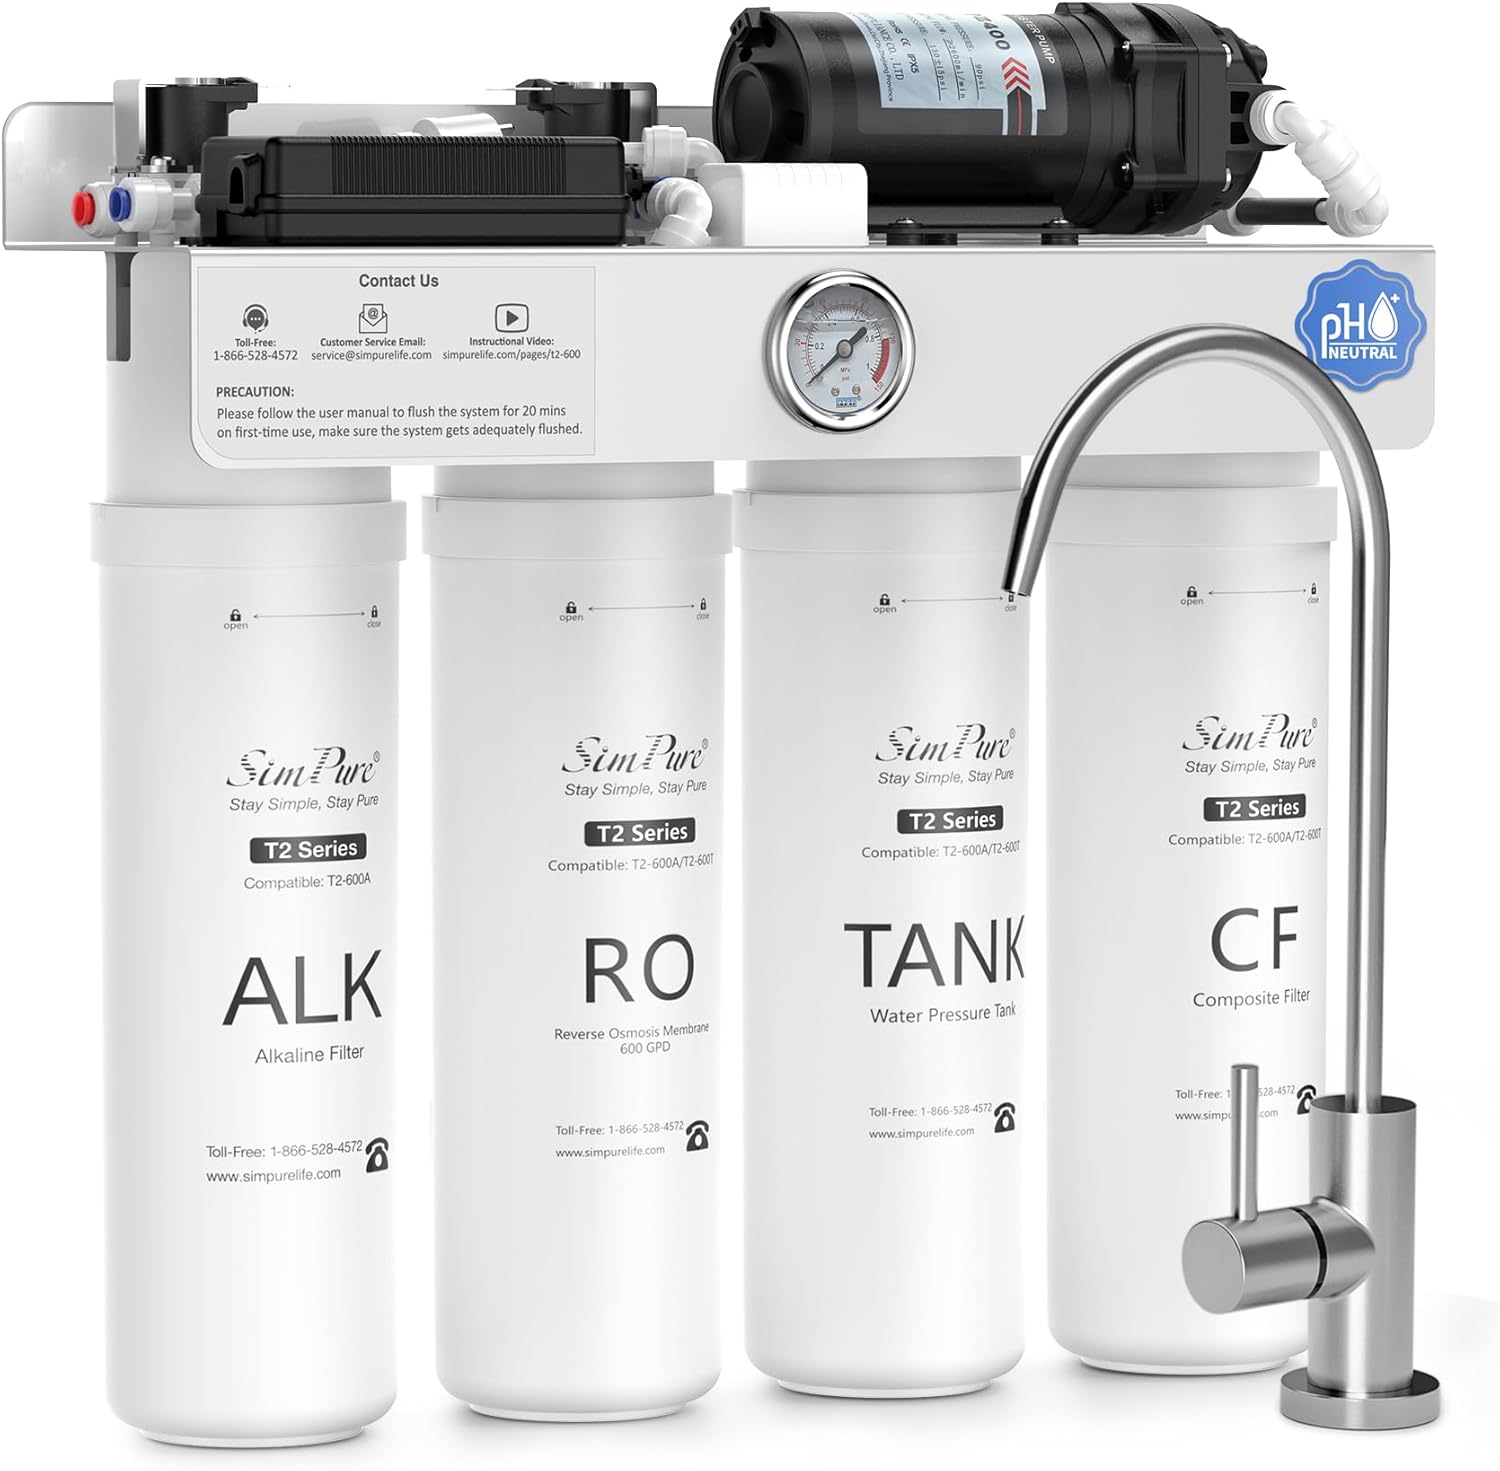
- Tankless RO Systems – Sleek design without a storage tank, offering faster flow rates and saving space.
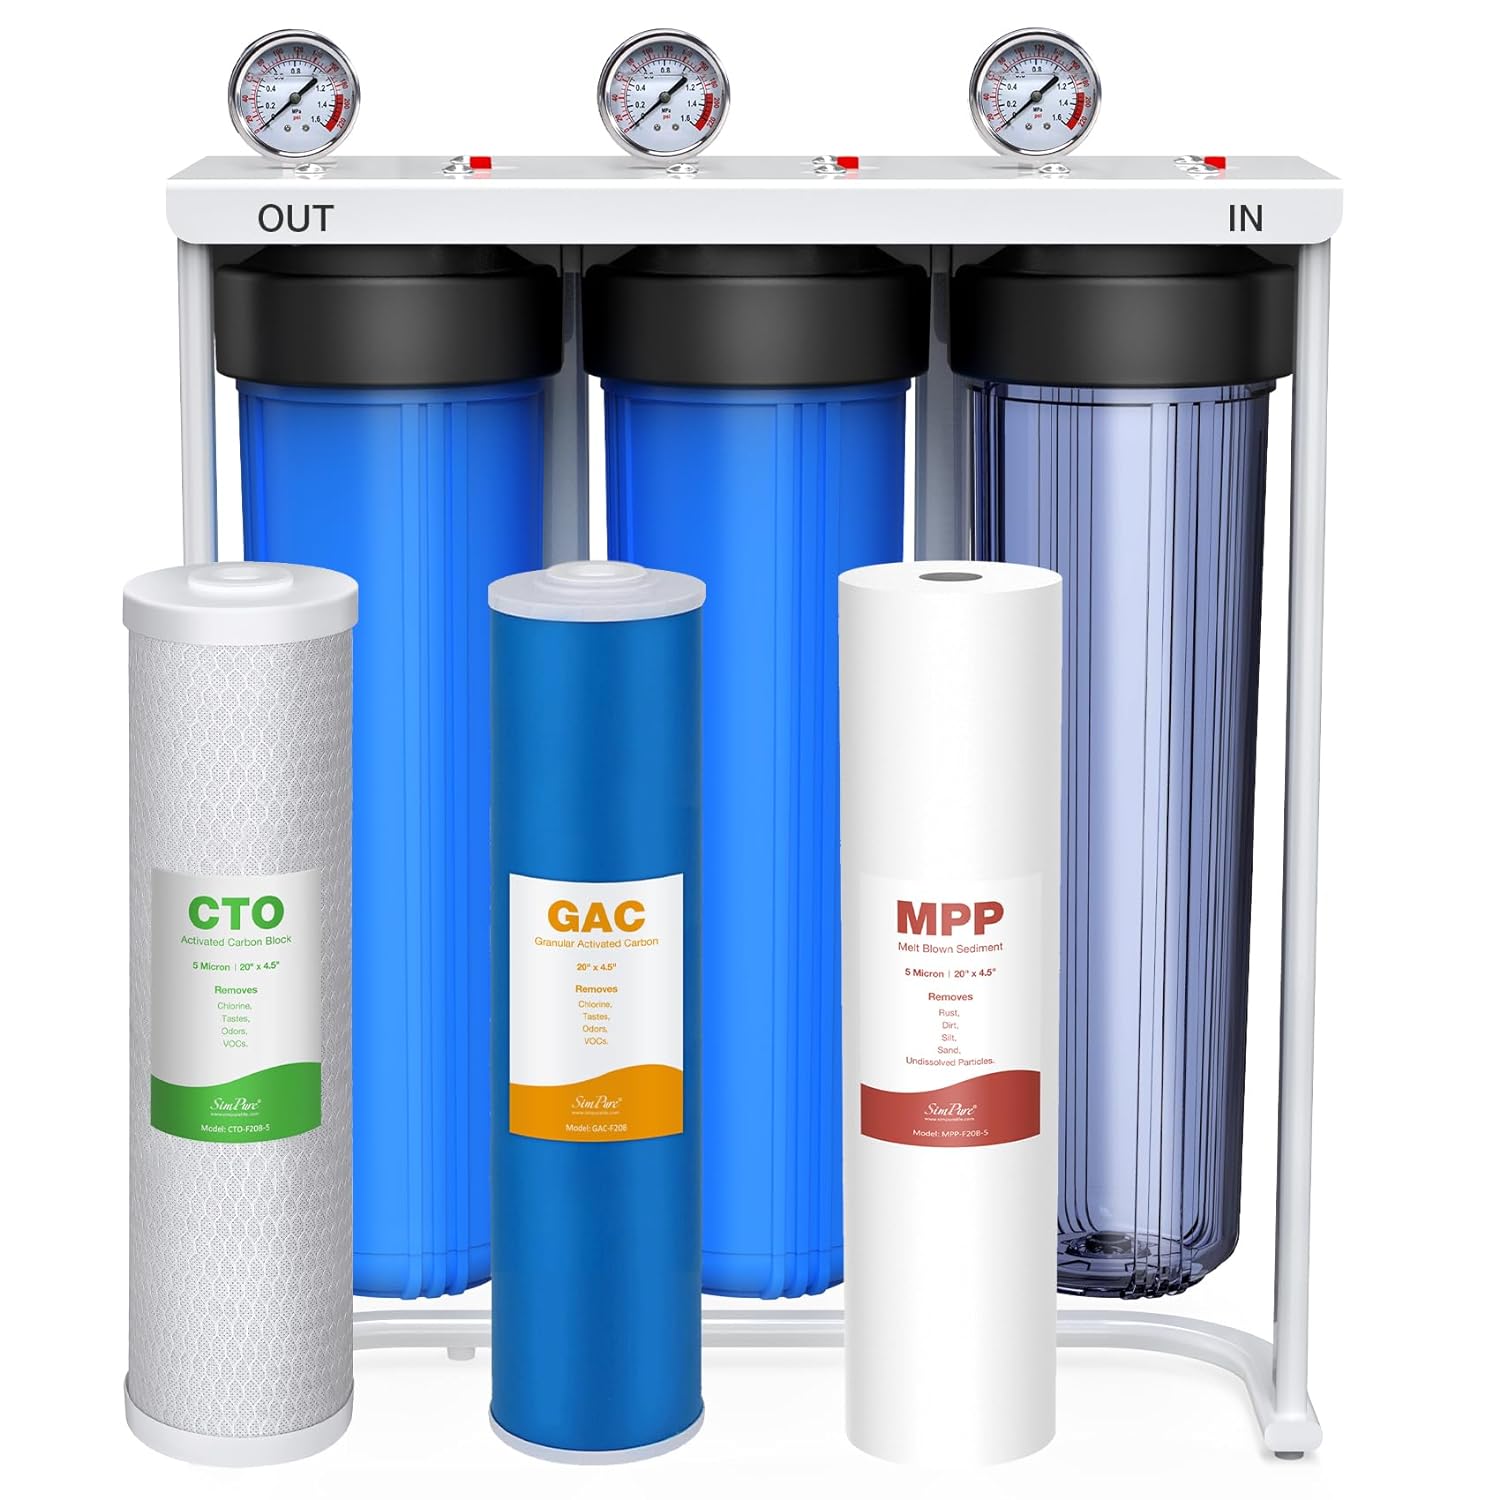
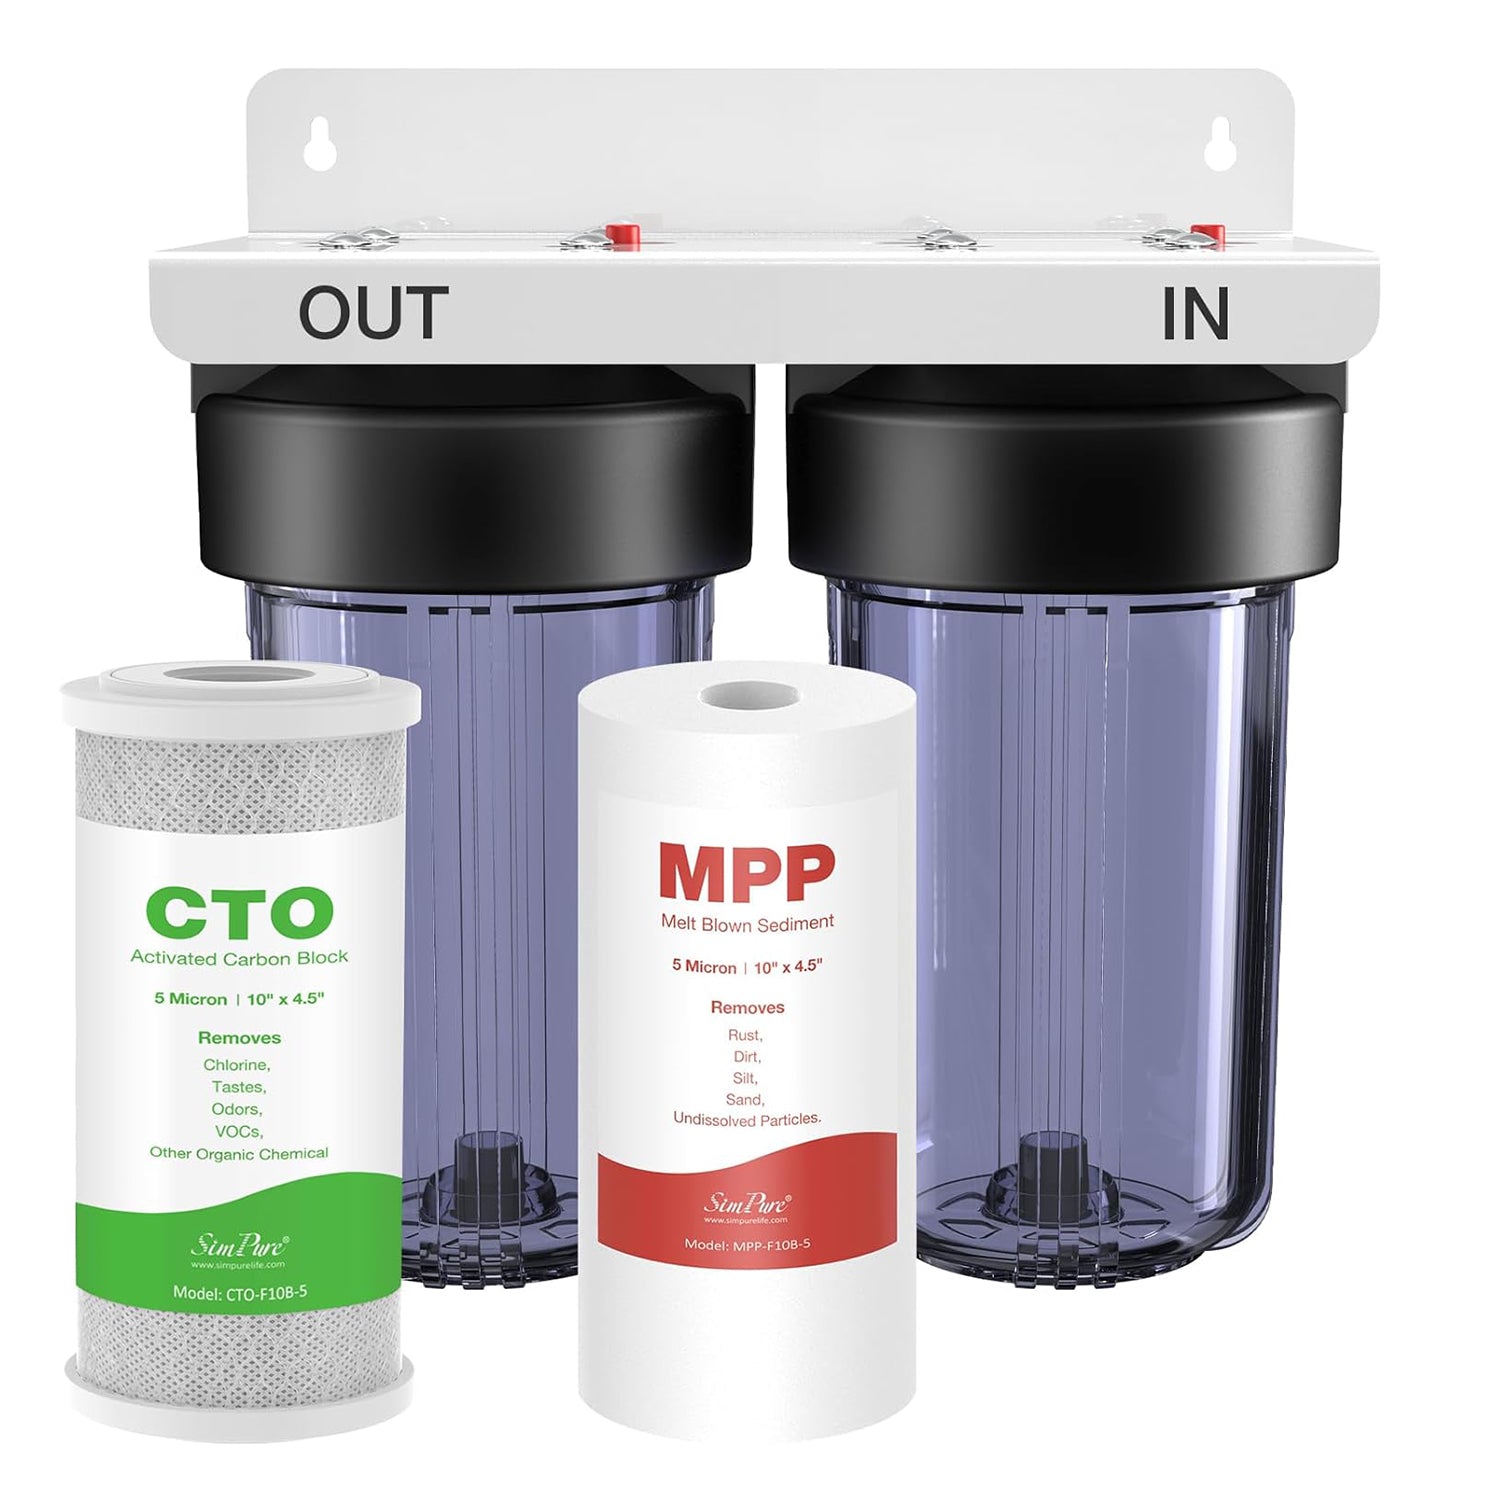
- Whole-House RO Systems – Large-scale systems that filter water for the entire home, ideal for well water or heavy usage.
Can I Install a Reverse Osmosis System Myself?
One of the most common questions homeowners ask is: Can I install a reverse osmosis system myself?
YES, but the specific answer depends on the type of system you choose, your comfort level with basic tools, and how much time you want to spend on the project.
Advice for choosing your RO systems:
If you’re renting: Countertop systems are your best bet.
If you own your home: Under-sink systems are doable with patience.
If you want modern design: Tankless systems can be DIY with some effort.
If you need full-home coverage: Whole-house systems should be installed by a plumber.
Once you’ve picked your RO system, installation is the next hurdle. Some systems are easy enough for a handy homeowner, while others almost always need a professional.
For countertop reverse osmosis systems, installation is very straightforward. Most models connect directly to your faucet or use a quick adapter, requiring no drilling or permanent changes. If you live in an apartment or rental, this is usually the best DIY option.
Under-sink reverse osmosis systems are also manageable for many homeowners. These units involve mounting the filter housing, connecting tubing to the cold water line, and drilling a small hole for the dedicated faucet. If you’re comfortable with a wrench, Teflon tape, and following instructions carefully, you can likely handle the setup in a couple of hours.
- Tankless RO systems are growing in popularity for their space-saving design. These may require more precise connections and electrical access, making them better suited for someone with intermediate DIY skills.

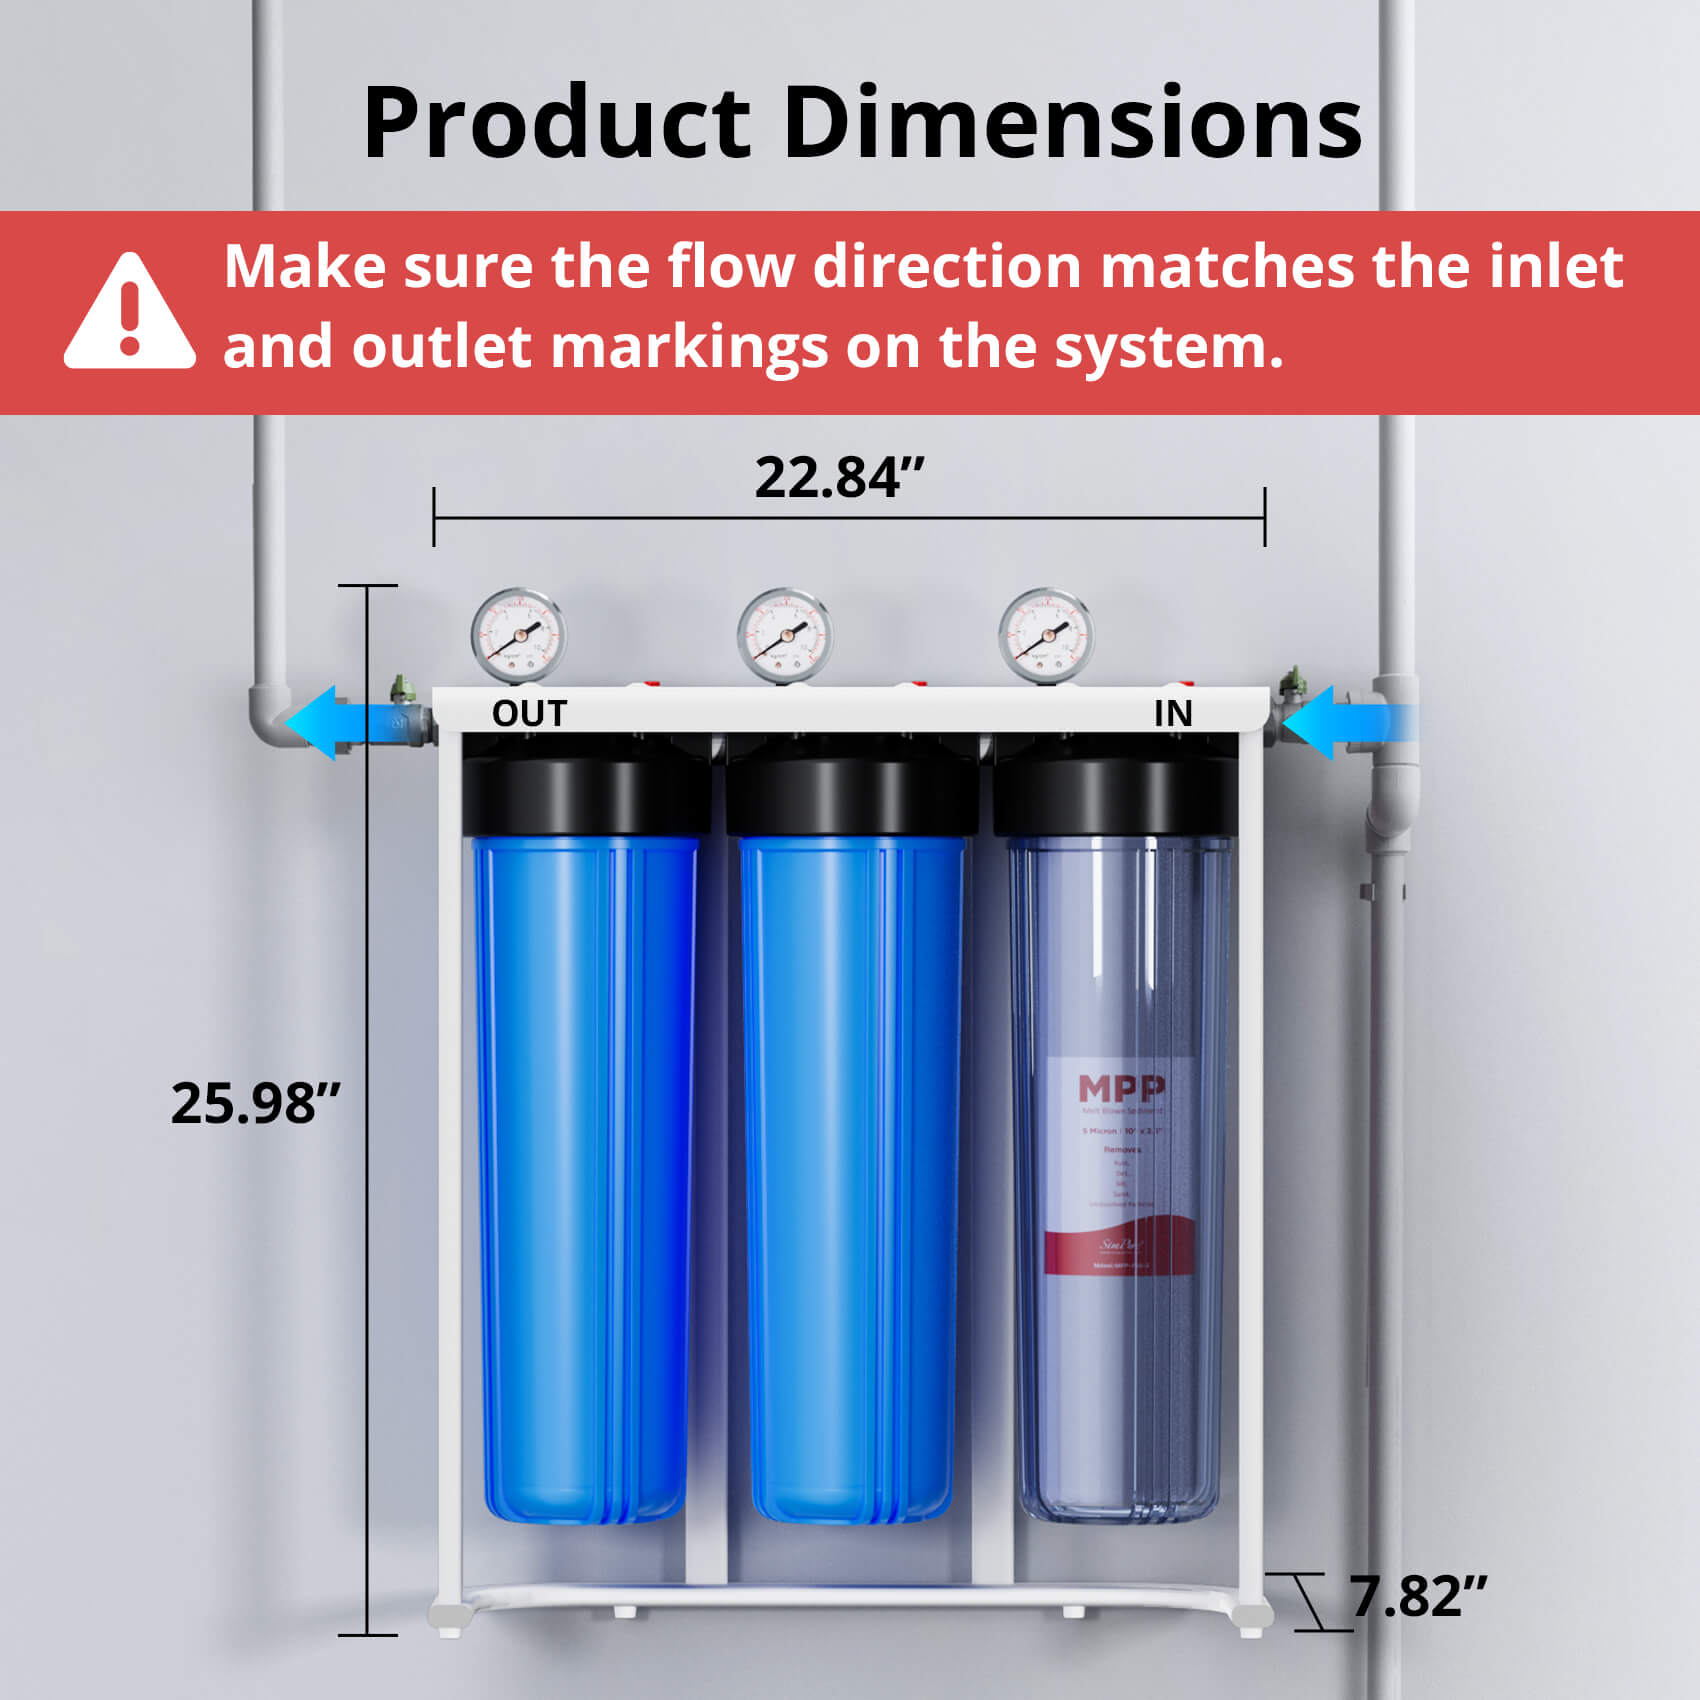
On the other hand, whole-house reverse osmosis systems are far more complex. They demand plumbing knowledge, large fittings, and sometimes electrical work. Unless you’re highly experienced, these are best left to professional installers.
In short: yes, you can install certain reverse osmosis systems yourself, but the level of difficulty depends on the system type and your DIY confidence.
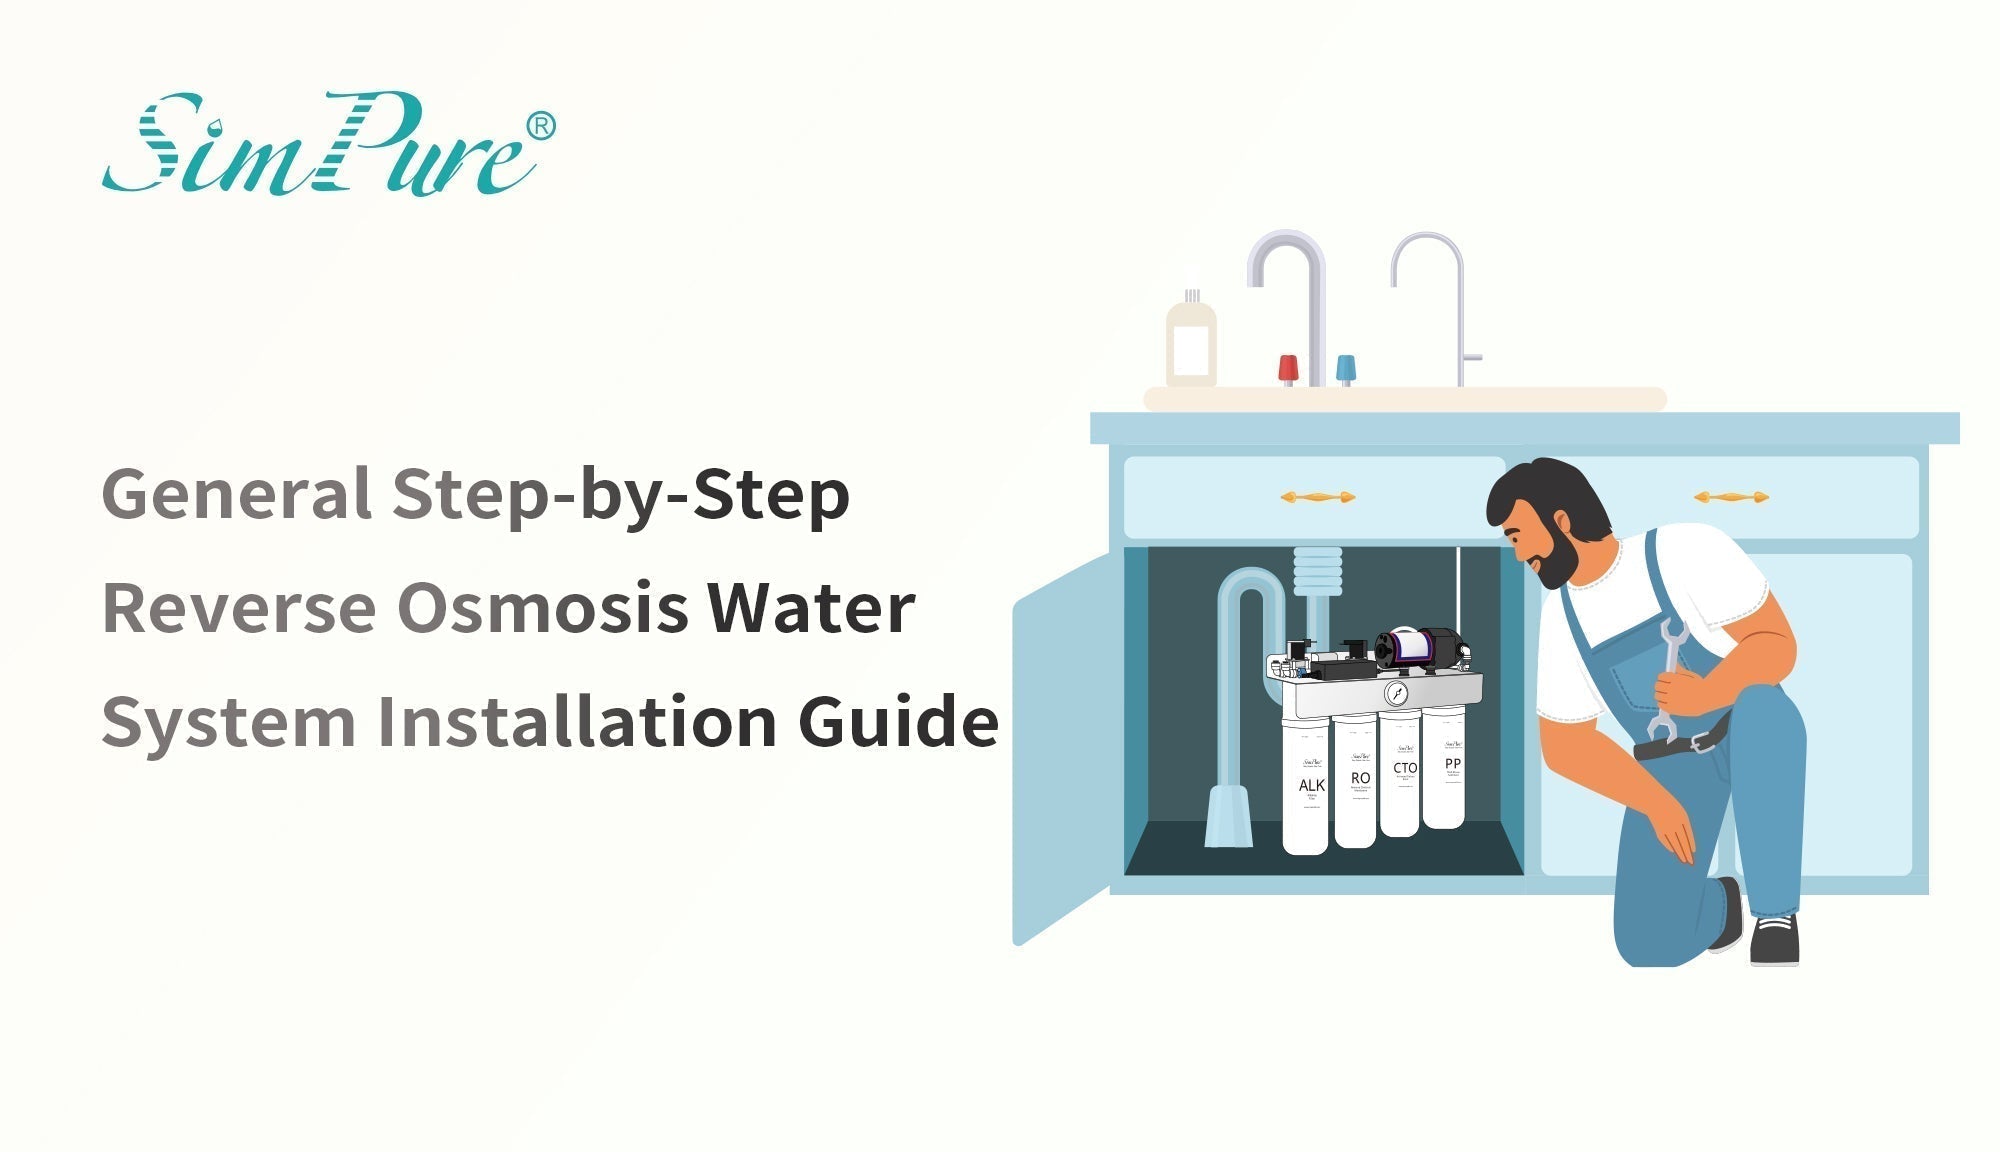
General Step-by-Step Reverse Osmosis Water System Installation
Here’s a practical guide for typical under-sink or countertop RO systems:
Step 1: Shut Off Water Supply
- Turn off the cold water supply under your sink.
- Open the existing faucet to relieve pressure and drain any remaining water.
Step 2: Prepare the Installation Area
- Clear space under the sink or countertop.
- Place the RO system components nearby for easy access.
- You need to have the right tools: adjustable wrench, drill, screwdriver, tubing cutter, and Teflon tape.
Step 3: Install the Feed Water Valve
- Connect the RO feed water adapter to your cold water line.
- Tighten connections carefully to avoid leaks.
Step 4: Mount the RO System Components
- Attach the filter housings and membrane as per manufacturer instructions.
- Use the mounting bracket if included, keeping everything upright and secure.
Step 5: Connect Tubing
- Connect tubing from the feed water valve to the RO system input.
- Attach tubing from the RO system output to the storage tank and faucet.
- Connect the drain line to the sink drain, using a drain saddle if required.
Step 6: Check for Leaks and Flush
- Slowly turn on the water supply and check all connections.
- Open the RO faucet and let the system flush for several hours to remove initial carbon fines and impurities.
For a more complex under-sink water purifier, you can read our blog: How to install under sink water filter system for a more detailed guide.
Costs and Professional Installation Considerations
Following these steps, many homeowners feel confident tackling an RO system installation on their own. But for some, calling in a professional can save time and prevent mistakes. Next, we’ll break down what you can expect to pay for professional installation.
How Much Do Plumbers Charge to Install a Reverse Osmosis System?
Average cost range depending on system type and complexity.
- Under-Sink RO Systems: Typically range from $200 to $1,000, including both the unit and installation. Labor costs alone usually fall between $120 and $300, depending on complexity and location.
- Whole-House RO Systems: These systems can cost between $1,500 and $4,000, with labor accounting for $500 to $1,000.
Factors Influencing Professional Installation Costs
System Type: Under-sink units are less expensive to install than whole-house systems due to their simplicity.
Plumbing Complexity: Existing plumbing conditions can affect installation time and cost.
Location: Labor rates vary by region; urban areas often have higher costs.
Additional Features: Systems with advanced filtration stages or remineralization features may incur higher installation fees.
Practice with SimPure RO Systems
For SimPure RO systems, each product offers an installation video guide.
- If you choose a countertop RO system like SimPure Y7T-BW-A countertop RO system, you can watch:
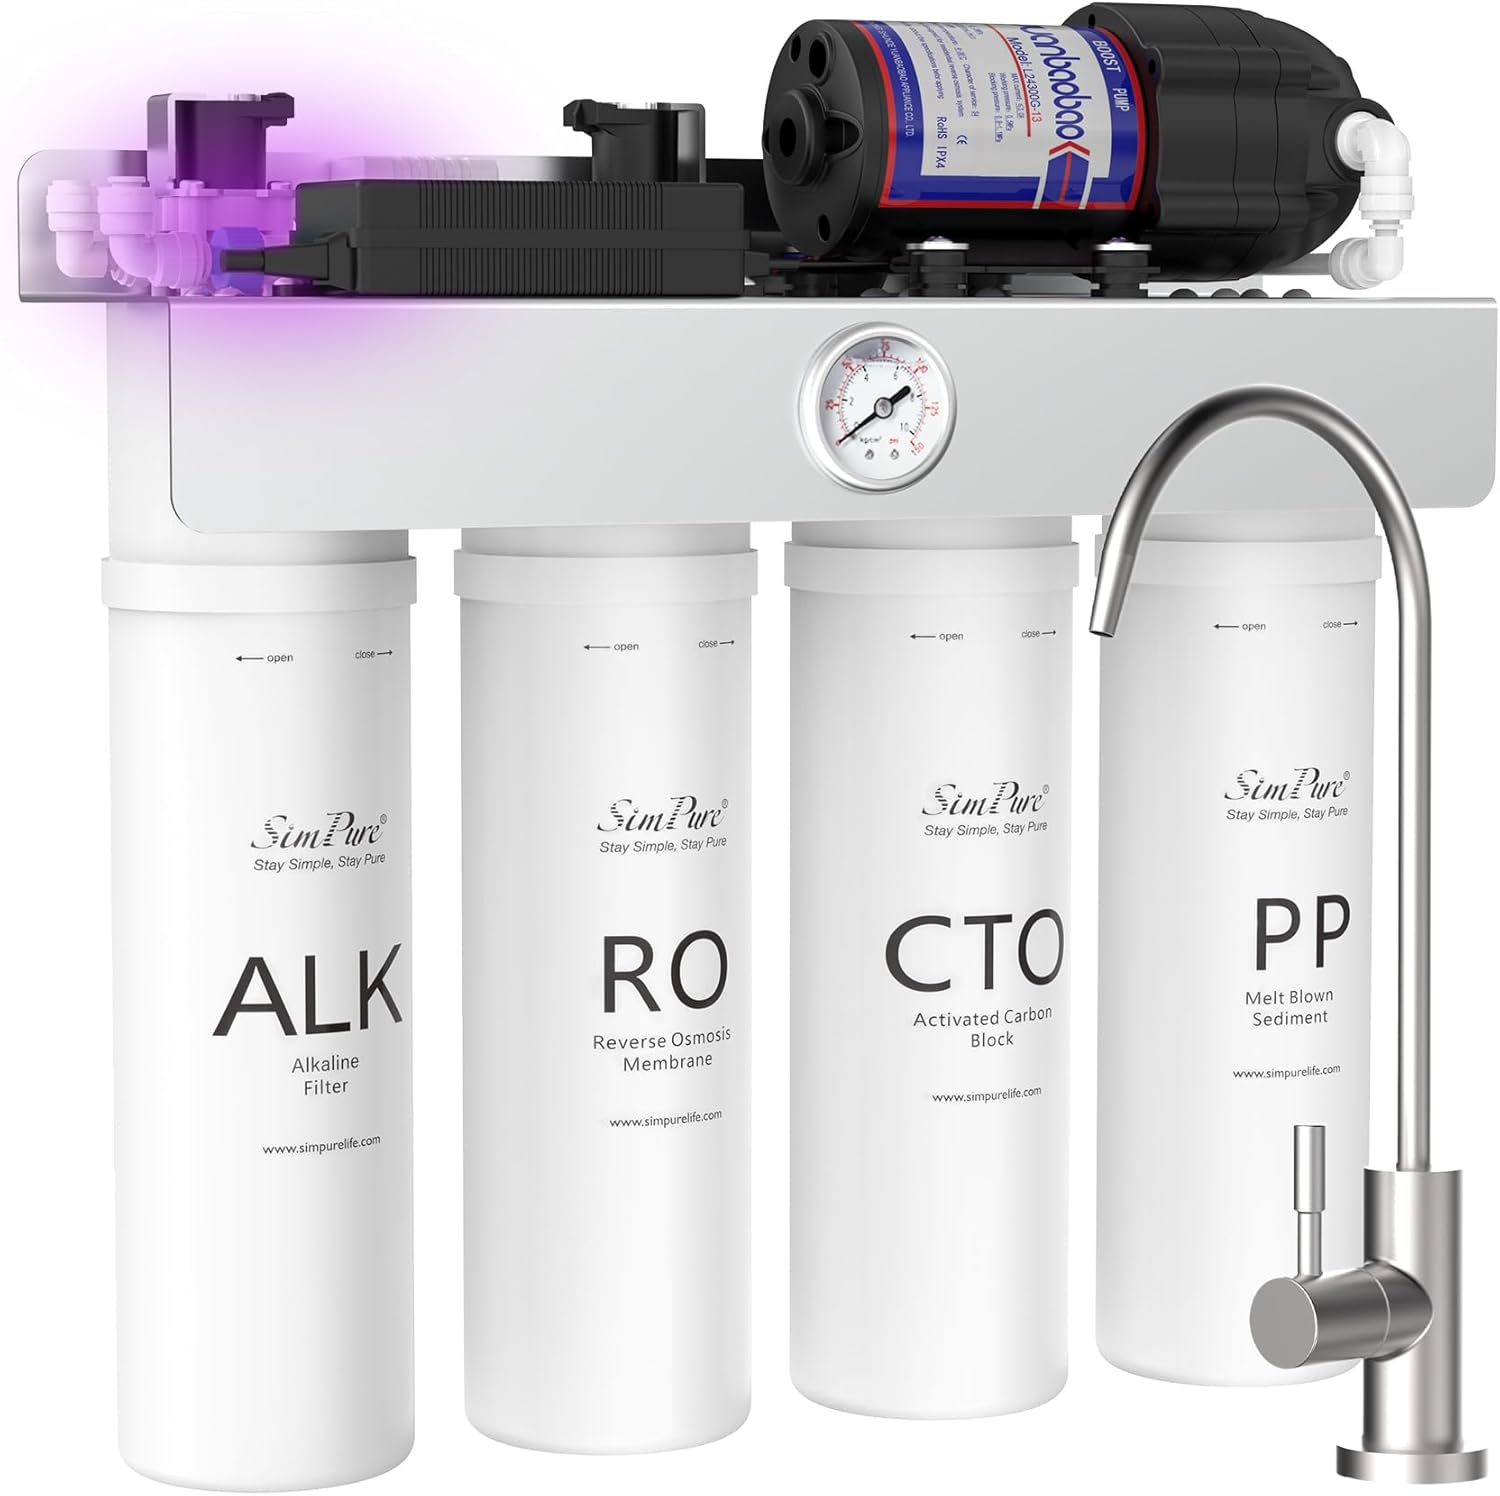
If you choose an under sink RO system like SimPure T1-400 ALK under sink RO system, you can watch
Reverse osmosis water system installation can be simple when you choose the right products. SimPure RO Systems are designed for convenience: countertop models are plug-and-play, and under-sink units are easy to install with basic tools. Each product includes a video guide, plus online customer support for extra assistance. Filter replacement is fast and hassle-free. If you want a smooth installation experience and reliable RO performance, just choose SimPure RO Systems!