
Steps to install under sink water filter
Generally speaking, the installation of under-sink water filters is relatively complicated, and there are many spare parts, so the friends are ready to roll up their sleeves to show your patience!1. Prepare the parts needed for the installation of an under-sink water filter

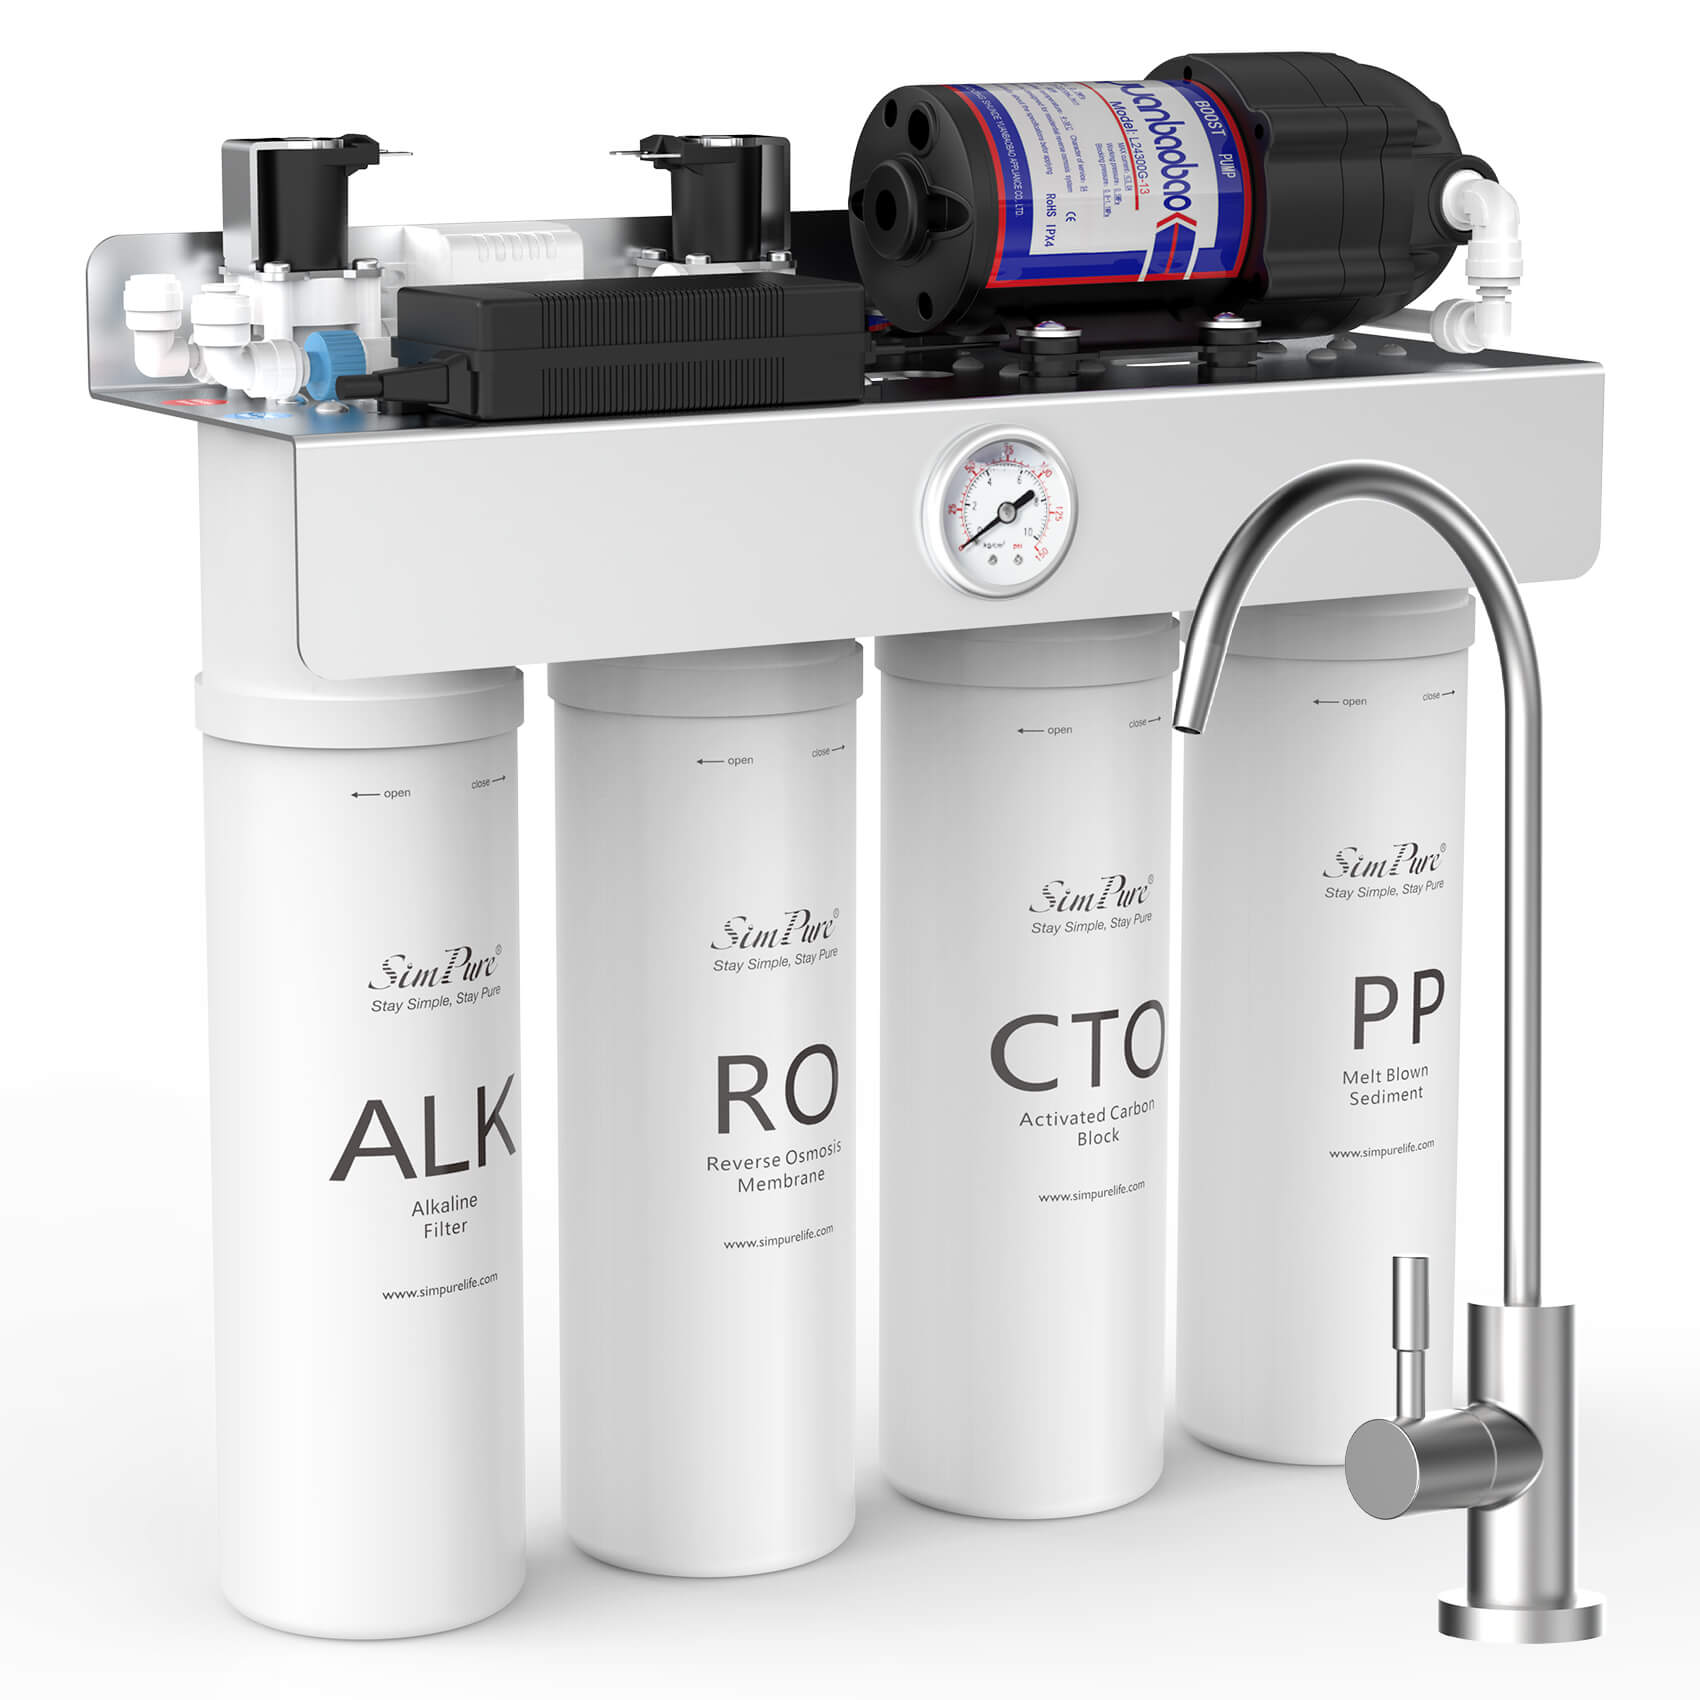
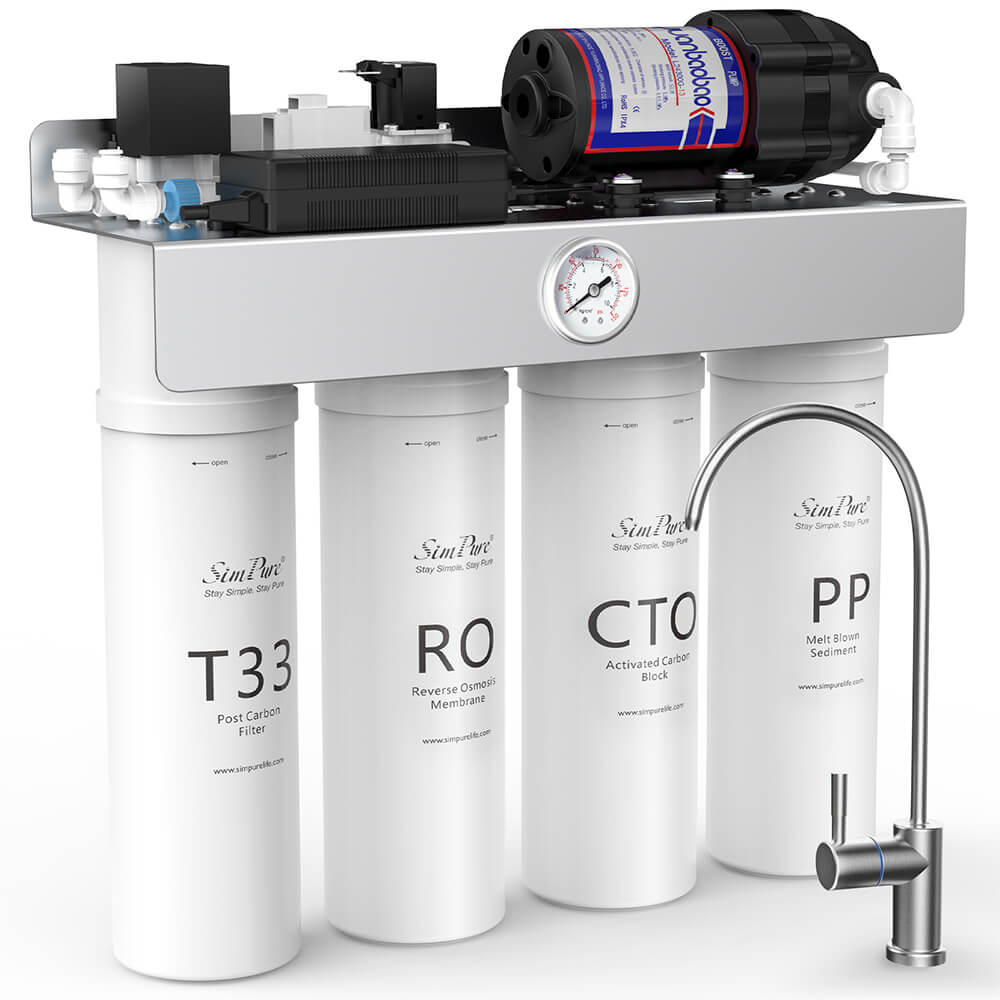
According to the picture above, find the parts that need to be installed, including gooseneck faucet, stainless steel three-way ball valve (with switch), pressure storage bucket, pressure bucket ball valve, filter element (PP cotton, granular activated carbon), blue pipe clamp, Baose pipe stopper, filter bottle wrench, PE pipe, and finally installed RO membrane filter element, etc.
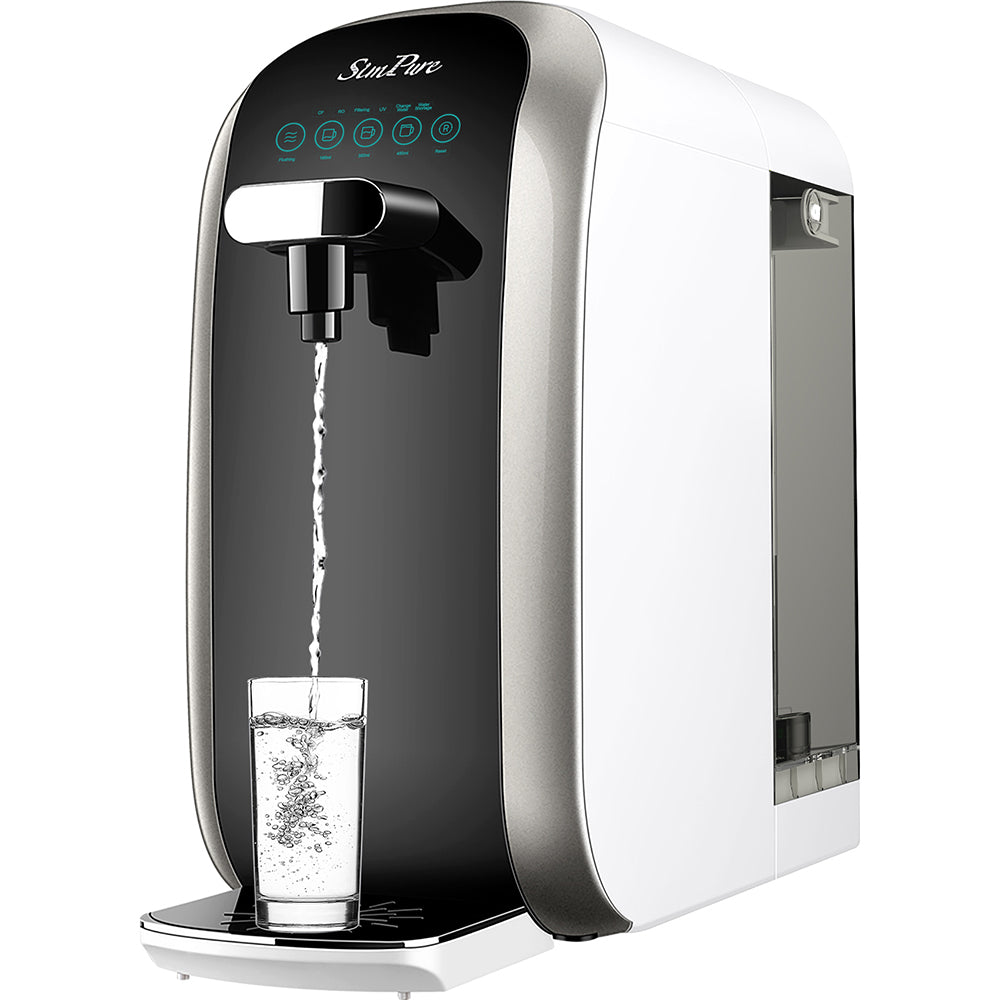
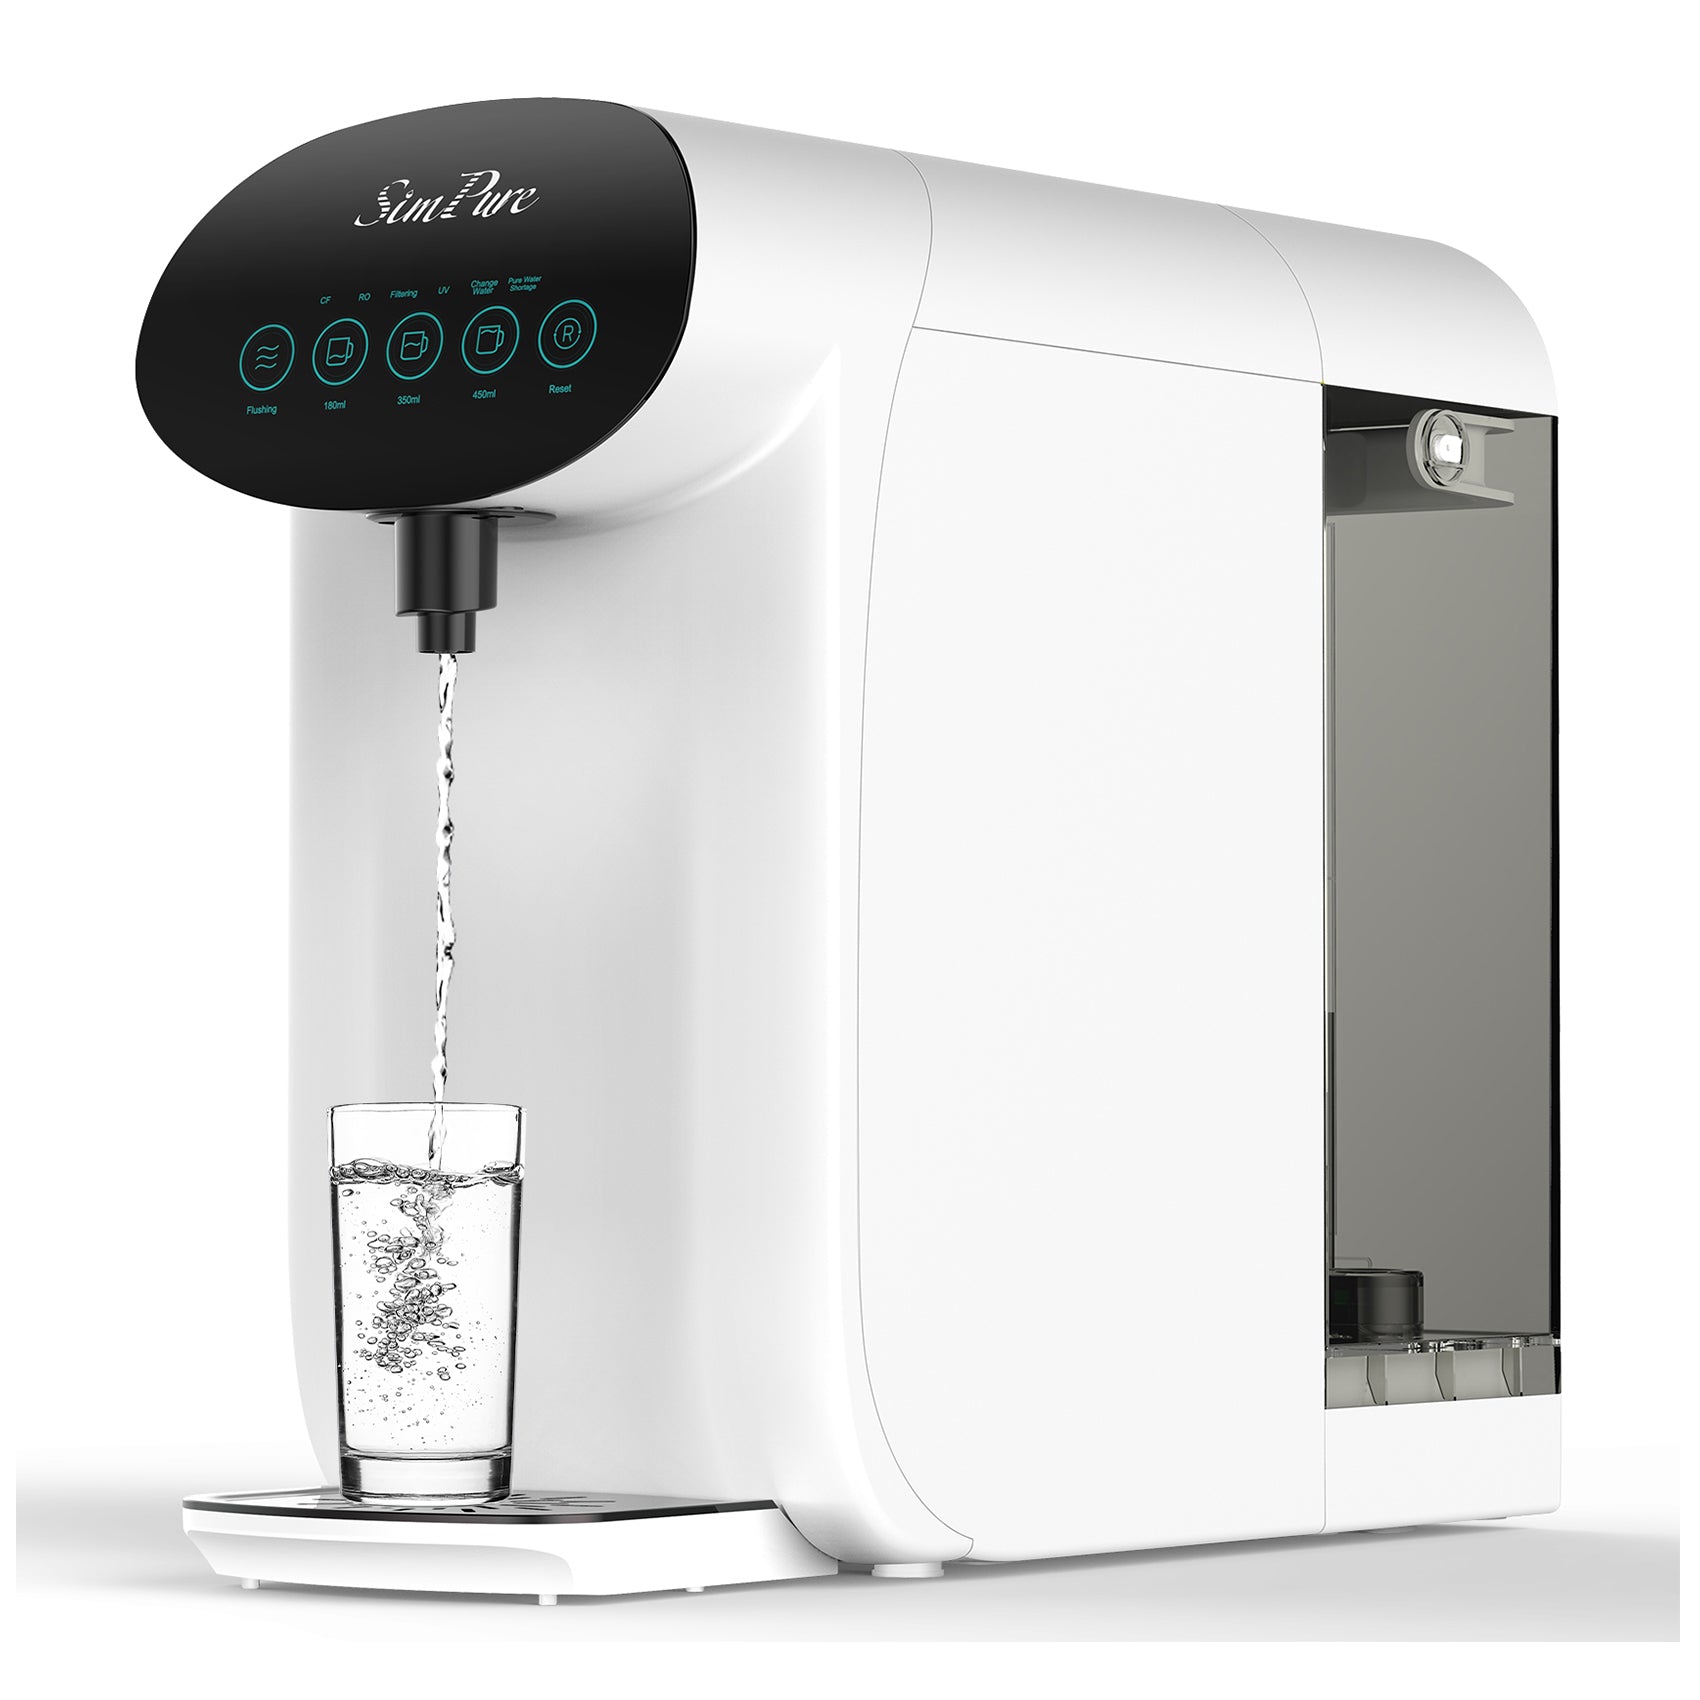
2.Intsall the gooseneck faucet
① The water filter gooseneck faucet is generally installed on the left and right corners of the sink, which is convenient to use.②After selecting the installation location, then use a small drill to drill holes in the selected location, and finally use a hole opener to make a 1.3 cm hole. The size of the aperture is adjusted according to the size of the installed water filter faucet, generally The opening will be slightly larger than vinyl, so that the thread of the water filter faucet is not easily damaged during installation.
③Then check the purchased faucet accessories to see if they are missing. The general water filter faucet accessories have upper cover, cover sheet, soft rubber pad, nut, and stop pad.
④ Then put the cover plate and soft rubber pad into the faucet, and insert it through the opened hole.
3. The installation of the PE pipe of the faucet of the water filter
① Put the screw cap and the anti-falling sleeve on the PE pipe, and plug the end of the hose into the plug sleeve.
② The pipe plug of the hose port should be pressed to the hose port and tightened.
③ Point the hose toward the port under the faucet, and when the PE tube extends into the faucet port, it must be placed at the bottom.
④ Tighten the nut firmly and evenly to complete the installation of the PE pipe.

4.Install three-way ball valve
① Wrap the ball valve and the four-point three-way valve 3-5 times with a raw material tape.
② Connect the four-point three-way valve with the tap water four-point pipe, and pay attention to the sealing rings at both ends when connecting.
③ Then align the ball valve with the bypass of the three-way valve and tighten it. When tightening, the applied force is even, and too much will cause the damage of the three-way valve.
④ Unscrew the ball valve and PE pipe connector nut and put it on the PE pipe, then put the PE pipe into the tapered end of the ball valve, and the PE pipe must be pressed to the innermost end. Finally, tighten the nut and the installation is complete!
5. Installation of pressure tank

①Take out the pressure tank and wrap the raw material tape around the upper thread.
② Align the pressure tank ball valve with the thread and tighten it. Be careful not to use excessive force, otherwise it will cause damage to the pressure tank ball valve.
6.the installation of the filter element
①Take out the first three-stage filter element (1 PP cotton, 1 granular activated carbon, 1 compressed activated carbon). Remove the protective packaging film on the surface respectively. We will talk about the remaining fourth RO membrane filter element later.
②Align the center of the filter element with the positioning ring at the bottom of the filter bottle, and align the upper end with the positioning ring in the head cover, and then use the filter bottle wrench to tighten it clockwise. Among them, the PP cotton filter element is placed in the first level, the granular activated carbon filter element is placed in the middle No. 2 position, and the compressed activated carbon filter element is placed in the third level.
Part of the water purifier installation tutorial may teach you here, put the filter element under the faucet to rinse, here we put it aside, we will talk about it later.
7. Connecting the whole machine PE pipe
The accessory kit is equipped with 6-8 meters long PE pipes for 4 locations, which are tap water inlet, pressure tank connection, gooseneck faucet connection, and waste water discharge pipe. Note that the pipe joint must be cut flat, the pipe must be inserted to the end, and the blue pipe clamp must be attached.① Install the water inlet ball valve and the water inlet pipe, cut the pipe mouth flat, put on a metal nut, and then insert the PE pipe into one end of the water inlet of the water inlet ball valve, and tighten the nut. Do not use too much force to prevent the pipe from being jammed. The other end of the PE pipe is directly inserted into the water inlet (No. 1).
② Connect the gooseneck faucet: cut the nozzle flat, put on the metal nut and transparent pipe sleeve in turn, the nut grows 2-3 mm from the nozzle, insert the pipe plug, tighten, and the other end of the PE pipe is directly inserted into the clean water outlet ( No. 4), insert it to the end.
③ Connect the waste water pipe to the waste water outlet: connect one end of the PE pipe directly to the waste water outlet (No. 2) of the pure water machine, and connect the other end to the sewage pipe port, and fix it firmly with a cable tie.
④ Pressure tank connection: Connect one end of the PE pipe to the small T33 (rear-mounted coconut shell activated carbon) and the quick-connect three-way outlet (No. 3) at the back, and insert the other end directly into the outlet of the pressure tank ball valve.
⑤ Connect the tap water, rinse the first three-stage filter element of the whole machine first, and let the water flow out along the waste pipe until no black water is flushed out. (Note: Cleaning is to ensure that the whole machine and the filter element are clean when in use, and to reduce its own particulate impurities to block the RO membrane.)
8. Installation of RO membrane
① To install ro membrane,here is a warm reminder, be sure to complete the previous step of washing the water purifier, and then install the RO membrane, otherwise it will shorten the service life of the RO membrane.②Unscrew the end cap of the RO membrane shell, please be careful not to damage the relevant parts when unscrewing it.

③Take out the RO membrane fittings and remove the vacuum blister film on its surface, and align the front end of the clean RO membrane (the end with two sealing rings) to the fixing ring inside the RO membrane housing. Press the seal ring at the rear of the RO membrane to the bottom, and tighten the cover of the RO membrane housing with a filter bottle wrench.
④ Rinse the RO membrane. As mentioned above, turn on the tap water switch and let the water flow to rinse the installed machine for about 15 minutes until there is no white foam.