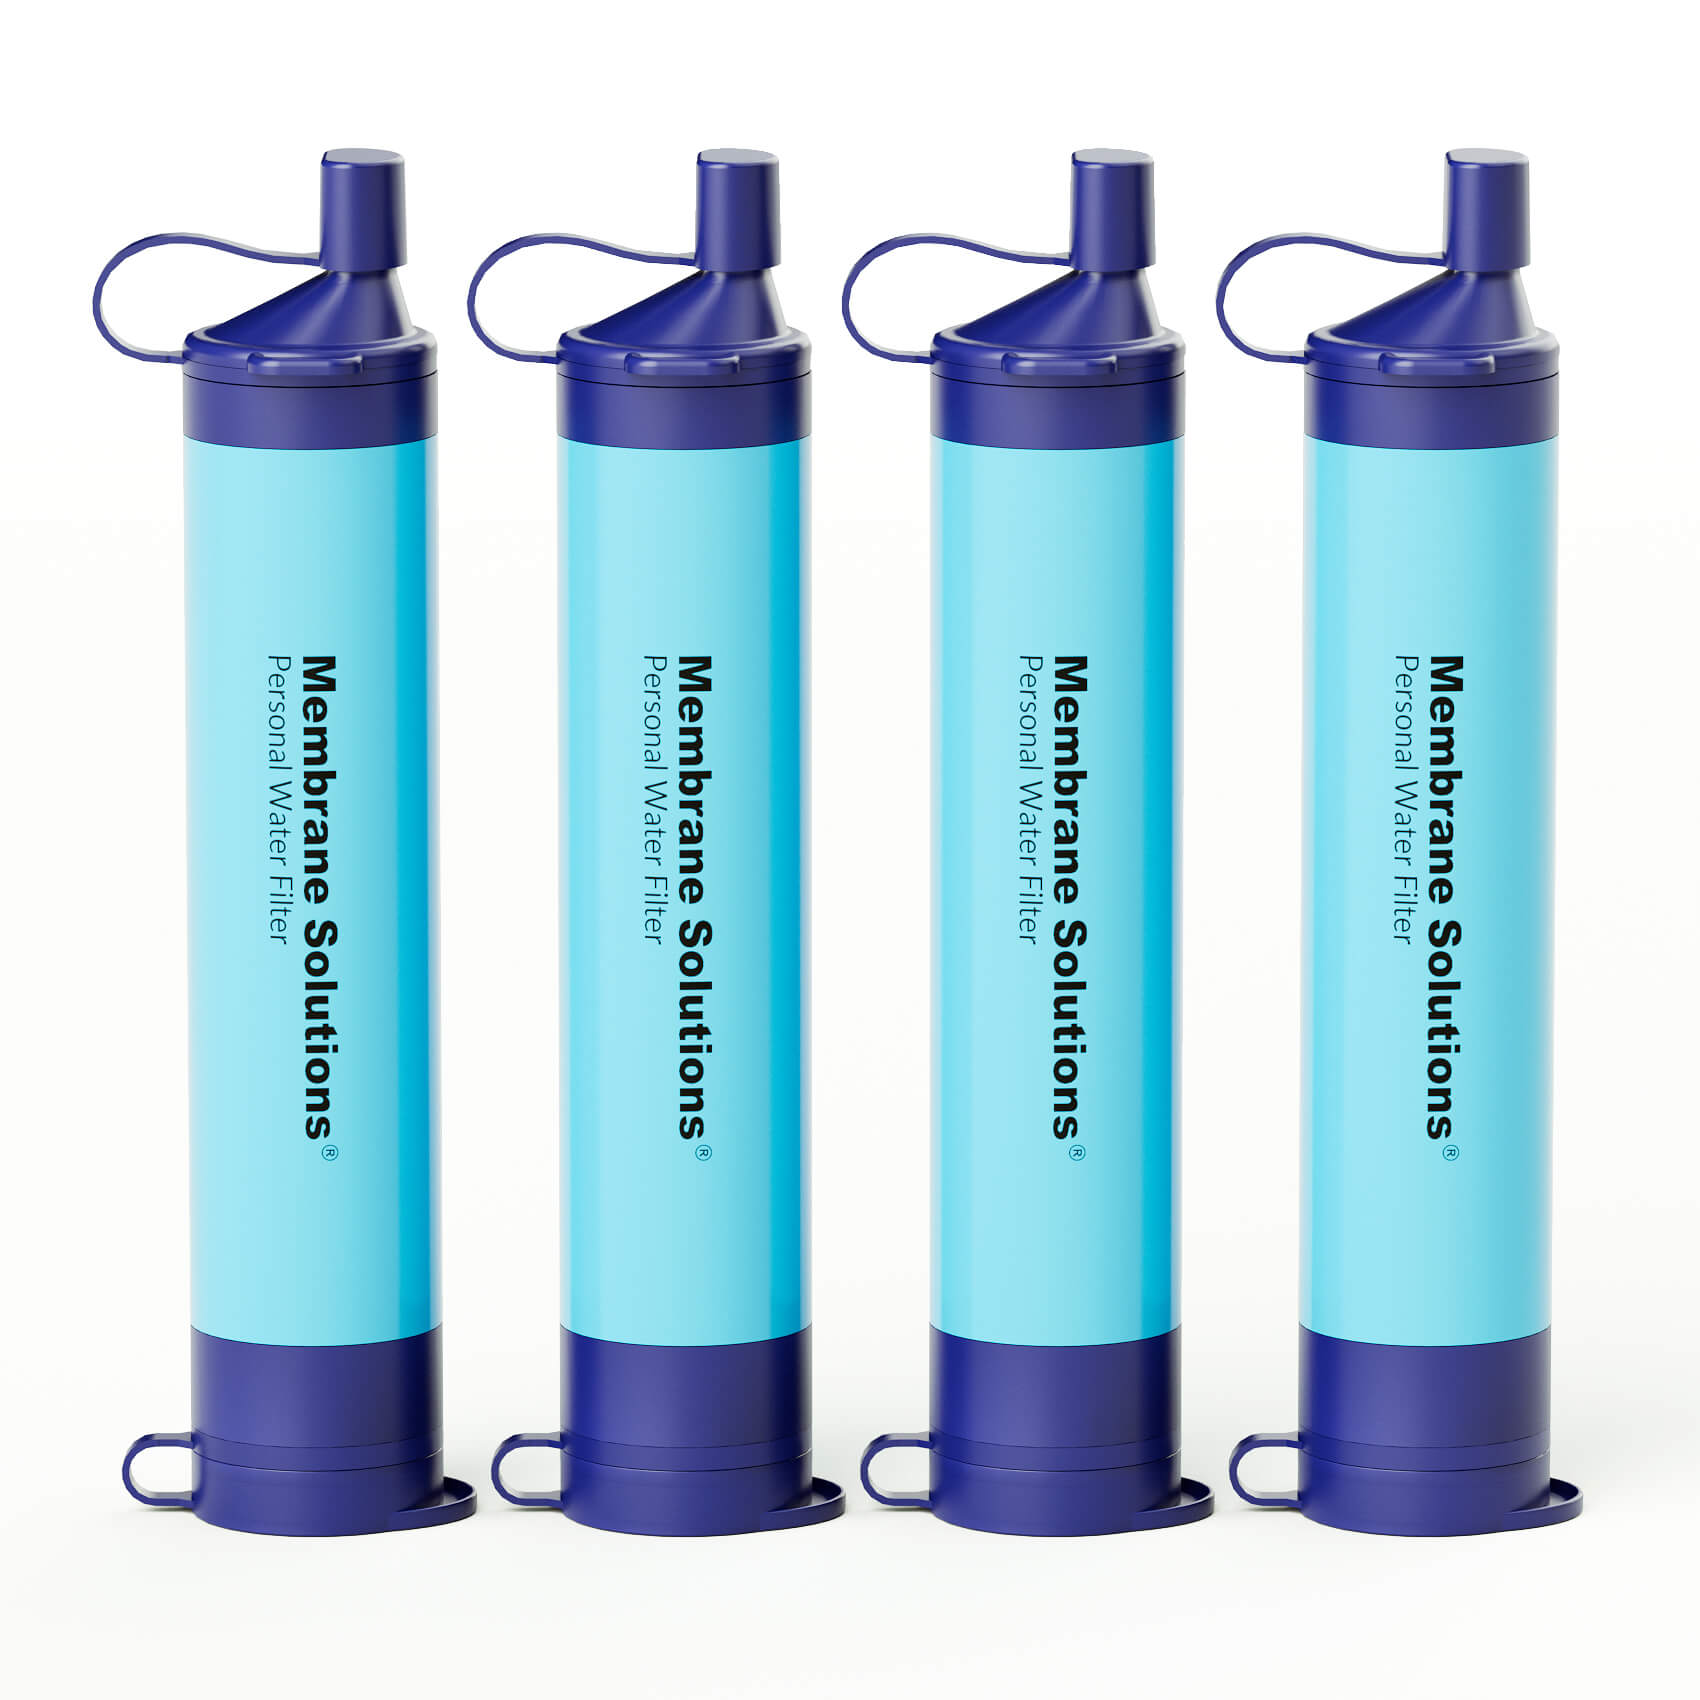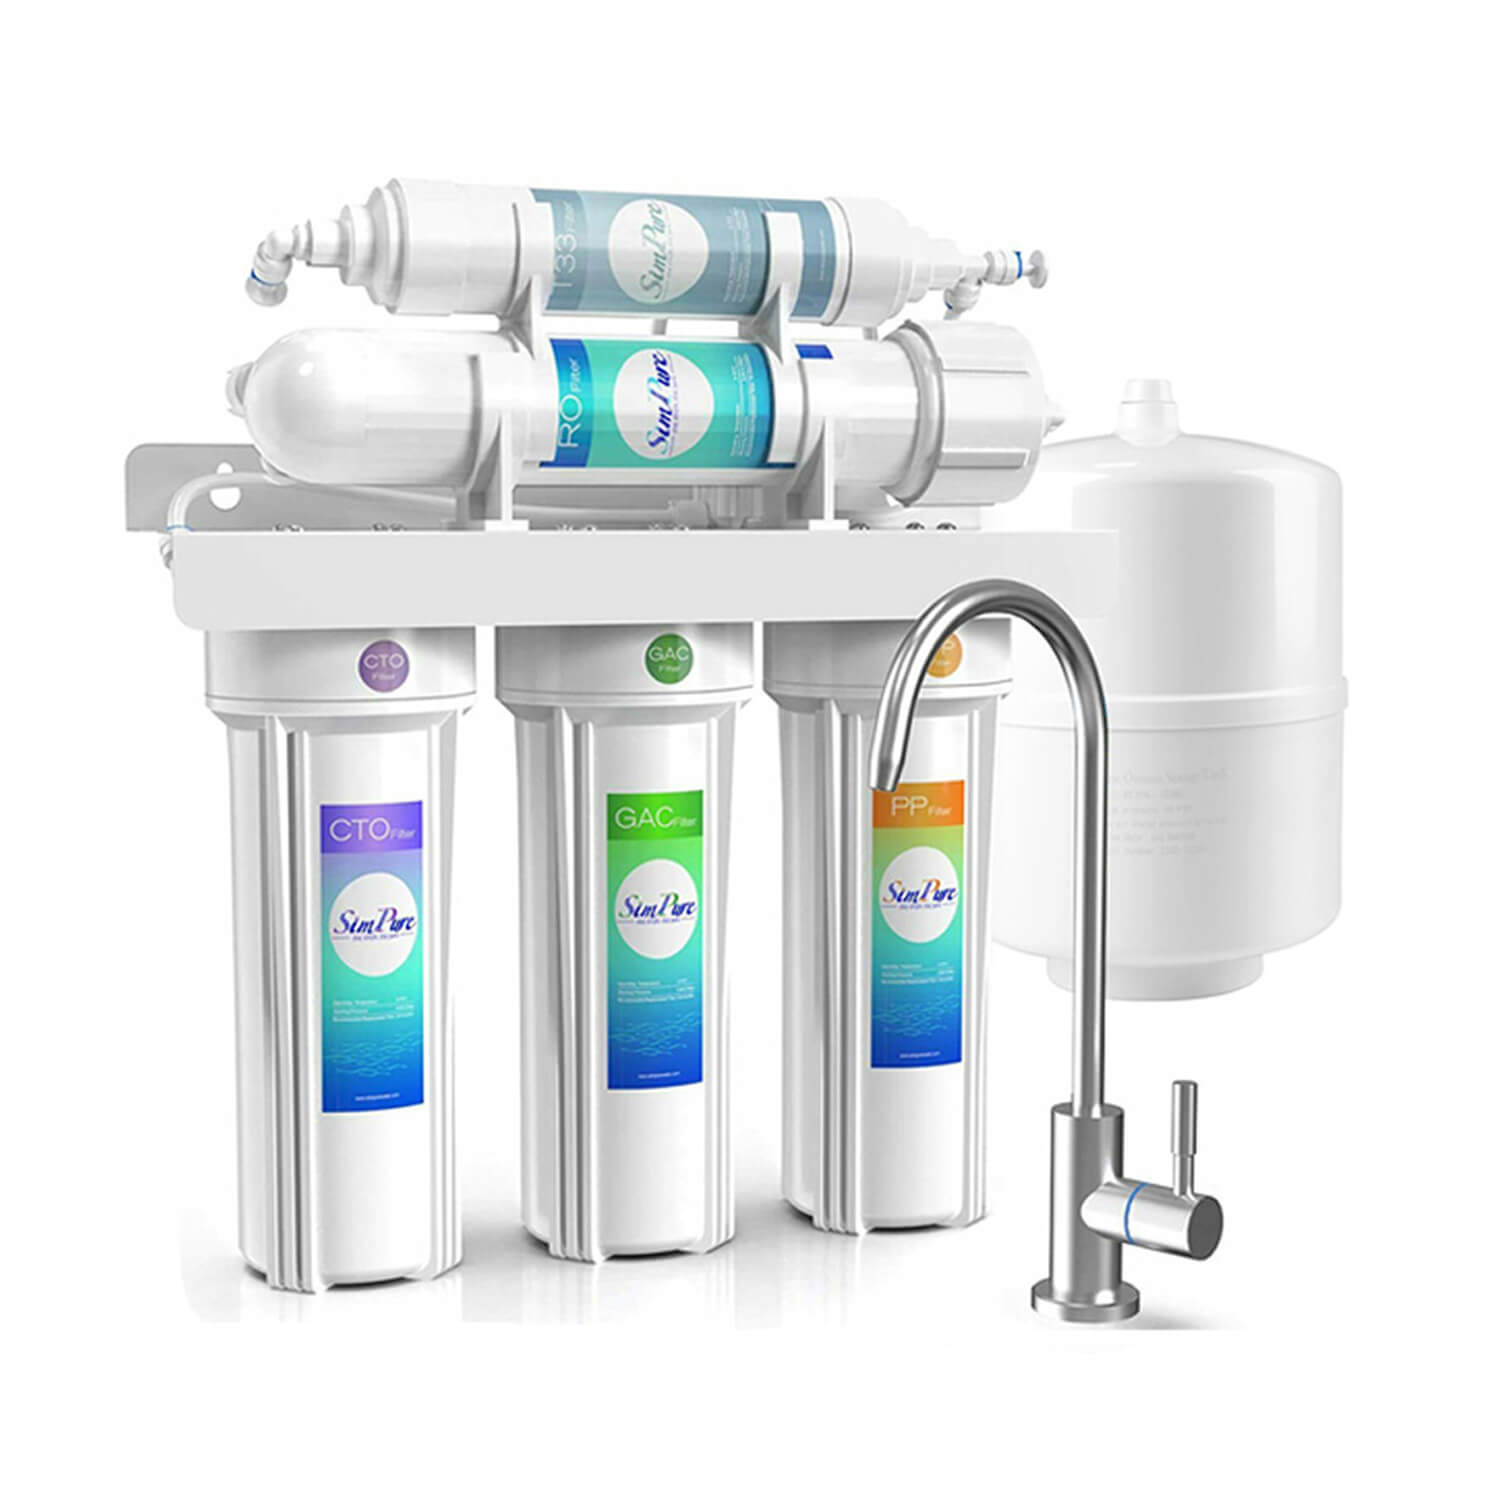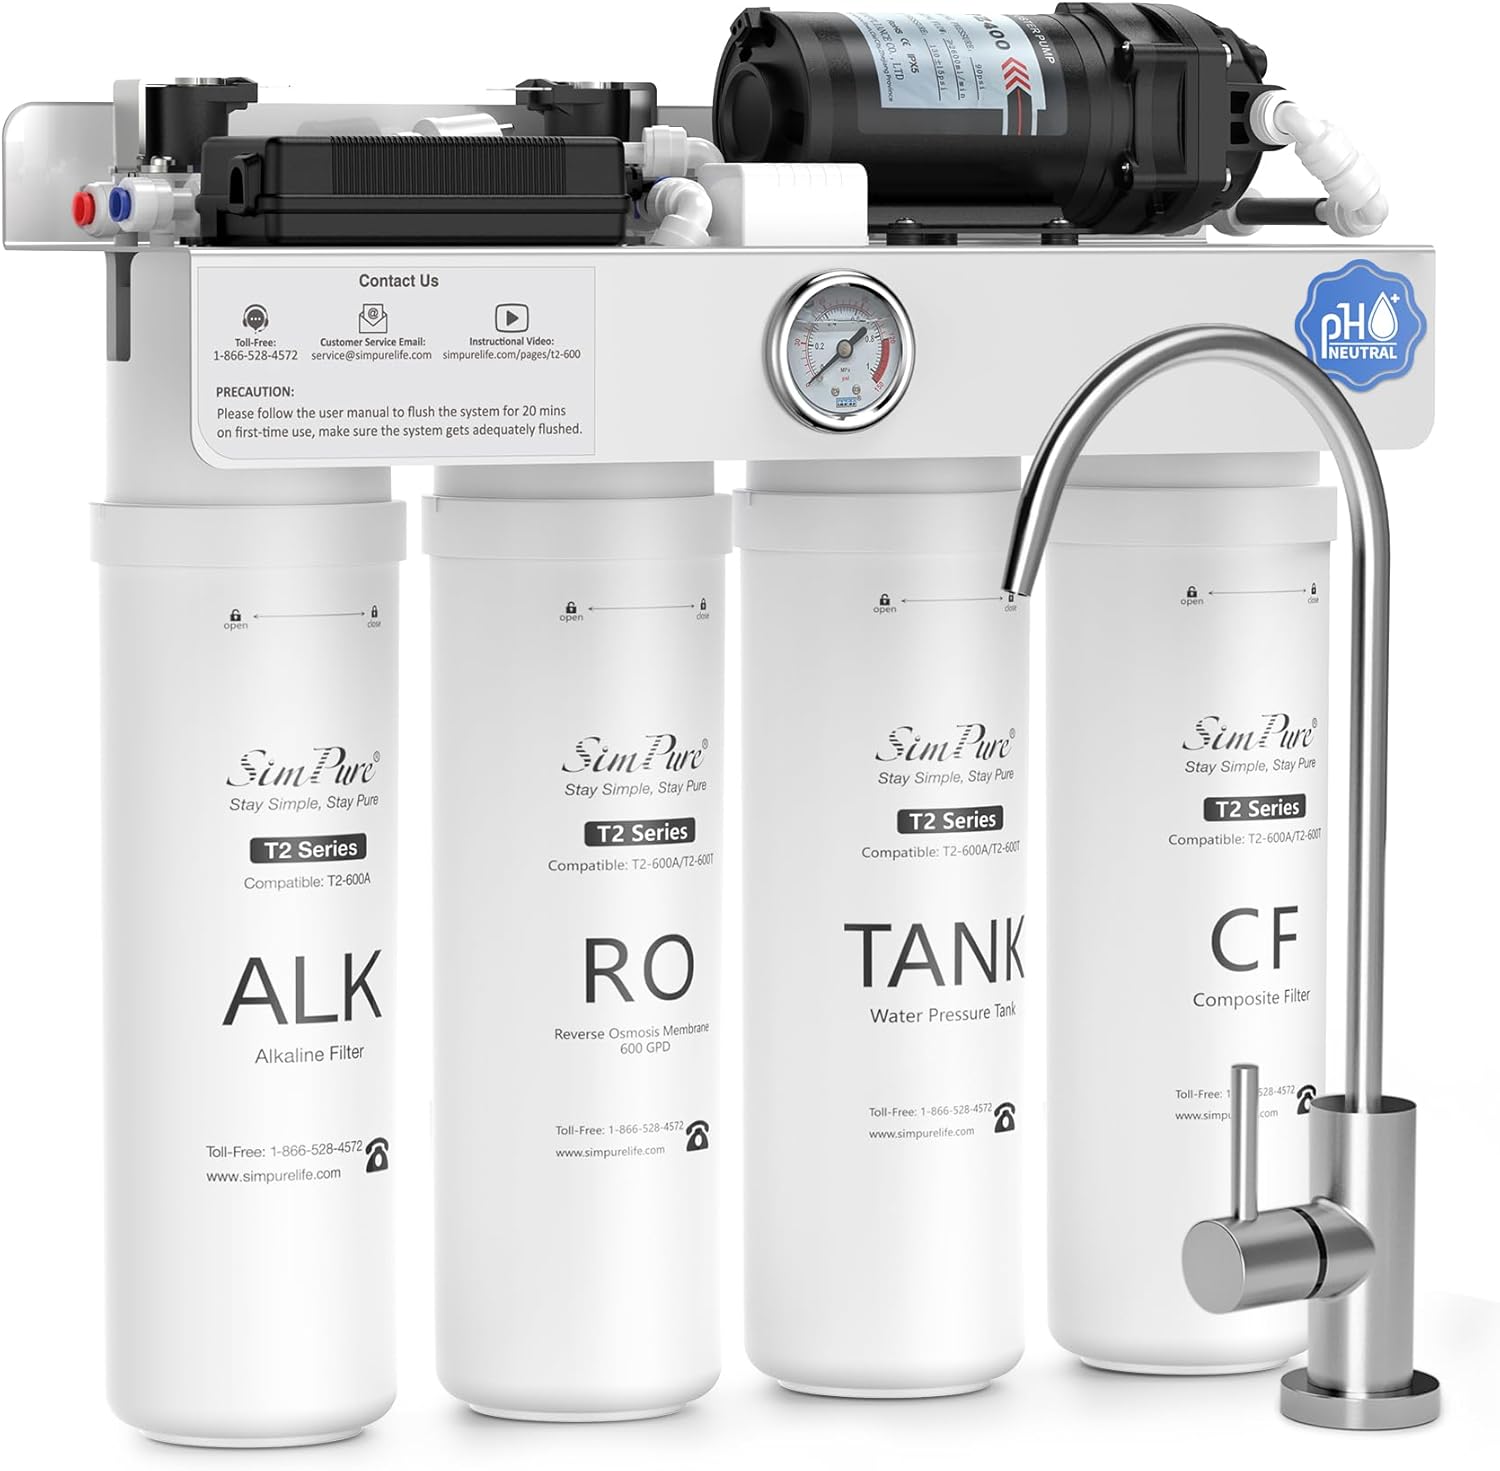


Make the choice with two calculations and five field checks. Calculate the batches required at each stop and the ideal filtration time. Then verify treatment evidence, complete kit weight, hanging geometry, dirty-side separation, and flow recovery. This turns “best” into a route decision instead of a product-page label.
First Calculate Batches, Not Just Liters
A gravity bag is a batch container. Its useful size depends on how much filtered water the group needs before leaving the source. Start with:
Batches required = water needed at the stop ÷ usable bag volume
Always round up to a whole batch. If two hikers need four liters and the bag holds three liters, the system requires two fills. A six-liter bag can complete that same job in one fill, although it carries more material and needs a stronger hanging point.
“Usable bag volume” may be lower than the printed capacity. The bag may be awkward to fill completely in a shallow source, its closure needs headspace, or the outlet position may leave some water behind. Test the actual fill at home and use that number in the route plan.
Then Convert Flow Rate into Stop Time
Flow rate lets you estimate the fastest possible filtration time:
Ideal filtration time = required volume ÷ rated flow
The current SimPure 3-liter gravity system page lists 27 liters per hour, equal to 0.45 liter per minute. Three liters therefore takes about 6.7 minutes under rating conditions. The current Membrane Solutions 6-liter page lists 0.5 liter per minute, so six liters takes about 12 minutes.
For the earlier four-liter example, the ideal numbers are about 8.9 minutes with the 3-liter model and 8 minutes with the 6-liter model. The larger bag saves a fill cycle, not an hour. That distinction is useful when comparing the added weight and packed size.
Field time will usually differ from the ideal value. Sediment load, trapped air, incomplete priming, filter condition, hose position, and the vertical distance between bag and outlet can change output. Use the published rate for planning, then time your complete system with a known volume before departure.
Five Checks Decide Whether a Gravity System Fits the Route
1. Match the exact claim to the expected source
A 0.1-micron rating is one design specification, not a complete treatment promise. Check whether the figure is absolute or nominal, which media are included, what the exact model has demonstrated, and which hazards remain outside its stated scope. Do not transfer a result from another bag size, cartridge, or product family.
The CDC outdoor water treatment guidance distinguishes filtration from broader treatment plans. If an identified source hazard falls outside the exact gravity system’s documented claim, use the additional method specified by the land manager or other responsible authority. Site closures and boil-water notices take priority over gear instructions.

2. Compare the complete dry kit, not a single component
Product pages do not always use the same weight boundary. One value may describe the filter body; another may include the bag, hose, strap, adapters, storage pouch, caps, and backflush tool. Backpacking decisions need the weight of everything carried.
Place the complete dry kit on a scale. Then add any water that must remain in the system during the day. A large reservoir may weigh little when empty but temporarily hold several kilograms of water at the source. That matters for branch strength and handling even when the full bag is never carried down the trail.
3. Test hanging height and hose layout
Gravity supplies the pressure, so the vertical difference between the source bag and outlet affects the workflow. The filter should hang in the orientation specified by its instructions, the hose should not kink, and the receiving container should sit below the bag without pulling on the connection.
Ask where the system will hang on your actual route. Tree straps may be easy in forest camps and difficult above tree line, in narrow canyons, or at crowded sources. Check the strap length, possible anchor diameter, total drop, and whether a full bag can hang without touching the ground.
4. Keep input parts separate from output parts
The bag, scoop, inlet hose, and input-side fittings contact source water. The outlet, mouthpiece, bottle opening, and treated-water container should remain separate. Color-coding or packing the two sides in different pouches reduces mix-ups when setting up in low light.
Also verify that the outlet fits the container you carry. A fast filter is inconvenient when the receiving bottle tips over, the hose falls out, or the connection prevents air from escaping. Run one complete fill cycle with the exact bottle or reservoir before the trip.
5. Carry a repeatable flow-recovery method
Fine sediment can reduce flow before a stated capacity is reached. The relevant question is not only whether a filter can be backflushed, but whether you can perform the exact procedure with the parts available on the route.
Confirm the correct backflush direction, required water, pressure source, and replacement trigger. Some designs connect to a bottle; others require a syringe or model-specific fitting. Record a baseline time for one liter after conditioning. If the time increases, follow the manual’s procedure and compare again. Replace the element when the stated limit arrives or the approved procedure no longer restores acceptable output.
3 Liters or 6 Liters? Compare the Backpacking Job
The two current product pages below support different workflows. Specifications were checked on October 29, 2026 and are presented as first-party model facts, not universal field results.
|
Current configuration |
Listed facts |
Backpacking job |
What to verify |
|
3L bag; 27 L/h; 0.1-micron rating; hollow-fiber and carbon media; up to 5,000 L; product specification lists 3.2 oz |
Solo or two-person travel, smaller water stops, and routes where packed bulk matters |
Confirm whether the listed weight covers every carried part and measure real output after conditioning. |
|
|
6L bag; 0.5 L/min; 0.1-micron rating; hollow-fiber and carbon media; up to 5,000 L; listed weight 0.73 lb; detachable backflush connection |
Three or more users, shared camp water, or fewer repeated bag fills |
Check current availability, complete packed dimensions, anchor strength, and whether the group accepts the added kit weight. |
The 3-liter option is not automatically the backpacking winner, and the 6-liter option is not automatically the group winner. A party that moves continuously may prefer multiple smaller systems for redundancy and shorter source stops. A party that spends evenings at one camp may value a larger hands-off batch. Use the route schedule, not party size alone.
For additional gravity, straw, squeeze, bottle, and pump configurations, browse the SimPure outdoor water filters collection. If you still need to choose the device format, the broader guide Best Backpacking Water Filter: Choose by Your Route owns that decision. For destination and source-planning questions, use the travel water treatment guide.
When Gravity Is Not the Best Backpacking Format
A gravity system performs well when you can pause, fill a bag, hang it above a receiving container, and wait for a batch. Choose another format when that workflow breaks:
- Frequent short sips while moving: a bottle or straw may require less setup at each stop.
- No reliable hanging point: a squeeze or pump system does not depend on vertical drop.
- One very light solo kit: the bag, hose, strap, and output container may outweigh a simpler personal format.
- High sediment with no maintenance time: a pump with a field-serviceable prefilter may be easier to manage, depending on the exact model.
- Seawater: ordinary backpacking gravity filters do not desalinate.
- A source hazard outside the stated claim: select the treatment combination required for that location.
The National Park Service camping checklist recommends carrying a backcountry treatment option, but current local conditions still control the plan. Confirm source availability and land-manager instructions before departure.
Run a One-Liter Bench Test Before Packing
- Weigh the complete dry kit, including maintenance parts.
- Assemble the exact bag, hose, filter, outlet, and receiving container.
- Condition the filter according to the model instructions.
- Hang the bag at the height you expect to use on the route.
- Time one liter and record the result.
- Backflush with the parts you plan to carry.
- Repeat the one-liter test and confirm the recovery process.
- Pack input-side and output-side parts separately.
This test exposes more useful information than an isolated flow claim. It shows whether the strap reaches, the hose kinks, the output container stays upright, the fittings leak, the backflush tool works, and the complete kit meets your weight budget.
Choose with a Batch Card
Write six fields on a route card: users, liters required per stop, usable bag volume, expected flow, batches per stop, and maximum acceptable stop time. Add the exact treatment claim and field-maintenance method beneath them. Reject any system with a blank field.
The best gravity water filter for backpacking is the lightest complete system that meets that card with evidence and a workable setup. For one or two people, a 3-liter bag often reduces bulk. For a larger party, a 6-liter bag may reduce fill cycles. The final answer comes from the math, the hanging environment, and the tested workflow—not capacity alone.
Frequently Asked Questions
What size gravity water filter is best for backpacking?
Choose by liters required at each stop and the number of acceptable fill cycles. Divide required volume by usable bag volume and round up. A smaller bag can reduce packed bulk, while a larger bag can reduce repeated source collection for a group.
How fast should a gravity water filter work?
There is no universal rate. Compare the exact model’s stated flow, then time a known volume with the complete setup. Bag height, hose layout, filter condition, trapped air, and source sediment can change actual output.
How high should you hang a gravity water filter?
Follow the exact model instructions and create enough vertical drop for the specified setup without stretching the hose or loading the connections. Test the strap, anchor, bag, and receiving container together before the trip.
Why is my gravity water filter so slow?
Possible causes include insufficient vertical drop, a kinked hose, trapped air, incomplete conditioning, sediment loading, or an element due for service. Check the setup first, then use only the model’s approved backflush procedure.
How often should you backflush a gravity water filter?
Use the model instructions and observed flow rather than a universal calendar. Record a baseline time for one liter. When output slows, perform the approved procedure and compare again; replace the element when the stated limit arrives or flow does not recover adequately.