The quality of your water supply is more interconnected with your daily life than you might think. Water hardness, the measure of mineral content in your water, can affect the longevity and efficiency of your appliances, the taste and appearance of your drinking water, and even your health. So, how to test water hardness? In this informative guide, we'll provide you with detailed methods of how to test and interpret the results.
Table of Contents
What is Water Hardness & Why Does IT Matter?
3 Methods for Testing Water Hardness
1. Titration Method With Test Reagents.
2. Test Strips for Quick Hardness Assessment.
What is Water Hardness & Why Does IT Matter?
Water hardness is a measure of the mineral content in your water, particularly the presence of calcium and magnesium ions. These minerals enter the water as it flows through geological formations, dissolving and becoming part of the water supply. Water hardness is typically quantified in milligrams per liter (mg/L) or parts per million (ppm) of calcium carbonate (CaCO3). In addition, it's crucial to avoid conflating two distinct concepts—Total Dissolved Solids (TDS) and water hardness. TDS encompasses various dissolved substances, both organic and inorganic, in water, while water hardness specifically pertains to the concentration of calcium and magnesium ions.
Why Should You Test Water Hardness?
Testing water hardness is crucial for several reasons. Firstly, it helps protect your household appliances. Hard water, rich in minerals like calcium and magnesium, can lead to the buildup of limescale in your appliances, reducing their efficiency and lifespan. Regular hardness testing enables you to take preventive measures, saving you money on repairs or replacements.
Secondly, water hardness affects the quality and taste of your drinking water. It can lead to a metallic or bitter taste, making it less enjoyable to consume. Knowing your water's hardness level allows you to consider filtration or softening methods, ensuring cleaner, better-tasting water.
Lastly, your health can be impacted. Although hard water is generally safe to drink, excessive mineral intake can contribute to kidney stone formation. By monitoring water hardness, you can maintain a balance that promotes health.
3 Methods for Testing Water Hardness
Having explored why water hardness matters, it's time to get hands-on with the testing process. In the upcoming sections, we'll delve into the specifics of three reliable methods for testing water hardness
1. Titration Method With Test Reagents.
Using the titration method with test reagents is a reliable way to test water hardness. This method involves a chemical reaction that determines the concentration of calcium and magnesium ions in the water, which are the primary contributors to water hardness. Here are the general steps to perform this test:
Step 1: Gather Your Materials
You will need a clean plastic or glass container, a buffer solution (usually included in the test kit), a hardness indicator, and a titrant solution (usually ethylenediaminetetraacetic acid, EDTA).
Step 2: Sample Collection
Fill the container with a sample of the water you want to test. This sample should be clear and free of debris.
Step 3: Add Buffer Solution
Add a few drops of the buffer solution to the water sample. The buffer solution helps to stabilize the pH of the water, ensuring accurate results.
Step 4: Add Hardness Indicator
Add a few drops of the hardness indicator to the water. The indicator will change color based on the hardness of the water.
Step 5: Titration
Slowly add the titrant solution, drop by drop, while swirling the container. Continue until the color change in the water indicates that the hardness ions have been completely neutralized.
Step 6: Record the Volume
Note the volume of the titrant solution used. This volume is proportional to the hardness of the water.
Step 7: Calculate Hardness
Based on the volume of the titrant used and the test kit instructions, calculate the water hardness in terms of milligrams per liter (mg/L) or grains per gallon (gpg).
The titration method is accurate and widely used, particularly in laboratory settings. It provides a precise measurement of water hardness, allowing you to make informed decisions about water treatment or appliance maintenance.
2. Test Strips for Quick Hardness Assessment.
Testing water hardness using test strips is a quick and straightforward method, ideal for those seeking a rapid assessment. Follow these general steps to use test strips effectively:
Step 1: Gather Materials
Obtain water hardness test strips, a clean container for water collection, and a color chart provided with the test strips.
Step 2: Collect a Sample
Fill the container with a sample of the water you want to test. Ensure it's deep enough to submerge the test strip completely.
Step 3: Dip the Strip
Immerse the test strip into the water sample, making sure it's fully submerged for a few seconds.
Step 4: Wait for Reaction
The test strip will change color as it reacts with the minerals in the water. The reaction time may vary, but usually, it takes about 15-30 seconds.
Step 5: Compare Colors
Remove the test strip from the water and compare it to the color chart. The chart will typically have a range of colors that correspond to different levels of water hardness.
Step 6: Determine Hardness
Match the color of the test strip to the closest color on the chart to estimate the hardness level of your water. The chart will often indicate the hardness in milligrams per liter (mg/L) or grains per gallon (gpg).
While test strips are convenient for quick assessments, they may not provide the precision of other methods, such as titration. However, they are an excellent starting point to gain a general understanding of your water's hardness, making them a valuable tool for regular monitoring and basic hardness assessment.
3. Electronic Testers for Precise Measurements.
This is a straightforward process that provides quick and accurate results. These testers are user-friendly and do not require extensive expertise to operate. Here are the general steps to use electronic testers:
Step 1: Calibration
Start by calibrating your electronic tester following the manufacturer's instructions. Calibration ensures the accuracy of your measurements. Typically, you'll need to immerse the tester in a calibration solution with a known hardness level.
Step 2: Sample Collection
Collect a water sample that you want to test. It's essential to use a clean container to avoid any contamination that could affect the results. Allow the sample to reach room temperature if it's too hot or cold.
Step 3: Immerse the Tester
Turn on the electronic tester and carefully submerge the probe into the water sample. Ensure the probe is fully immersed, but do not immerse the entire device.
Step 4: Wait for Reading
Give the tester a moment to stabilize and display the hardness level. The result will typically be expressed in milligrams per liter (mg/L) or parts per million (ppm) of calcium carbonate, which is a common unit for measuring water hardness.
Step 5: Record the Result
Take note of the displayed hardness level. Some testers may also have a hold function to freeze the reading for easier record-keeping.
Step 6: Rinse the Probe
After obtaining your reading, rinse the probe with distilled or deionized water to remove any residual ions that could affect future measurements.
Electronic testers provide a precise and convenient method for testing water hardness. They are an excellent choice for those who require accurate readings for various purposes, such as monitoring water quality, assessing the need for water softeners, or troubleshooting issues related to hard water.
How to Read the Water Hardness Testing Results?
Once you've conducted the water hardness test, the next crucial step is understanding the results. We'll explore how to interpret the readings and what they mean for your water quality and everyday life.
1. Interpretation Units
Most electronic testers express the results in milligrams per liter (mg/L) or parts per million (ppm) of calcium carbonate (CaCO3). This unit is standard for measuring water hardness. The higher the value, the harder the water.
2. Classification
According to United States government, water hardness levels are commonly classified as follows:
Soft Water: Below 60 mg/L (ppm) - Soft water contains low mineral content and is generally preferred for drinking and household use.
Moderately Hard Water: 60-120 mg/L (ppm) - Moderately hard water may leave some mineral deposits but is still suitable for most applications.
Hard Water: 121-180 mg/L (ppm) - Hard water can cause limescale buildup in appliances and plumbing, affecting their efficiency.
Very Hard Water: Above 180 mg/L (ppm) - Very hard water can lead to significant limescale issues, affecting the performance of appliances and the quality of water for various uses.
Find the specific info at https://www.usgs.gov/special-topics/water-science-school/science/hardness-water
3. Action Required
The interpretation of the results depends on your specific needs and the water hardness classification. If you have hard or very hard water and it's affecting appliances or causing other issues, you may want to consider water softening or water filter or other treatment methods to mitigate these effects. If you do not know well about soft or hard water, you can read our previous blog: Hard Water vs Soft Water: What's the Difference?
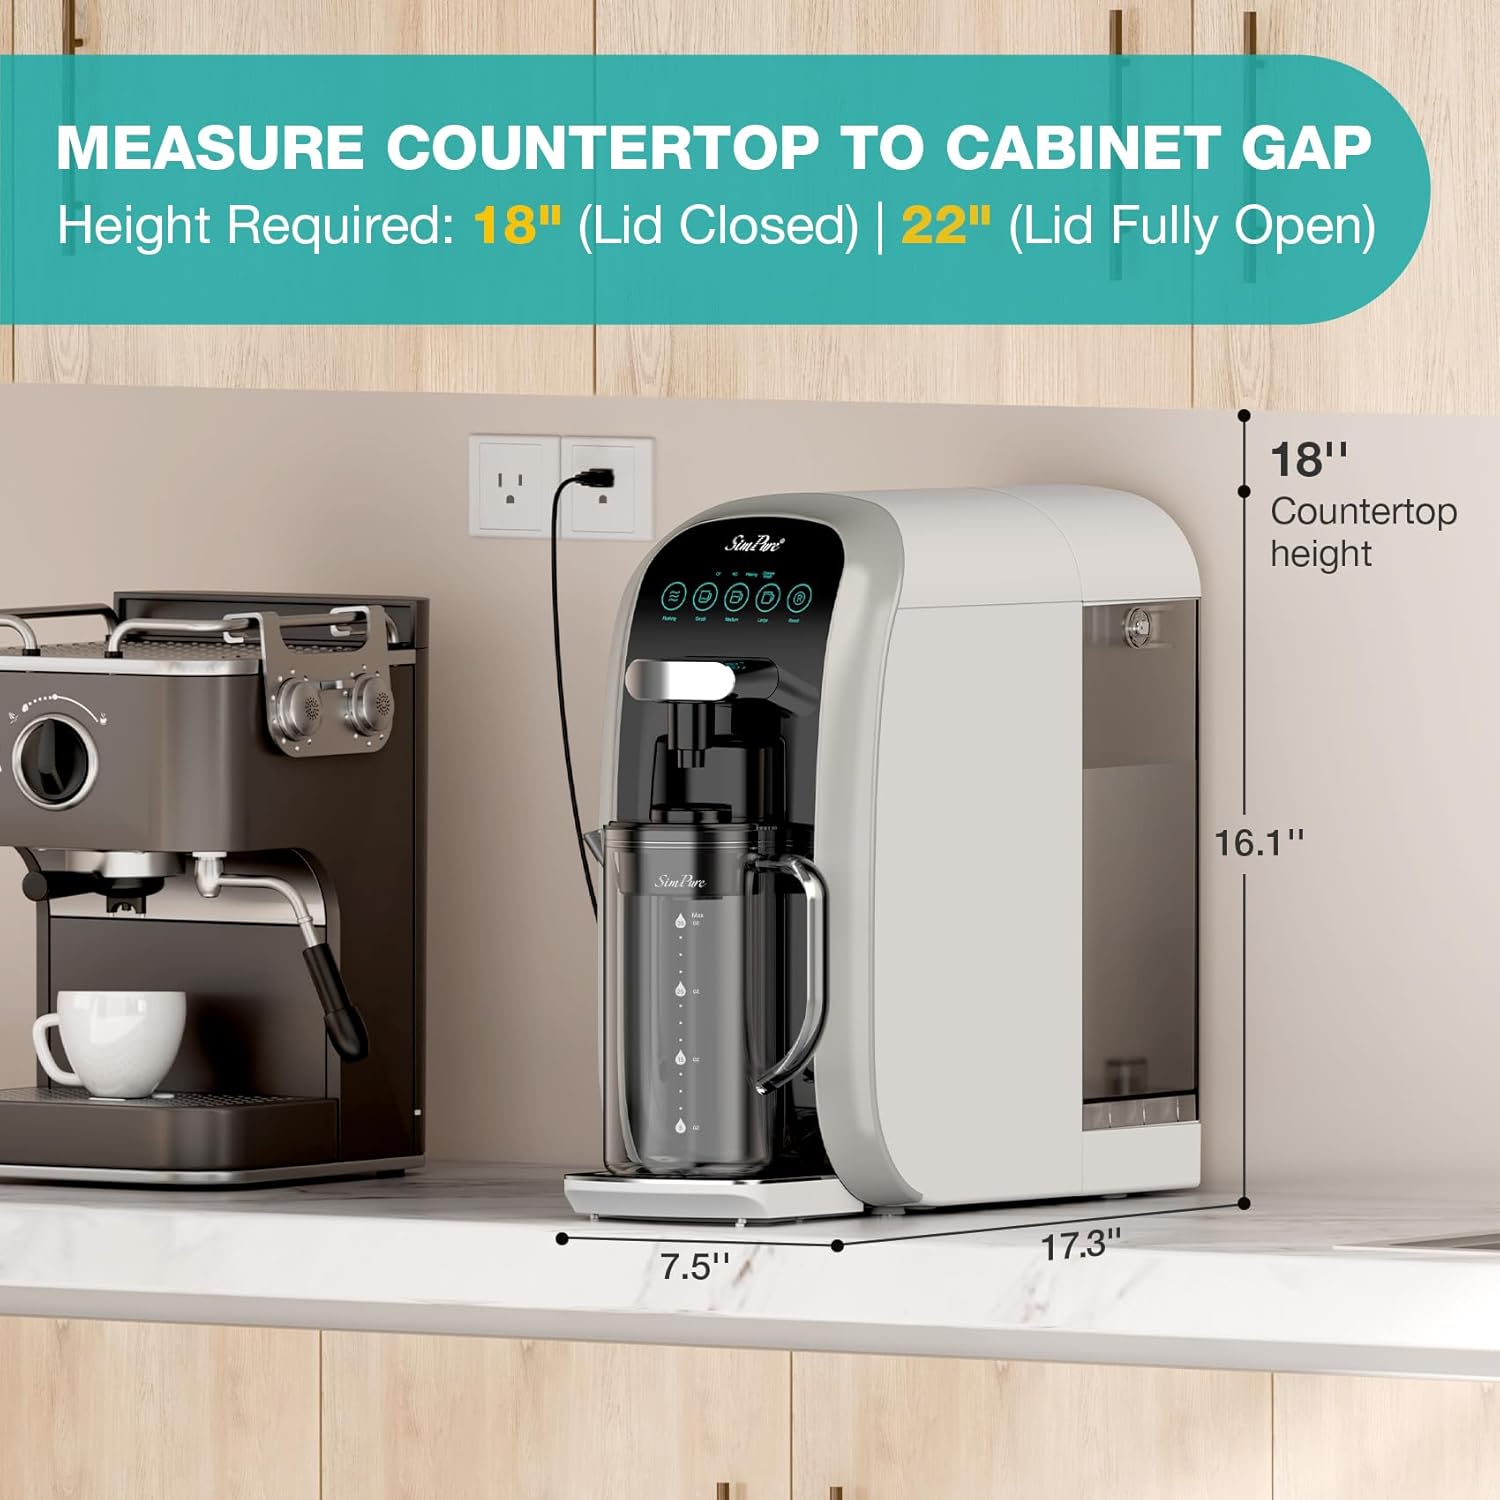
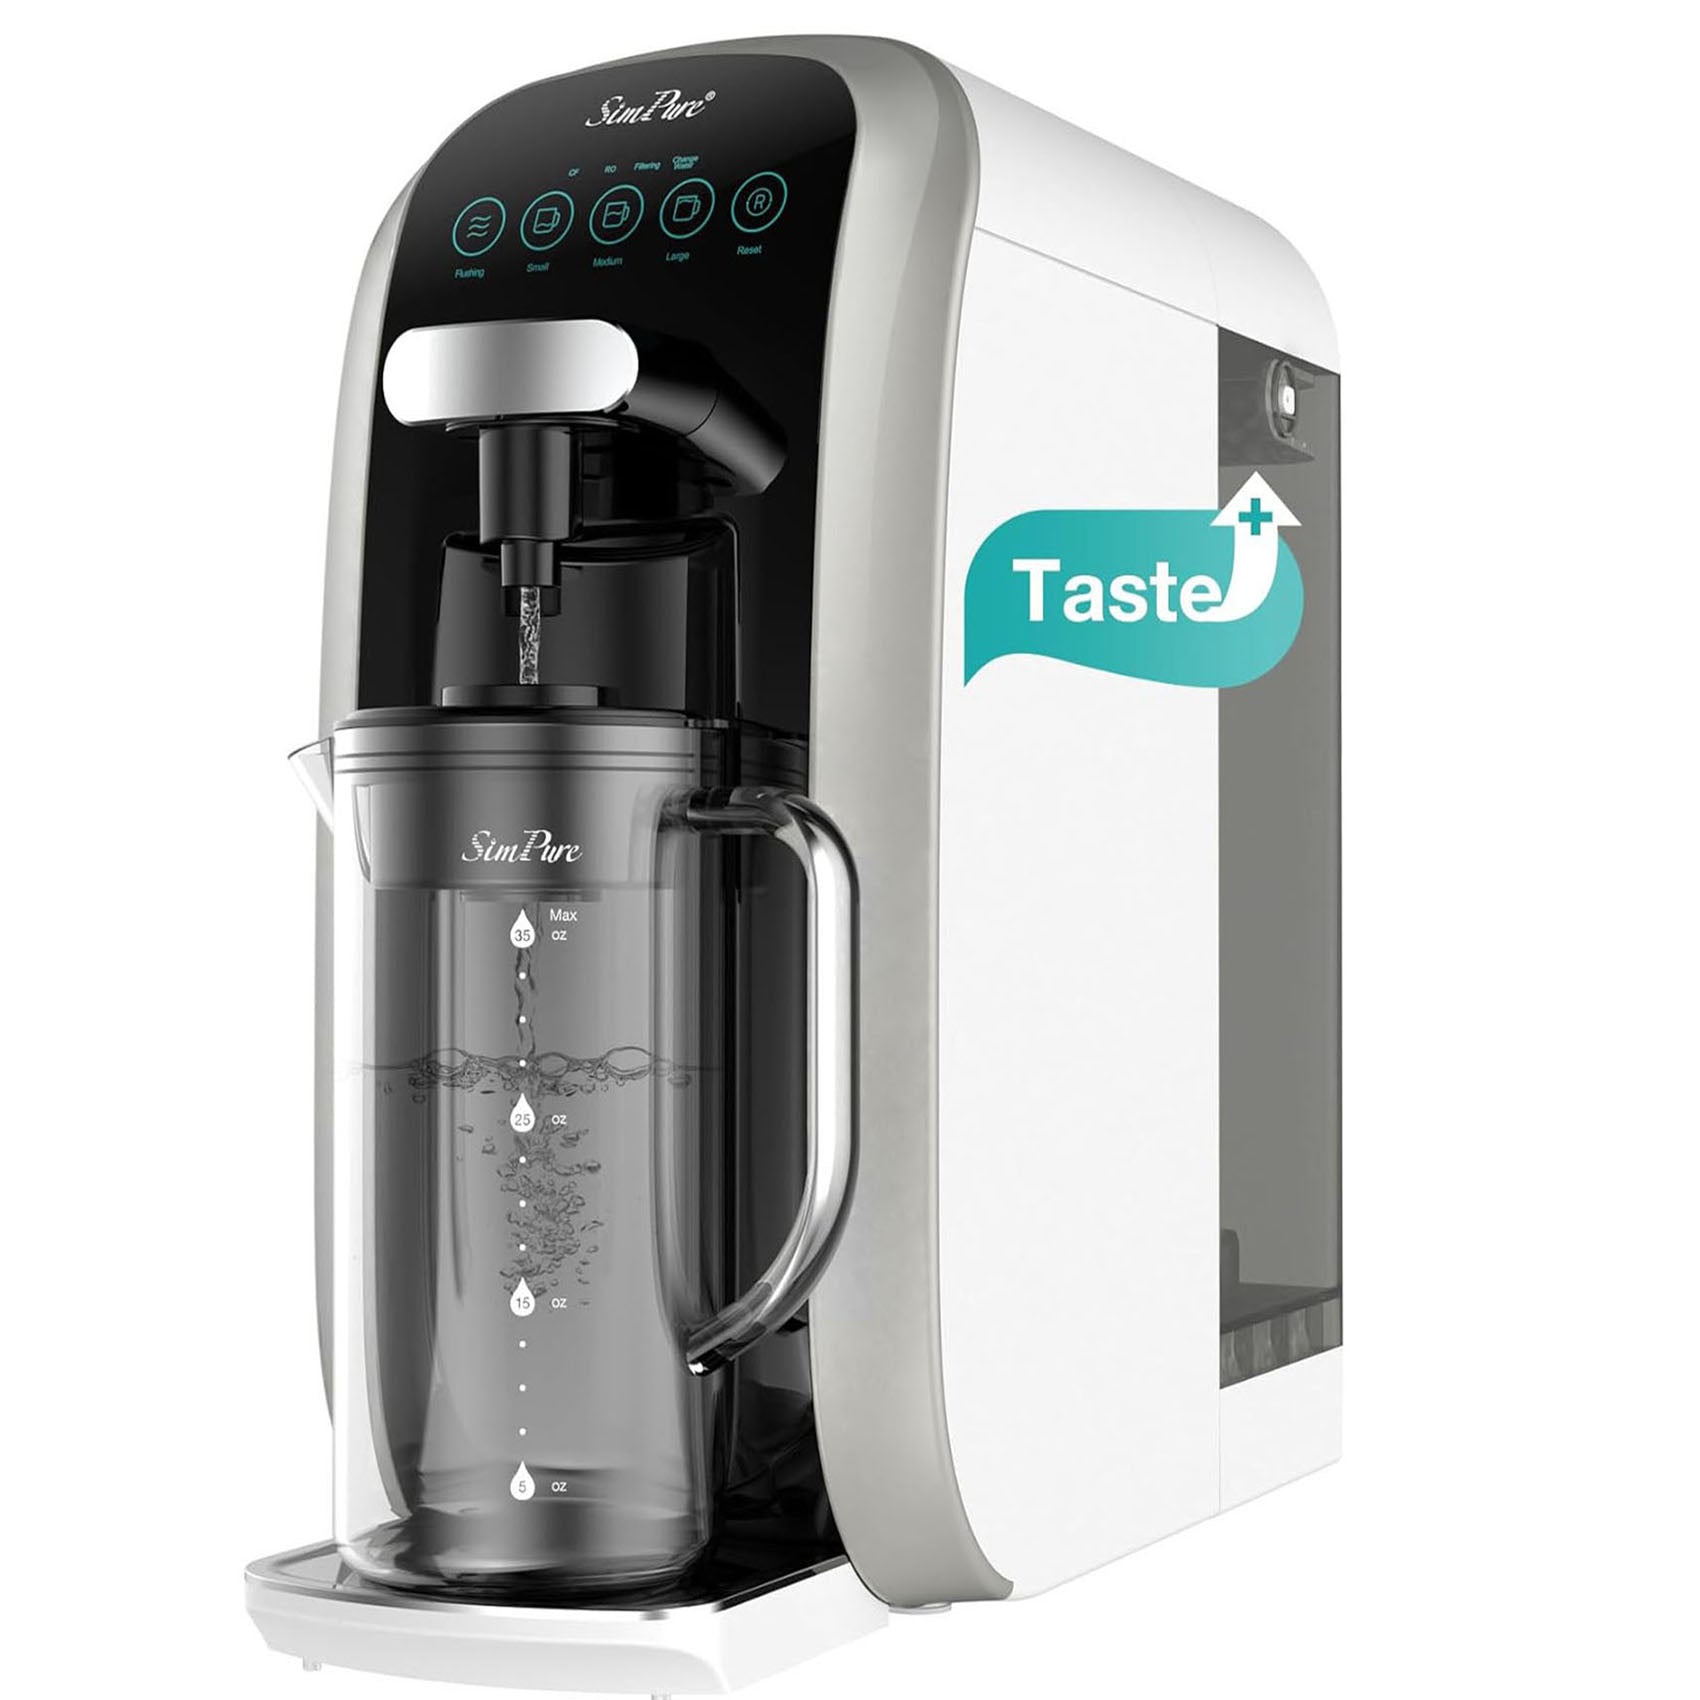
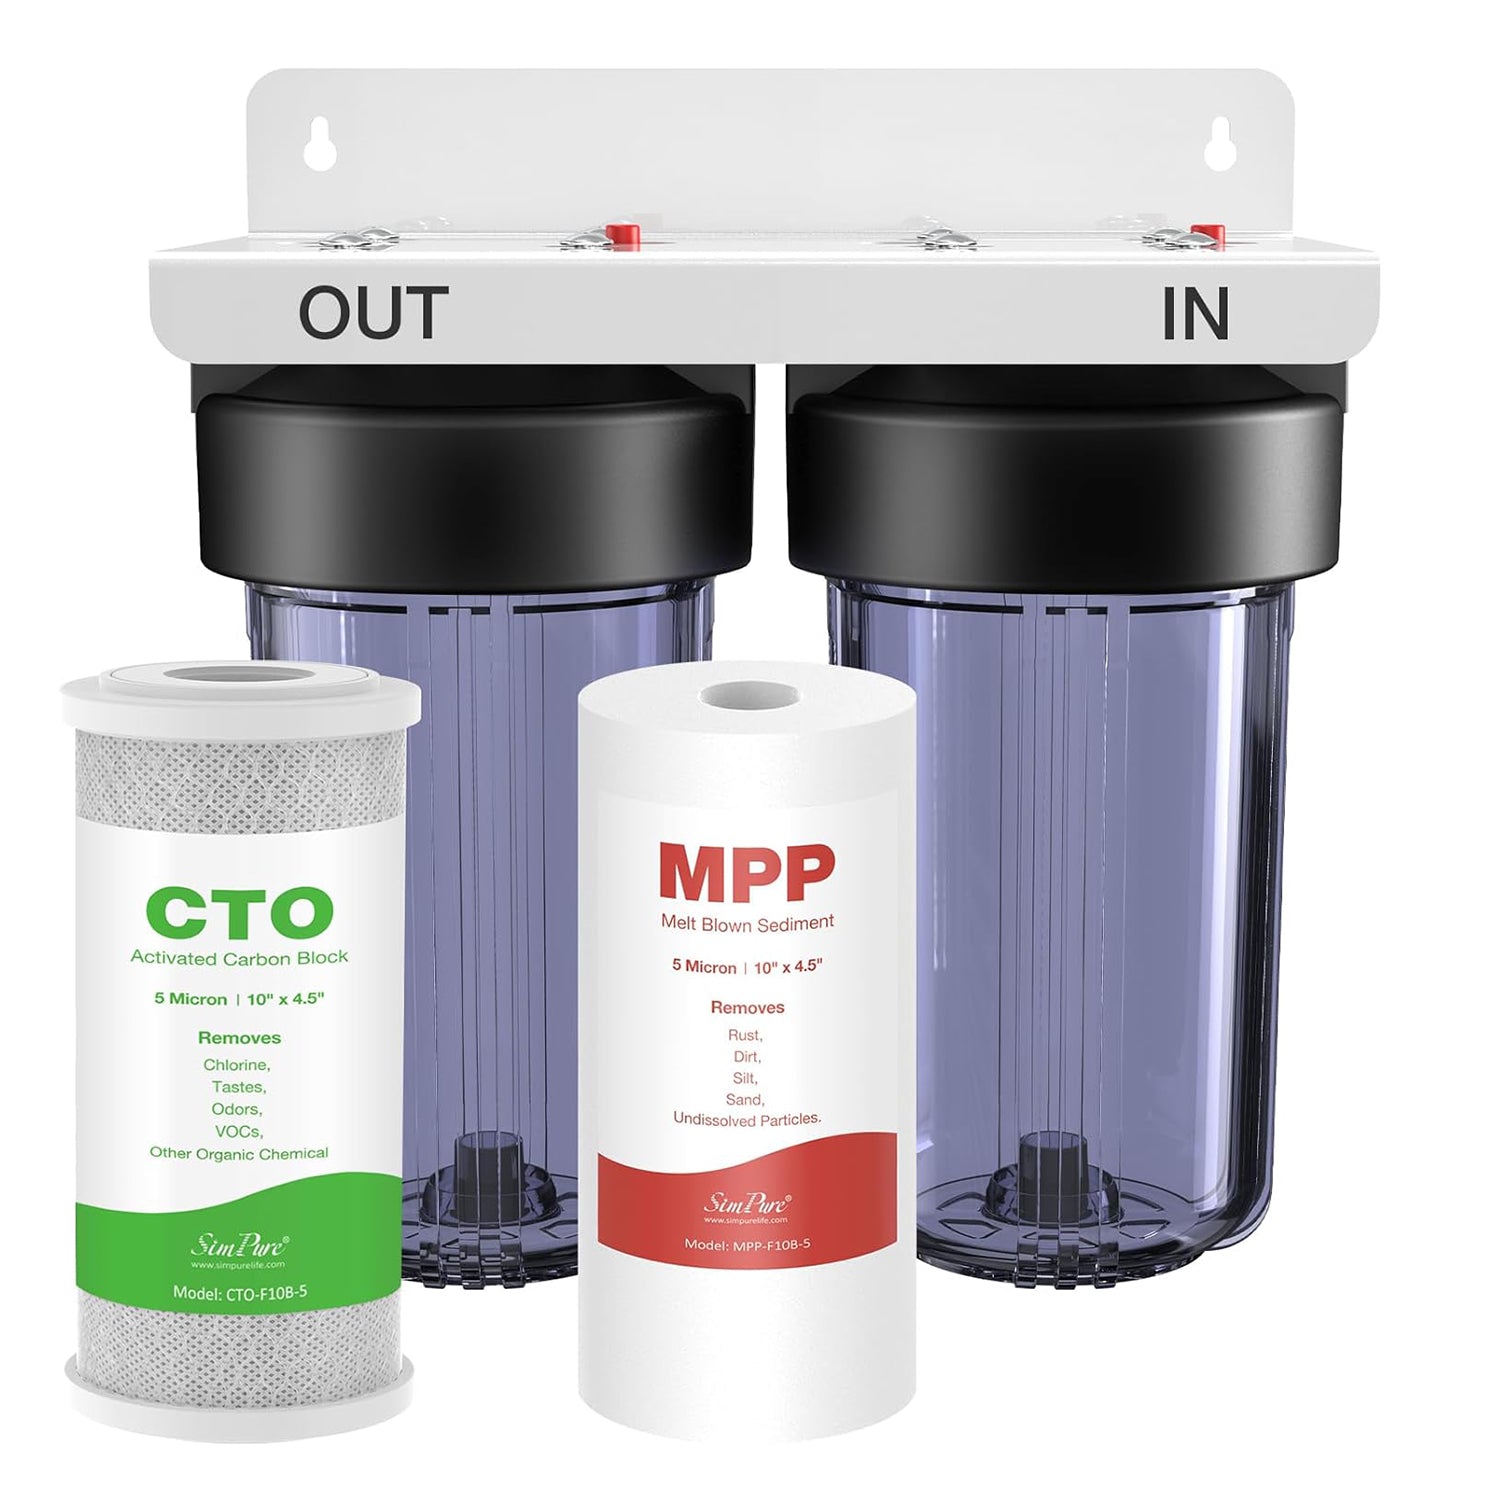
In conclusion, water hardness testing is far from a mere technicality; it's a critical practice that influences the quality of water we use every day. By regularly testing your water supply, you safeguard the longevity of your appliances, ensure better-tasting and healthier drinking water, and minimize the risk of potential health issues. If your tests reveal that you have very hard water, which affects the performance of your appliances and the quality of your drinking water, consider installing a water softener or a water filter, especially those water filter designed to lower TDS in water like SimPure Y9T. These solutions can significantly reduce the impact of hard water on your daily life, preserving your appliances and enhancing the taste of your water.

Related Blogs You May Also Like